


- bhavya gada
- No Comments
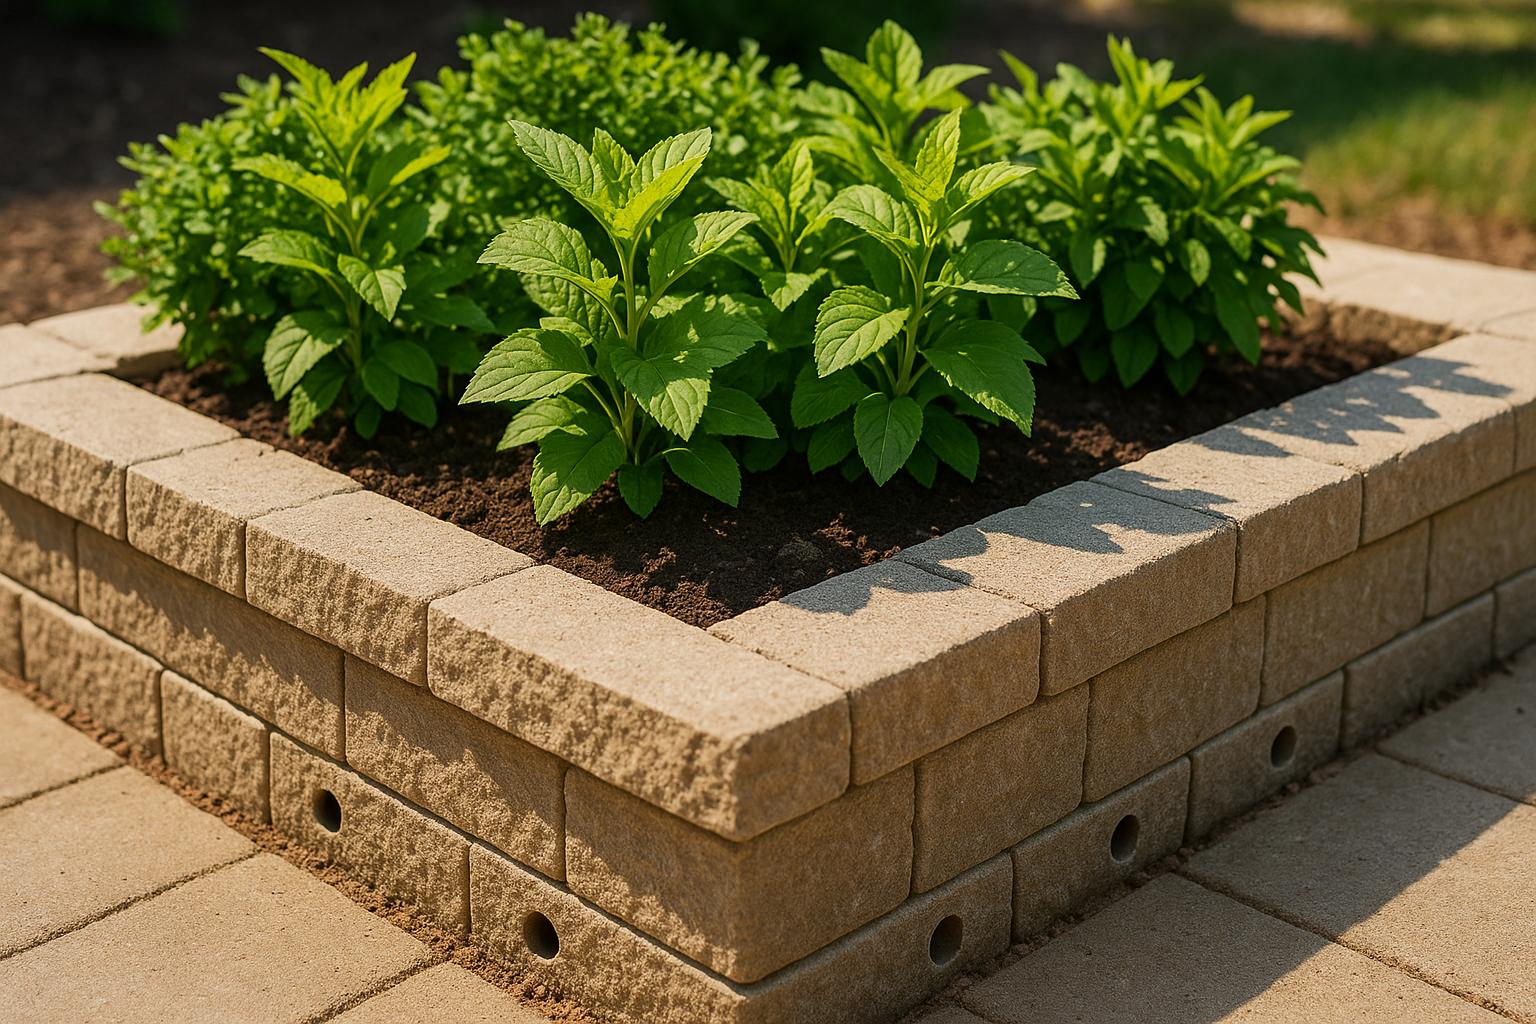
Retaining wall planters can transform your outdoor space, but poor drainage can cause plant damage and structural issues. Without proper water management, you risk root rot, soggy soil, and wall damage from water pressure. Here’s how to ensure your retaining wall planter stays functional and durable:
- Key Components: Use perforated drain pipes, gravel backfill, weep holes, and geotextile fabric to manage water flow effectively.
- Installation Basics: Ensure a 1% slope for drainage pipes, compact gravel in layers, and place weep holes every 6–10 feet.
- Maintenance Tips: Check for clogs, test water flow, and inspect for signs of pooling, plant stress, or wall damage.
For complex installations or challenging soil conditions, professional help ensures long-term performance. Proper drainage protects your plants and wall while preventing costly repairs.
Essential Drainage Methods to Prevent Retaining Wall Failure
Key Drainage Components for Retaining Wall Planters
Creating a reliable drainage system for retaining wall planters involves combining several components that work together to manage water effectively. These elements not only protect your plants but also help maintain the structural soundness of the wall. From drainage pipes to filter fabrics, each piece plays a critical role in keeping water from becoming a problem.
Perforated Drainage Pipes (French Drains)
A 4-inch perforated drain pipe wrapped in geotextile fabric is essential for redirecting subsurface water. Install this pipe at the base of the wall, ensuring it has at least a 1% slope to guide water toward a daylight outlet or collection basin.
Gravel Backfill
Using ¾-inch clean crushed stone behind the wall is a key step for proper drainage. This gravel layer should extend at least 12 inches behind the wall and be placed in 6-inch compacted lifts to prevent water pooling or settling issues [1].
Weep Holes and Wall Drains
Weep holes provide an escape route for water trapped behind the wall, helping to reduce hydrostatic pressure that could compromise the structure [1][2]. These openings, typically 2 to 4 inches in diameter, should be spaced every 6 to 10 feet along the base of the wall and positioned at the lowest point to ensure effective drainage.
Geotextile Filter Fabric
Non-woven geotextile filter fabric acts as a barrier, keeping fine soil particles from clogging the drainage gravel. While a weed mat might work for smaller walls, geotextile fabric is the better choice for its strength and efficiency [3].
| Component | Material Specification | Installation Depth | Key Spacing/Slope |
|---|---|---|---|
| Perforated Drain Pipe | 4" pipe wrapped in geotextile | At wall base | 1% minimum slope |
| Gravel Backfill | ¾" clean crushed stone | At least 12" behind wall | 6" compacted lifts |
| Weep Holes/Wall Drains | 2"–4" diameter openings | At the lowest wall point | Every 6–10 feet |
| Geotextile Fabric | Non-woven filter fabric | Full gravel envelope | Continuous coverage |
Maryland’s varying rainfall and soil types may require adjustments to these guidelines. For example, clay-heavy or poorly draining soil might call for larger pipes, additional gravel, and closer spacing of weep holes. On the other hand, sandy soils often work well with standard drainage setups [2]. Consulting a professional can help tailor the system to your specific site conditions, ensuring long-term performance and reliability.
Step-by-Step Drainage System Installation Guide
Setting up a drainage system for your retaining wall planter involves a series of precise steps. Each phase is crucial for managing water effectively and ensuring the longevity of your planter. Before you start digging in Maryland, make sure to contact local utility companies to avoid hitting underground lines. Also, check if permits are required, especially for walls taller than 4 feet.
Excavating and Preparing the Planter Area
Start by marking the boundaries of your planter and identifying any utility lines in the area. Dig down to a depth at least 18 inches deeper than your intended planting depth. This extra space accommodates the drainage components.
Clear out any organic material, roots, or debris from the area. Then, grade the bottom of the excavation with a slope of at least 1% (a 1-inch drop over 8 feet) toward your drainage outlet. Use a string line and level to make sure the slope is consistent throughout.
Soil type matters here. If your soil is clay-heavy, it may require additional drainage measures, while sandy soil might drain more easily. Compact the base using a plate compactor to create a solid foundation and reduce the risk of future settling.
With the area prepared, you’re ready to move on to installing the drainage system.
Installing Drainage Components
Place a 4-inch perforated drain pipe at the lowest point of the excavation, keeping the 1% slope toward the drainage outlet. Wrap the pipe in geotextile fabric to prevent fine particles from clogging it, and make sure the perforations face downward for optimal water collection.
Add a 6-inch layer of ¾-inch crushed stone around and over the pipe. Extend this gravel layer at least 12 inches beyond where the retaining wall will be positioned. Compact the gravel thoroughly in 6-inch layers using a hand tamper or plate compactor to ensure stability.
Next, cover the compacted gravel with non-woven geotextile filter fabric. Extend the fabric up the sides of the excavation, overlapping the seams by at least 6 inches. Secure the fabric with landscape pins or by tucking the edges under the gravel. This step helps keep soil from mixing with the drainage layer.
After the fabric is installed, continue adding gravel backfill in compacted 6-inch layers until the desired height is reached. Don’t forget to install weep holes every 6 to 10 feet along the base of the retaining wall. These small openings, typically 2 to 4 inches in diameter, allow trapped water to escape efficiently.
Completing Setup and Planting
Once all the drainage components are installed, test the system. Pour water into different parts of the planter and watch how it flows through the weep holes and pipe outlet. The water should drain steadily without pooling or backing up. If it doesn’t, check for clogs or confirm the slope is adequate.
When you’re satisfied with the drainage, start adding planting soil in 8-inch layers, lightly compacting each one to reduce settling. Use a well-draining potting mix, or improve heavier soils by mixing in compost and perlite. Leave about 2 inches of space between the top of the soil and the retaining wall to prevent overflow during heavy rains.
For larger or more complex installations, especially retaining walls over 4 feet tall, Maryland building codes may require professional assistance. Companies like Pro Landscapes MD offer tailored drainage solutions designed for local conditions, ensuring your planter system works efficiently for years to come.
sbb-itb-843f8be
Maintaining and Troubleshooting Retaining Wall Drainage Systems
Keeping your retaining wall planter in good shape requires regular maintenance and timely repairs. Addressing problems early can save you both money and stress down the line.
Signs of Drainage Problems
Be on the lookout for these common signs that your drainage system might be in trouble:
- Water pooling around the base of the wall is a major warning sign. If water is still standing 24 hours after rainfall, it’s a clear indication that your drainage isn’t doing its job. This can be especially problematic in Maryland, where heavy rains can easily overwhelm a faulty system.
- Plant stress is another clue. If your plants show yellowing leaves, wilting despite proper watering, or signs of root rot, the soil may be too saturated.
- Structural issues like a bulging or leaning wall, horizontal cracks, or soil erosion around the base are serious red flags. These suggest water pressure is building up behind the wall, potentially leading to failure.
Recognizing these signs early can help you take action before the problem escalates.
Regular Maintenance Practices
Routine care is essential for keeping both the wall and your plants in top condition. Start with these practices:
- Inspect weep holes and drains twice a year, especially after heavy rain, to ensure they’re clear. A flashlight can help you spot and remove debris like leaves or mulch that might block water flow.
- Test the drainage system periodically by running water from a hose into the planter and observing how it flows. Water should exit steadily through the weep holes without pooling or backing up.
- Manage soil levels carefully. Instead of piling new soil on top as it settles, gently cultivate the existing soil and mix in compost to improve drainage. Keep the soil level just below the top edge of the wall.
- Check the drainage outlet regularly to ensure it’s free from obstructions like vegetation, sediment, or debris. A blocked outlet can disrupt the entire system.
These simple steps can go a long way in maintaining the health of your retaining wall and its drainage system.
Fixing Common Drainage Issues
If maintenance doesn’t solve the problem, you may need to tackle some common drainage failures:
- Clogged weep holes are often easy to clear. Use tools like a wire coat hanger, pressure washer, or compressed air. For tougher blockages, a plumber’s snake can help. If clogs persist, consider adding larger or additional weep holes.
- Blocked or damaged perforated pipes may require excavation. Remove the gravel around the pipe, inspect for clogs or damage, and clean or replace sections as needed. Make sure the pipe maintains the proper slope toward the outlet.
- Soil erosion behind the wall could indicate a failure in the geotextile fabric. Fixing this involves removing the backfill, installing new filter fabric, and replacing the drainage gravel. The fabric is crucial for keeping soil out of the drainage layer while allowing water to pass through.
For example, in Howard County, Maryland, a homeowner faced pooling water and a bulging wall after a heavy rainstorm. Pro Landscapes MD stepped in, cleared clogged French drains, replaced silted gravel, and installed new geotextile fabric. This restored the wall’s stability and improved plant health, demonstrating the value of professional intervention.
- Gravel backfill maintenance is also important. Rake the gravel to keep it loose and add fresh material if it becomes compacted or contaminated. Properly maintained gravel ensures water flows freely.
If your retaining wall is taller than 4 feet or if drainage problems persist, it’s wise to consult a professional. In areas like Maryland, where clay soils and heavy rainfall create challenging conditions, expert solutions such as French drains with proper gravel and geotextile fabric can ensure long-term durability and performance.
Pro Landscapes MD: Professional Drainage Solutions for Retaining Walls

When it comes to tackling drainage issues or planning a new retaining wall planter, partnering with experts can save you from expensive mistakes. Pro Landscapes MD specializes in addressing drainage challenges, offering solutions tailored to Maryland’s unique conditions. Their expertise ensures your project is designed to withstand both the local environment and the demands of your landscape.
Custom Solutions for Maryland Properties
Maryland’s varied soil types and unpredictable weather call for drainage systems designed specifically for each property. Pro Landscapes MD takes a detailed approach, analyzing soil conditions – whether it’s heavy clay, common in many areas, or sandy loam – and customizing solutions to match. For properties with dense clay soil, they might suggest deeper gravel backfills, extending at least 12 inches behind the wall, paired with additional weep holes to manage hydrostatic pressure effectively. These measures not only protect the retaining wall but also keep the planter functioning properly.
Their team also accounts for Maryland’s seasonal rainfall and freeze-thaw cycles, ensuring drainage systems can handle everything from daily moisture to heavy storms. For example, a recent project in Ellicott City showcased their expertise. The client faced persistent water pooling behind a retaining wall planter. Pro Landscapes MD installed a French drain system that connected to a dry well and regraded the area to direct runoff away from the wall. The result? Improved drainage, healthier plants, and no more water damage to the wall.
Service Areas and Expertise
Pro Landscapes MD brings local knowledge to every project, serving six counties in central Maryland: Howard, Montgomery, Carroll, Frederick, Prince George’s, and Baltimore. They also extend their services to Washington, DC, covering areas like Columbia, Bethesda, and Annapolis. Their familiarity with regional soil conditions, weather patterns, and local regulations ensures their drainage systems are both effective and compliant.
Their team includes professional horticulturists with formal training in landscape design and horticulture, adding another layer of expertise. This specialized knowledge allows them to design systems that not only solve drainage issues but also enhance the overall landscape.
In addition to drainage solutions, Pro Landscapes MD offers a full range of services to complement retaining wall projects. These include hardscaping installations like patios, walkways, garden walls, and natural stone steps, as well as landscape design, planting, lawn care, and stormwater management. This comprehensive approach ensures all elements of your outdoor space work together seamlessly.
Client Reviews and Quality Commitment
At the heart of Pro Landscapes MD’s work is a commitment to customer satisfaction. They emphasize clear communication, thorough site evaluations, and customized designs tailored to each property’s needs. Their use of premium materials such as Techo-Bloc, Allen Block, and El Dorado Stone guarantees both durability and visual appeal.
To maintain the performance of their drainage systems, Pro Landscapes MD offers ongoing support, including inspections to check for clogged pipes, blocked weep holes, or shifting gravel. They also provide cleaning, repairs, and upgrades to keep systems running efficiently year-round. This dedication to quality ensures your retaining wall drainage system continues to perform well long after installation.
Conclusion: Key Points for Retaining Wall Planter Drainage
Getting drainage right is essential to avoid structural damage, unhealthy plants, and expensive repairs. A well-designed system – including perforated pipes, ¾" clean crushed stone gravel, weep holes, and geotextile fabric – ensures water is managed effectively and safely.
The key to success lies in precise installation. Digging to the correct depth, assembling drainage components in the right order, and using durable, high-quality materials can make all the difference. Cutting corners or opting for subpar materials often leads to clogged pipes, blocked weep holes, and dangerous hydrostatic pressure buildup.
Once installed, regular upkeep is equally important. This means inspecting weep holes for blockages, checking drainage outlets, and addressing any standing water immediately. If you notice pooling, it may be time to upgrade to solutions like French drains. Maintenance is just as critical as the initial setup to keep everything running smoothly.
For more complex projects or properties with tricky soil conditions, professional help can be a game changer. Pro Landscapes MD offers a thorough approach to retaining wall drainage, handling everything from soil analysis to ongoing maintenance. Their team of trained horticulturists and drainage specialists understands Maryland’s diverse soil and weather challenges, ensuring your system is built to last.
As their team puts it:
"With years of experience in landscaping, hardscaping, and drainage solutions, we bring unmatched expertise to every project. From concept to completion, we ensure that every detail is perfectly executed."
- Pro Landscapes MD
Investing in the right drainage system not only protects your retaining wall but also promotes healthier plants and saves you from costly repairs down the line. Whether you take on the project yourself or hire professionals, sticking to these principles will help your retaining wall planter thrive for years to come.
FAQs
What happens if a retaining wall planter doesn’t have proper drainage?
Without proper drainage, retaining wall planters can run into some serious problems. Excess water can accumulate, leading to issues like soil erosion, waterlogged plants, and even root rot – none of which are good news for your greenery. On top of that, poor drainage can weaken the retaining wall itself, potentially causing cracks, bulging, or, in the worst cases, a complete collapse.
To keep your plants thriving and your wall standing strong, it’s crucial to put effective drainage solutions in place. Options like adding gravel layers, installing drainage pipes, or creating weep holes can make a big difference. And if you’re not quite sure how to tackle these drainage challenges, reaching out to experts can ensure both your plants and your wall stay in great shape.
What are the signs of poor drainage in a retaining wall planter, and how can I fix it?
If your retaining wall planter struggles with drainage, you might see signs like waterlogged soil, puddles forming, or even erosion near the base of the wall. These problems can compromise the planter’s stability and harm your plants’ health.
To address this, you can try adding French drains, layering gravel at the base, or adjusting the slope to guide water away from the planter. Good drainage not only keeps the wall sturdy but also creates a healthier environment for your plants to grow.
When should I hire a professional to ensure proper drainage for my retaining wall planters?
If you’re dealing with problems like poor water drainage, soil erosion, or struggling plants in your retaining wall planters, it might be time to bring in a professional. They can create and install effective drainage systems – like French drains, grading, or swales – to help prevent water damage and keep your wall stable.
Professional expertise becomes even more critical for intricate landscapes or when precise grading and drainage methods are necessary. This ensures your outdoor space stays protected and your retaining wall remains durable over time.
Chat with Us