


- bhavya gada
- No Comments
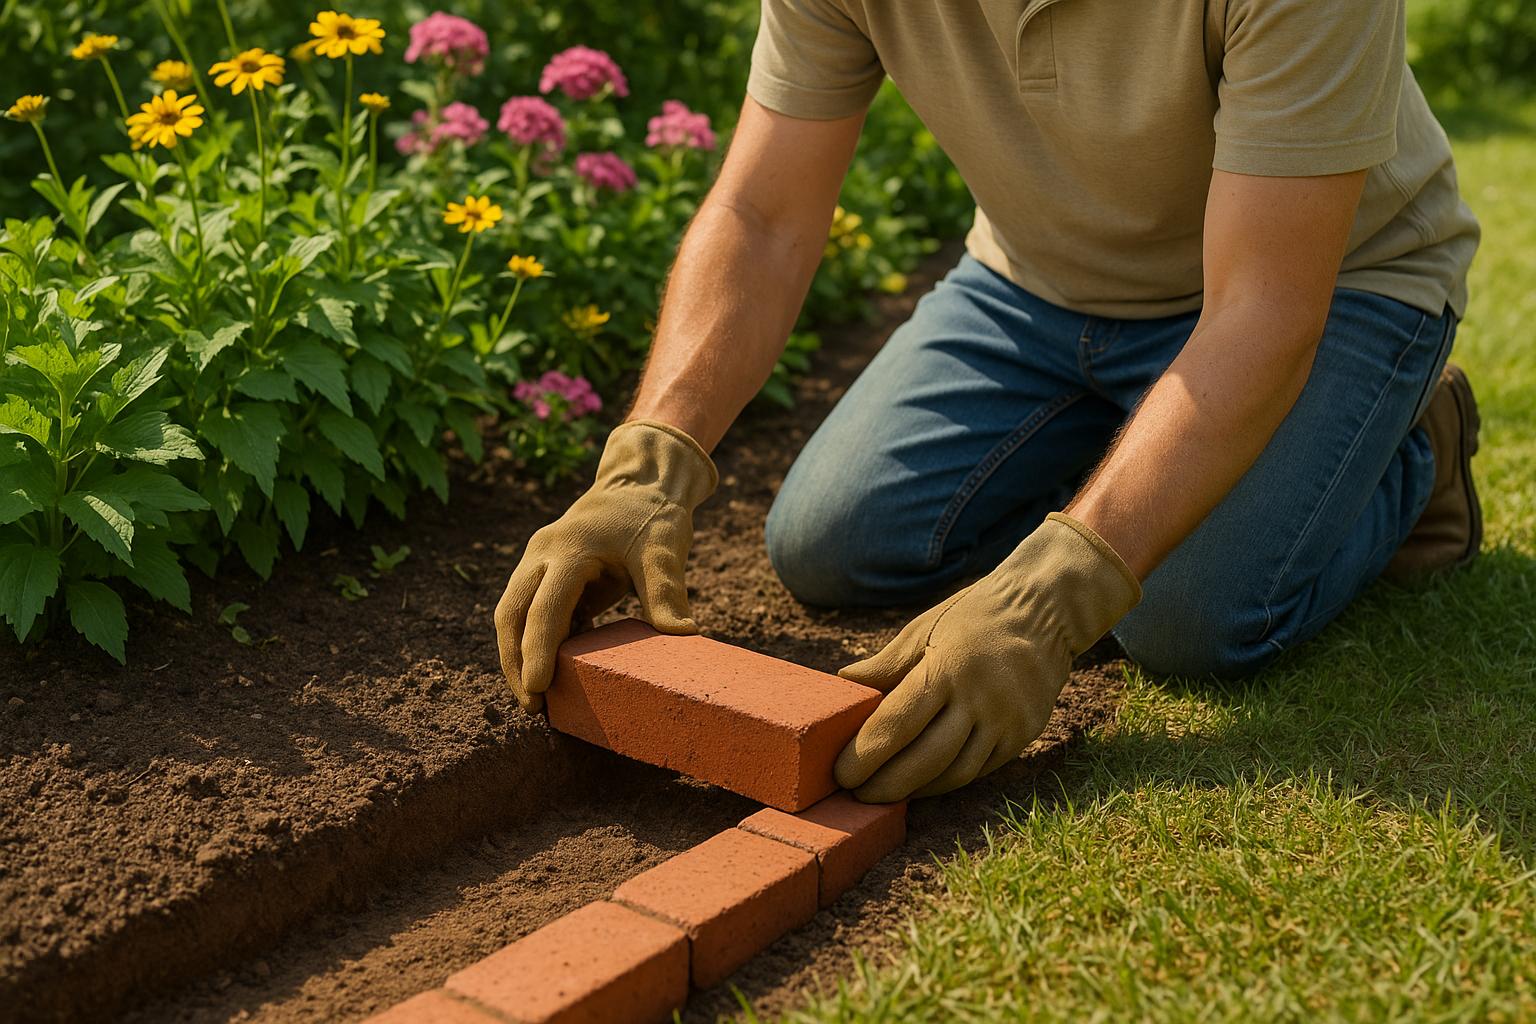
Installing brick edging is a simple way to define your garden beds while adding durability and style. It creates clear boundaries, prevents soil and mulch from spreading, and can even serve as a mowing guide. Here’s a quick breakdown of what you’ll need and how to get started:
- Tools: Spade, lawn edger, rubber mallet, hand tamper, mason’s line, level, and more.
- Materials: Weather-resistant clay pavers, crushed stone, sand, and landscape fabric.
- Steps:
- Mark the garden bed edge with a hose or rope.
- Dig a trench 4-6 inches deep.
- Add a compacted stone base and a layer of sand.
- Lay bricks, tapping them into place with a mallet.
- Fill gaps with sand and backfill the edges with soil or mulch.
For Maryland’s climate, using durable clay pavers and digging below the frost line is key to avoiding frost heave. Regular maintenance, like refilling sand and checking for shifting bricks, ensures long-lasting results. Hiring professionals may be worth considering for large or complex projects.
How to Edge a Garden Bed With Brick | This Old House

Tools and Materials Needed for Installation
Having the right tools and materials on hand can make your installation process much easier and more efficient.
Required Tools
You’ll need a mix of basic gardening tools and some specialized items to ensure everything is installed accurately. Here’s what you should gather:
- A sharp spade or trenching shovel
- Lawn edger
- Rubber mallet
- Hand tamper
- Mason’s line with stakes
- A 4-foot level
- Wheelbarrow
- Rake
- Measuring tape
- Broom
These tools will help you handle tasks like digging, leveling, and securing your materials with precision.
Required Materials
Opt for weather-resistant clay pavers to ensure durability. In areas like Maryland, where the climate can be tough, standard bricks may not perform well. Instead, choose pavers designed for outdoor use that can handle freeze-thaw cycles without cracking.
"Paver patios offer a durable solution for hardscaping projects, so don’t forget to look for products that are resistant to weathering and other environmental conditions when selecting the type of paver for your project." – BMA Landscaping [1]
To create a solid foundation, you’ll need a 2-inch layer of crushed stone or paver base for every 50 linear feet. This ensures proper drainage and stability. Add coarse sand or stone dust for leveling, and use landscape fabric to prevent weeds from sprouting between the joints. Finally, polymeric sand will help lock everything in place once your installation is complete.
For Maryland installations, concrete pavers are an excellent choice. They offer superior weather resistance and come in various colors and textures, giving you the look of traditional brick with added durability against seasonal temperature changes [1].
Once you’ve gathered the tools and materials, it’s time to calculate the exact quantities needed for your project.
Calculating Material Measurements
Start by measuring the perimeter of your garden bed. Standard bricks are typically 8 inches long, so divide your total linear footage by 0.67 feet (8 inches) to estimate how many bricks you’ll need. For example, a 100-foot perimeter would require around 150 bricks.
It’s always wise to order about 10% more materials to account for breakage and future repairs. For a 100-foot project, plan on ordering approximately 165 bricks. For the base materials, you’ll need about 2 cubic feet of paver base and 1 cubic foot of sand for every 50 linear feet of edging.
When digging your trench for garden bed edging, aim for a depth of 4 to 6 inches. This depth ensures stability while keeping the installation process manageable. Keep in mind that thicker pavers are better suited for high-traffic areas, while garden bed edging primarily benefits from weather resistance rather than heavy-duty strength [1].
Site Preparation and Layout Planning
Getting your site ready and planning the layout properly are key steps for creating a polished, professional-looking brick edging. A little extra effort upfront can save you hours of adjustments later and ensure your project turns out clean and well-aligned.
Marking the Garden Bed Edge
Start by outlining the shape of your garden edge with a garden hose or rope. This flexible approach allows you to test different curves and angles before committing to a final design. Walk around and view the outline from various angles to make sure it looks balanced and fits the space.
For straight edges, use a mason’s line and stakes. Stretch the line tightly between stakes at each end of your planned edge to create a precise guideline. This step ensures your straight edges are, well, actually straight.
When working with curves, keep in mind that gentle curves are much easier to install than sharp ones. Aim for smooth, flowing lines that blend naturally with your garden’s contours. Not only do they look great, but they also make the installation process simpler.
Digging the Trench
Once your layout is set, it’s time to dig.
Dig a flat-bottomed trench along your marked line, about 6 inches deep and slightly wider than your bricks. To create a stable foundation, make one side of the trench vertical and clear away excess soil from the other side.
A solid base is crucial for keeping your bricks in place over time. Use a hand tamper or the flat edge of a board to compact the bottom of the trench. A well-compacted base prevents shifting and ensures long-term stability.
Test the trench depth by placing a few bricks in different spots. They should fit snugly and sit level with each other. If adjustments are needed, use a garden trowel to add or remove soil, then tamp it down firmly again. For curved sections, use tools that allow for precise adjustments.
Planning the Layout
With the trench ready, it’s time to plan the arrangement of your bricks. Good layout planning reduces unnecessary cutting and gives your project a polished finish. Measure your garden bed edge based on the actual length of your bricks to simplify the process and minimize the need for partial pieces.
Lay out a few sample bricks along the trench to visualize different patterns, like straight rows, basket weave, or herringbone. This hands-on step helps you see how each design fits the shape and dimensions of your garden bed.
If your garden bed has varying widths, you can mix and match brick patterns to handle the changes while keeping the overall design cohesive. Whenever possible, aim to use full bricks, as avoiding partial pieces speeds up the installation and creates a cleaner look.
Even with careful planning, you may need to make small adjustments during installation. Fine-tuning the position of individual bricks ensures a snug, level fit that will last for years. Once your layout is finalized, you’ll be ready to prepare the base for the final installation.
sbb-itb-843f8be
Step-by-Step Installation Process
With your trench dug and layout ready, it’s time to install your brick edging. Follow these steps to achieve a sturdy and polished result.
Preparing the Base
A solid base is key to keeping your bricks in place. Start by spreading a 2-inch layer of crushed stone across the trench. Use a hand tamper to compact the stone, ensuring there are no low spots. Pay extra attention to any soft soil areas you noticed while digging – this will help prevent future settling.
Next, add a ½-inch layer of sand and level it using a straight board. This creates a smooth surface that allows for proper drainage. Make sure to maintain a slight slope away from the garden bed, especially to handle heavy rain, like those common in Maryland.
Once the base is even and secure, you’re ready to install the bricks.
Installing the Bricks
Start at one end of your trench and work along your planned line. Firmly press each brick into the sand, using a rubber mallet to tap it into place. This ensures the brick settles securely into the base and fits snugly against its neighbors.
To keep your installation straight and even, stretch a mason’s line between stakes. Align the top edge of each brick with the line to maintain consistent height and alignment.
As you go, check each brick with a level to ensure it’s even side-to-side and front-to-back. If a brick sits too high, gently tap it down with the mallet. If it’s too low, lift it out, add a bit more sand underneath, and tamp the area before replacing the brick.
For curved sections, adjust the spacing between bricks to follow the arc. Keep inner joints tighter and outer joints slightly wider to match the curve’s flow. When you reach corners, use a framing square to ensure a perfect 90-degree angle. Corners tend to draw attention, so take your time to get them just right.
Final Steps
Once all the bricks are in place, secure the installation with some finishing touches. Sweep fine sand into the gaps between the bricks, filling every crack and joint. This sand locks the bricks in place and prevents them from shifting over time.
After sweeping in the sand, go over the entire edge with your rubber mallet one more time. This final tamping helps the sand settle deeper into the joints and ensures every brick is firmly seated.
Finish by backfilling the trench with soil or mulch. Pack the material securely against the sides of the bricks to stabilize the edging, but avoid covering the top – this keeps the bricks visible and neat.
Finally, inspect your work. Adjust any bricks that may have shifted during the process. A properly installed brick edge should feel sturdy underfoot and look straight and uniform from start to finish.
Maintenance and Professional Services
Maintenance Tips
With a little regular care, your brick edging can last for years. Start by inspecting it twice a year – once in the spring after the frost has thawed and again in the fall before winter arrives. Look out for any bricks that have shifted, settled unevenly, or become misaligned. If you spot a loose brick, fix it promptly by removing it, leveling the sand underneath, and gently tapping it back into place with a mallet.
Over time, weather and foot traffic can erode the sand between the bricks. To keep the joints secure, sweep fine sand into the gaps and mist lightly with water to set it in place. Clearing away weeds and debris regularly will also help prevent root damage and stains.
Staying on top of these small tasks can keep bigger issues, like frost heave, at bay.
Preventing Frost Damage
In Maryland, the freeze-thaw cycles can be rough on brick edging. One common issue is frost heave, where freezing soil moisture pushes bricks out of place[4]. To combat this, focus on drainage. Make sure water doesn’t pool around the base of your edging. Redirect water flow so it moves away from the bricks, and fix any low spots where water tends to collect after rain or snowmelt. As fall approaches, avoid overwatering nearby garden beds so the soil has time to dry out before the first freeze.
If frost damage becomes a recurring problem or if you’re dealing with a large project, reaching out to a professional can save time and effort.
Pro Landscapes MD Services

When DIY solutions fall short, or when you’re tackling a more complex project, professional help can make all the difference. Pro Landscapes MD has decades of experience installing brick edging throughout central Maryland. They understand the region’s unique challenges, from varying soil types to the effects of Maryland’s climate. Their professional installations are designed for durability, reducing the need for ongoing maintenance[5][6].
One of their key strengths is creating drainage systems that help minimize frost heave and other weather-related problems. This is especially important for larger areas, curved designs, or when integrating brick edging with other features like retaining walls or garden beds.
Pro Landscapes MD serves communities in Howard, Montgomery, Carroll, Frederick, Prince George’s, and Baltimore Counties. Their team provides customized designs that blend seamlessly with your home’s architecture and surrounding landscape[5][6]. Whether you’re short on time, lack the necessary tools, or want a precise, polished finish, they deliver results that not only enhance your outdoor space but also boost your property’s value[5].
Conclusion
Brick edging adds both functionality and timeless charm to your garden. Achieving a durable, attractive result hinges on careful site preparation and precise installation techniques, as discussed earlier. Start by using garden stakes and a Mason’s line to create straight, level guidelines before digging a flat-bottomed trench [3][7].
Building a strong, compacted base is critical for a weather-resistant edge that can handle Maryland’s freeze-thaw cycles and heavy foot traffic [2][8]. This sturdy foundation not only supports the bricks during installation but also ensures they remain secure and require minimal maintenance over time.
Following a step-by-step installation process is key to achieving proper alignment and stability. Backfilling the area around the bricks with soil, sand, or gravel further reinforces their placement, helping them withstand seasonal weather changes and regular use.
After installation, regular maintenance keeps your brick edging looking and functioning at its best. Periodic inspections and quick repairs help maintain the structure’s integrity, while monitoring drainage around the base minimizes the risk of frost heave.
Whether you’re outlining a small flower bed or tackling a larger landscaping project, brick edging offers clean, defined borders and boosts curb appeal. For more intricate designs or professional-grade results, consider hiring experts like Pro Landscapes MD. By combining proper installation with routine care, you’ll enjoy a lasting, polished finish that complements your home’s overall design.
FAQs
Why are weather-resistant clay pavers a great choice for brick edging in Maryland’s climate?
When it comes to brick edging in Maryland, weather-resistant clay pavers are a solid choice. Their durability makes them capable of handling the state’s unpredictable climate, from freezing winters and heavy snow to intense summer heat and rain. Plus, they’re built to last, resisting fading and discoloration from UV rays, so they keep looking great year after year.
Another standout feature is permeable clay pavers, which are designed to manage stormwater runoff. By allowing water to filter through, they help reduce flooding risks and protect local waterways, including the Chesapeake Bay. This makes them not just a reliable option but also a smart, eco-conscious way to upgrade outdoor spaces in Maryland.
How do I prevent frost heave when installing brick edging?
To keep frost heave from messing with your brick edging, start by digging a trench at least 6 inches deep and clearing out the sod and topsoil. Next, fill the trench with about 4 inches of crushed rock. This step helps with drainage and cuts down on water retention, which is key for avoiding frost problems.
On top of the crushed rock, add a 2-inch layer of compacted base gravel. This creates a stable foundation and further reduces water buildup. For extra precaution, make sure to slope the bricks slightly away from the garden. This simple adjustment encourages water to run off instead of pooling, which helps keep your brick edging steady and long-lasting.
When is it better to hire a professional for installing brick edging instead of doing it yourself?
When dealing with brick edging projects on uneven terrain, requiring precise leveling, or featuring complex designs, hiring a professional can make all the difference. Their expertise ensures a polished, durable, and long-lasting result, particularly for larger or more challenging installations.
For areas that see heavy use, like driveways, or where the edging needs to handle significant wear and tear, professional installation offers the durability and precision that DIY approaches often lack. Plus, their experience means the job gets done efficiently and with a high level of craftsmanship.
Chat with Us