


- bhavya gada
- No Comments
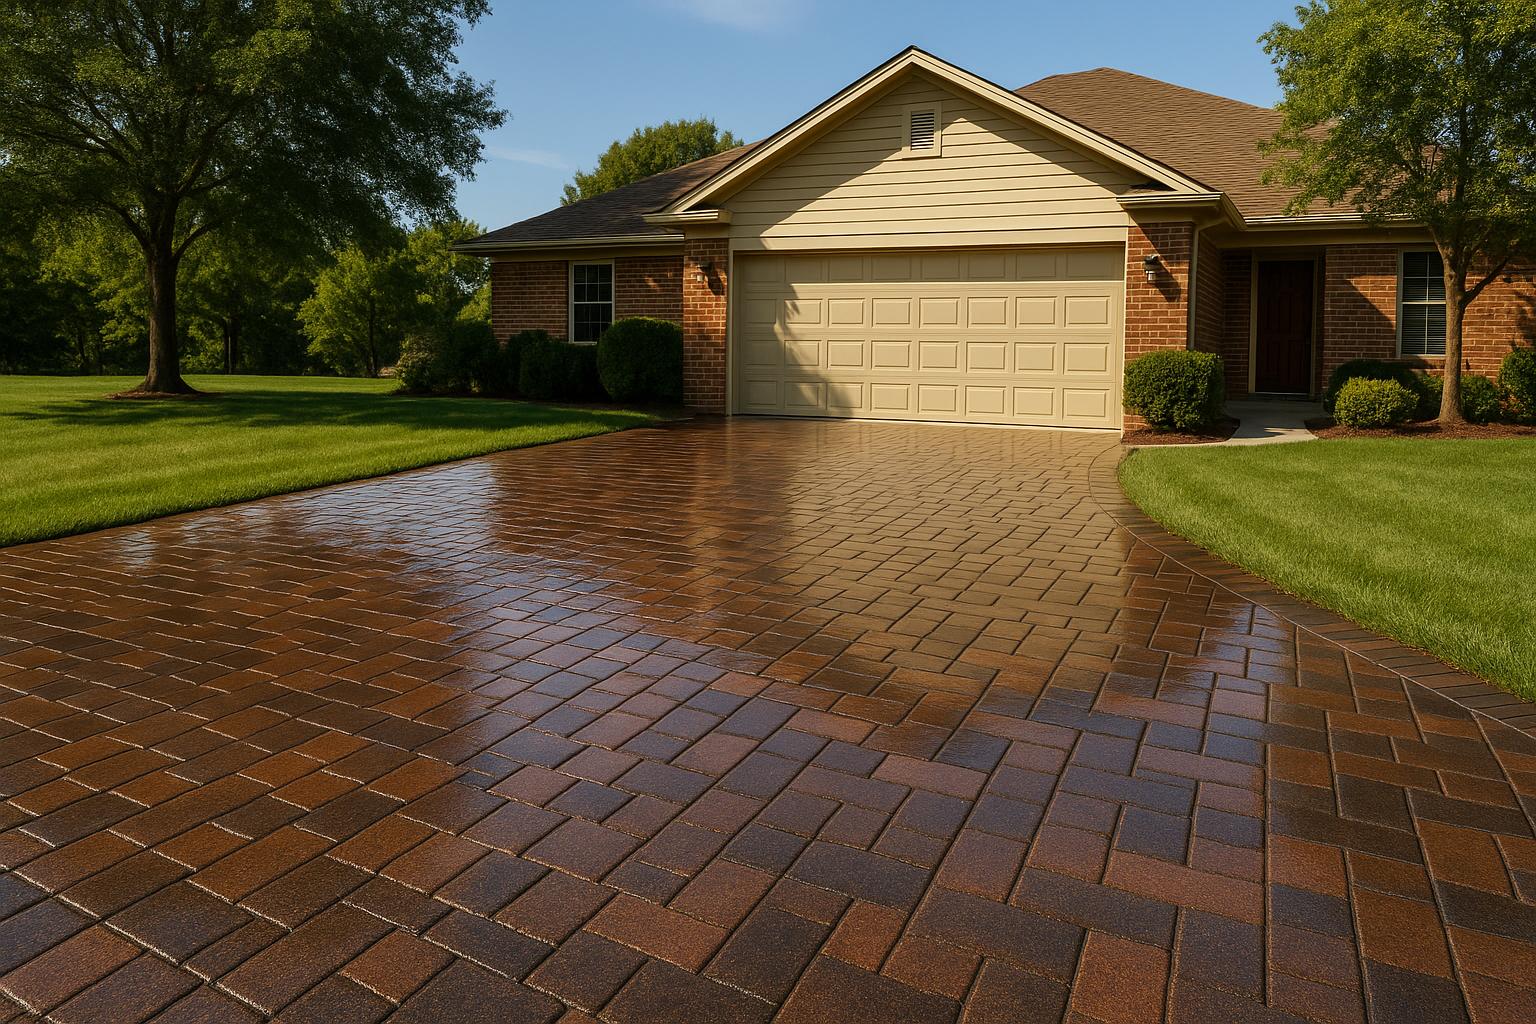
Sealing your paver driveway protects it from stains, weather damage, and wear, while also maintaining its color and extending its lifespan. Here’s the process in a nutshell:
- Clean thoroughly: Remove debris, pressure wash, and treat stains.
- Inspect and repair: Fix cracks, shifted pavers, and refill joint sand.
- Choose the right sealer: Water-based for a natural look, solvent-based for durability.
- Apply sealer: Use a roller or sprayer for even coverage, working in thin coats.
- Allow proper drying: Ensure the surface is fully dry before and after sealing.
Maryland’s climate, with its freeze-thaw cycles and humidity, makes sealing especially important. Follow these steps for a driveway that stays protected and looks great for years.
How to Clean and Seal Pavers | COMPLETE GUIDE
Preparation for Sealing
Getting your driveway ready for sealing is key to making the seal last anywhere from 3 to 5 years. The surface must be spotless, structurally intact, and completely dry before applying any sealer. Each step in the preparation process plays a role in ensuring the sealer performs as expected.
Thorough Cleaning of the Driveway
Start by clearing away all loose debris using a leaf blower or a stiff broom. Pay close attention to the joints between the pavers since dirt, leaves, and other organic material often collect there. Skipping this step can compromise how well the sealer adheres.
For a deeper clean, use a pressure washer with 2,500–3,000 PSI. Keep the nozzle 12 to 18 inches away from the surface and work in overlapping passes. This pressure helps remove embedded dirt, algae, and light stains that regular cleaning can’t handle, but be careful not to wash out the sand between the pavers.
Address oil stains and tire marks with a degreasing solution made for concrete and pavers. Let the solution sit for 10–15 minutes, then scrub with a stiff brush and rinse with the pressure washer. You may need to repeat this process for tougher stains.
In areas prone to moss and algae – common in Maryland’s humid climate – use a mix of one part bleach to ten parts water or a commercial algae remover. Apply the solution, let it sit for about 15 minutes, then scrub and rinse thoroughly. Be sure to wear protective gear when handling cleaning chemicals.
After cleaning, check for any lingering stains or discoloration. Efflorescence, which looks like white, chalky deposits, must be completely removed before sealing. Use a specialized efflorescence cleaner and follow the product instructions carefully.
Finally, inspect the driveway for damage once the cleaning is done.
Inspecting and Repairing Pavers
Walk the entire driveway to identify any shifted, cracked, or sunken pavers. These issues need to be addressed before sealing to prevent further damage.
Shifted pavers, often found along driveway edges, are typically caused by the pressure of vehicle tires. Remove the affected pavers, add base material if necessary, and reinstall them so they’re level with the surrounding area. Use a rubber mallet and a piece of wood to avoid chipping the pavers during reinstallation.
Next, check the joint sand levels. The sand should sit about 1/8 inch below the surface of the pavers. If the sand has washed away or settled, add fresh polymeric sand. While regular masonry sand can work, polymeric sand hardens when it gets wet, offering better resistance to weeds.
To apply the sand, sweep it into the joints using a push broom, working diagonally across the pavers to ensure the joints are filled evenly. Be sure to remove any excess sand from the paver surfaces, as leftover sand can bond with the sealer and create a hazy finish.
Once the sand is in place, use a plate compactor to settle everything. Make two passes: one to compact the base and secure the pavers, and another to ensure everything is tight and level.
After completing repairs and adjusting the sand, the final focus should be on drying and weather conditions.
Drying and Weather Considerations
Proper drying is crucial. Even a little moisture can prevent the sealer from penetrating correctly, leading to discoloration or poor adhesion. Allow the pavers to dry for at least 24 hours in temperatures between 50°F and 85°F. On humid days, extend drying time to 36–48 hours. Make sure to schedule sealing during calm, rain-free weather for at least 48 hours.
Before sealing, check that the pavers feel completely dry to the touch. Any cool spots could indicate trapped moisture.
To ensure everything is ready, test a small, out-of-the-way section first. Apply sealer to a 2-foot by 2-foot area and observe how it absorbs and dries. This quick test helps confirm that your driveway is fully prepped and ready for sealing.
Choosing and Applying the Sealer
Picking the right sealer and applying it correctly can mean the difference between a driveway that looks polished for years and one that needs a redo in just a few months. The key is to choose a sealer and method that match your driveway’s needs, your aesthetic goals, and the Maryland climate.
Types of Sealers: Water-Based vs. Solvent-Based
Knowing the differences between water-based and solvent-based sealers helps you make an informed decision. Each type has its own advantages, depending on your priorities and the conditions of your driveway.
| Feature | Water-Based Sealers | Solvent-Based Sealers |
|---|---|---|
| Appearance | Natural, matte finish that keeps the original paver color | Richer color with a wet look and slight gloss |
| Durability | Lasts 2-3 years | Lasts 3-5 years |
| Drying Time | 2-4 hours between coats, 24 hours to fully cure | 4-6 hours between coats, 48-72 hours to fully cure |
| Temperature Range | Best applied between 50°F-90°F | Best applied between 50°F-85°F |
| Cleanup | Soap and water | Mineral spirits or xylene |
| Cost | $0.15-$0.25 per sq ft | $0.25-$0.40 per sq ft |
| Environmental Impact | Low VOCs, more eco-friendly | Higher VOCs, requires good ventilation |
Water-based sealers are a great option if you want to preserve the natural look of your pavers while adding basic protection against stains and weather. They’re easier to apply, more forgiving of mistakes, and have a lower odor – ideal for residential areas.
Solvent-based sealers, on the other hand, offer better protection and enhance the color of your pavers, giving them a refreshed appearance. They penetrate deeper into the surface, making them more resistant to oil stains and freeze-thaw cycles – important for Maryland’s unpredictable weather. However, they take longer to cure and require more careful handling.
Once you’ve chosen the right sealer, the next step is selecting the best application method.
Application Methods: Roller vs. Sprayer
How you apply the sealer can affect the final look and the time it takes to complete the job. Both rollers and sprayers have their strengths, depending on your driveway’s surface and your experience.
Roller application offers precise control over how the sealer spreads, making it ideal for textured pavers or surfaces with uneven absorption. Use a 3/8-inch nap roller for smooth pavers and a 1/2-inch nap roller for textured ones. This method is especially useful for driveways under 500 square feet or areas with delicate landscaping, as it avoids overspray.
Sprayer application is faster and ensures even coverage, especially for larger driveways. A pump-up garden sprayer works for most residential projects, while airless paint sprayers are better for bigger jobs. Use a 515 or 517 spray tip for water-based sealers and a 411 or 413 tip for solvent-based ones. While spraying speeds up the process, it requires extra prep to protect surrounding areas. Always back-roll after spraying to eliminate streaks and ensure even distribution.
Once you’ve chosen your application method, it’s time to get to work.
Step-by-Step Sealer Application
Follow these steps to apply your sealer effectively and achieve a professional finish:
- Prepare the area: Protect nearby surfaces with plastic sheeting and tape. Cover plants, siding, garage doors, and any decorative elements within 10 feet of the driveway.
- Mix the sealer thoroughly: Sealers can separate during storage, so mix them well with a paint paddle for at least 2-3 minutes, making sure to scrape the sides and bottom of the container.
- Start at the farthest point: Begin at the end of the driveway to avoid stepping on freshly applied sealer. Work in sections of 200-300 square feet, keeping a wet edge to prevent lap marks.
- Apply thin, even coats: Focus on penetration for the first coat rather than full coverage. The sealer should absorb within 5–10 minutes. If puddles form, redistribute the excess with a roller or brush.
- Check the weather: Make sure you have at least 48 hours of calm, dry conditions for the sealer to cure properly.
- Apply a second coat: For water-based sealers, wait 2-4 hours before applying the second coat. For solvent-based sealers, wait 4-6 hours. Concentrate on high-traffic areas like garage approaches and turning zones, but avoid overdoing it to prevent a shiny, unnatural finish.
- Clean up and remove tape: Remove the tape and plastic sheeting while the sealer is still slightly tacky to avoid peeling. Clean your tools with water for water-based sealers or mineral spirits for solvent-based ones.
sbb-itb-843f8be
Drying, Curing, and Maintenance
Getting the drying and curing process right is key to avoiding uneven finishes. Skipping or rushing this step could mean starting all over again.
Drying and Curing Times
Drying happens when the surface feels dry to the touch and can handle light foot traffic. This usually takes about 2 to 6 hours, depending on the weather[2]. Curing, however, is a longer chemical process where the sealer develops its full strength and protective qualities.
For water-based sealers, light foot traffic is typically safe after 24–48 hours, but waiting at least 48 hours before driving on the surface is ideal[3]. Solvent-based sealers, on the other hand, may need up to 72 hours or more to dry, with full curing sometimes taking up to a week[2][3].
Maryland’s weather can play a big role in these timelines. High humidity can stretch out drying times, and temperatures below 50°F can slow down curing[2]. During this period, keep the area clear of traffic and debris to avoid moisture interfering with the sealer’s adhesion.
Not sure if your pavers are ready for sealing? Try the plastic sheet test: tape a 12×12-inch piece of plastic to the surface and leave it for two hours. If there’s no condensation underneath, your pavers are good to go[1].
Once the curing process is complete, taking proper care of the surface will ensure it stays in great shape for years to come.
Post-Sealing Care
The first few weeks after sealing are crucial for maintaining the surface’s durability. During this time, avoid using harsh chemicals or pressure washers. For spot cleaning, use mild dish soap, warm water, and a soft brush.
To keep your sealed driveway looking great, make regular maintenance a habit. Sweep away debris weekly to prevent moisture buildup, which can compromise the sealer. Watch for signs of wear, like reduced water beading, faded color, or increased staining – these could mean it’s time for professional upkeep.
Pro Landscapes MD offers expert paver driveway maintenance across central Maryland, helping homeowners protect their investment and keep their driveways in top condition.
Common Mistakes and Troubleshooting
Sealing projects can sometimes hit a few bumps along the way. Knowing what can go wrong – and how to fix it – can save you a lot of time, money, and headache. With proper preparation and careful application, you can avoid these common issues and ensure a polished, durable finish.
Frequent Mistakes
- Sealing damp pavers: Moisture trapped under the sealer can create a milky haze that’s tough to remove. Always test for dryness before starting.
- Uneven application: Skipping spots or leaving visible lines can ruin the look. Work in small sections and keep a wet edge to maintain even coverage.
- Ignoring repairs: Make sure any damaged pavers are fixed before sealing to avoid future problems.
- Poor weather conditions: Applying sealer when the weather isn’t ideal can affect curing. Check the forecast for the next 48 hours and follow the manufacturer’s weather guidelines.
- Over-applying sealer: Using too much product creates a thick, unnatural film that can peel or bubble. Stick to the recommended coverage – typically 150 to 250 square feet per gallon.
Troubleshooting Issues
- White haze or cloudiness: This usually means moisture was present during application. For minor cases, buff the surface with a clean, dry cloth while the sealer is still tacky. Severe haze might require stripping the sealer with a chemical remover and starting fresh.
- Peeling or flaking: This often stems from poor surface prep or using incompatible products. Strip the peeling sealer, properly prepare the surface, and reapply.
- Streaks or uneven coverage: Blend streaks or lap marks by applying a light, additional coat rather than overloading the surface.
- Bubbling or blistering: Air or moisture trapped under the sealer can cause bubbles. Small ones may disappear as the sealer cures, but larger ones might need attention. Follow the product’s instructions for addressing this issue.
These tips can help you achieve a flawless finish, but if problems persist, it might be time to bring in the pros.
When to Call Professionals
- Large projects: For driveways over 1,000 square feet, professional crews with commercial-grade equipment can ensure even coverage and quicker results.
- Persistent moisture issues: If your pavers stay damp despite good weather, there could be underlying drainage problems that need to be addressed before resealing.
- Repeated DIY failures: If stripping and resealing don’t solve the problem, issues like product incompatibility or surface contamination may require expert evaluation.
- Time constraints: Professionals can often complete the job in a single day, while DIY efforts might stretch over a weekend or longer.
Pro Landscapes MD specializes in handling complex paver sealing projects across central Maryland. With the right tools, experience, and knowledge of local weather and soil conditions, they can help you avoid common mistakes and deliver lasting results – giving you peace of mind and a professional finish.
Conclusion
Sealing your pavers properly offers long-term protection and enhances their appearance. Achieving this success depends on thorough preparation, choosing the right sealer, and applying it correctly. Cleaning the surface well and allowing adequate drying time are critical steps to ensure a seal that lasts between 3 to 5 years.
Key Takeaways
The process of paver sealing hinges on careful preparation and patience. Start by cleaning the surface thoroughly with a pressure washer set to an appropriate level to avoid damage, and address any necessary repairs before applying the sealer.
When it comes to selecting a sealer, Maryland’s climate plays a big role. Water-based sealers are a great choice for humid summers, offering a natural finish, while solvent-based sealers excel in durability, especially during the freeze-thaw cycles of Maryland’s winters. Apply the sealer in thin, even coats, using a roller for textured surfaces or a sprayer for smoother ones, and always follow the manufacturer’s guidelines for coverage.
Post-sealing care is just as important. Keep foot traffic off the newly sealed surface for 4 to 6 hours and avoid driving on it for 24 to 48 hours. Routine maintenance, including gentle cleaning and resealing every 3 to 5 years, will help your driveway stay protected and looking great despite Maryland’s unpredictable weather.
If you’re unsure about tackling this project on your own, professional assistance is always an option.
Expert Help in Maryland
While sealing pavers yourself can be satisfying, larger projects often benefit from professional expertise. Pro Landscapes MD specializes in handling the unique challenges posed by Maryland’s climate. With extensive experience in paver driveway installation and maintenance, they know how the region’s humid summers and harsh winters affect sealing outcomes.
Professionals bring efficiency and precision, especially for large driveways or when dealing with moisture and drainage issues that could compromise the seal. Pro Landscapes MD offers more than just sealing – they handle paver repairs, drainage solutions, and full driveway installations. Their tailored approach ensures your driveway remains durable and visually appealing for years to come.
For homeowners in central Maryland, having a team with local expertise means better material choices and application methods suited to the area’s specific weather conditions. This kind of knowledge makes all the difference when it comes to preserving your investment.
FAQs
What’s the difference between water-based and solvent-based sealers, and how do I pick the right one for my paver driveway?
Water-based sealers are a popular choice for their quick-drying nature and ease of application. They also tend to have a low-gloss finish, which works well for DIY projects or for those who value environmentally conscious options.
On the flip side, solvent-based sealers dive deeper into the surface, providing stronger resistance to chemicals and stains. They also deliver a high-gloss, long-lasting finish, making them a solid pick for driveways that face tougher conditions or for anyone who prefers a shiny, polished look.
When deciding between the two, think about what matters most to you: Do you want something that’s simple and safer to use? Go for water-based sealers. Need something tougher with a glossy finish? Solvent-based sealers might be the way to go. Consider factors like ease of application, environmental impact, desired finish, and the level of protection your driveway requires.
How can I make sure my paver driveway is fully dry before sealing it, especially in Maryland’s humid weather?
Before sealing your paver driveway, make sure it’s fully dry by waiting 24 to 48 hours after cleaning or any rainfall. Steer clear of sealing during times of high humidity or if rain is predicted within the next 24 hours. For optimal results, pick a clear, dry day with low humidity – this ensures the surface dries completely and the sealer adheres properly.
What are the most common mistakes to avoid when sealing paver driveways, and how can I fix issues like white haze or peeling?
One common misstep when sealing paver driveways is applying the sealer in damp or humid conditions. This often results in a white haze or cloudy finish. Another frequent problem is choosing the wrong type of sealer, which can lead to poor adhesion or even discoloration. To avoid these issues, always start with a clean, dry surface that’s free of debris. This ensures proper adhesion and prevents peeling or uneven coverage.
If you notice a white haze, it’s usually caused by moisture trapped beneath the sealer. In some cases, this can be resolved by cleaning the surface with a solvent like Xylene. However, for more severe issues, you might need to strip the existing sealer using a chemical stripper and then reapply it under the right conditions. To avoid peeling, ensure the pavers are completely dry and adequately prepped before sealing. Taking these precautions will help you achieve a smooth, durable finish that lasts.
Chat with Us