


- bhavya gada
- No Comments
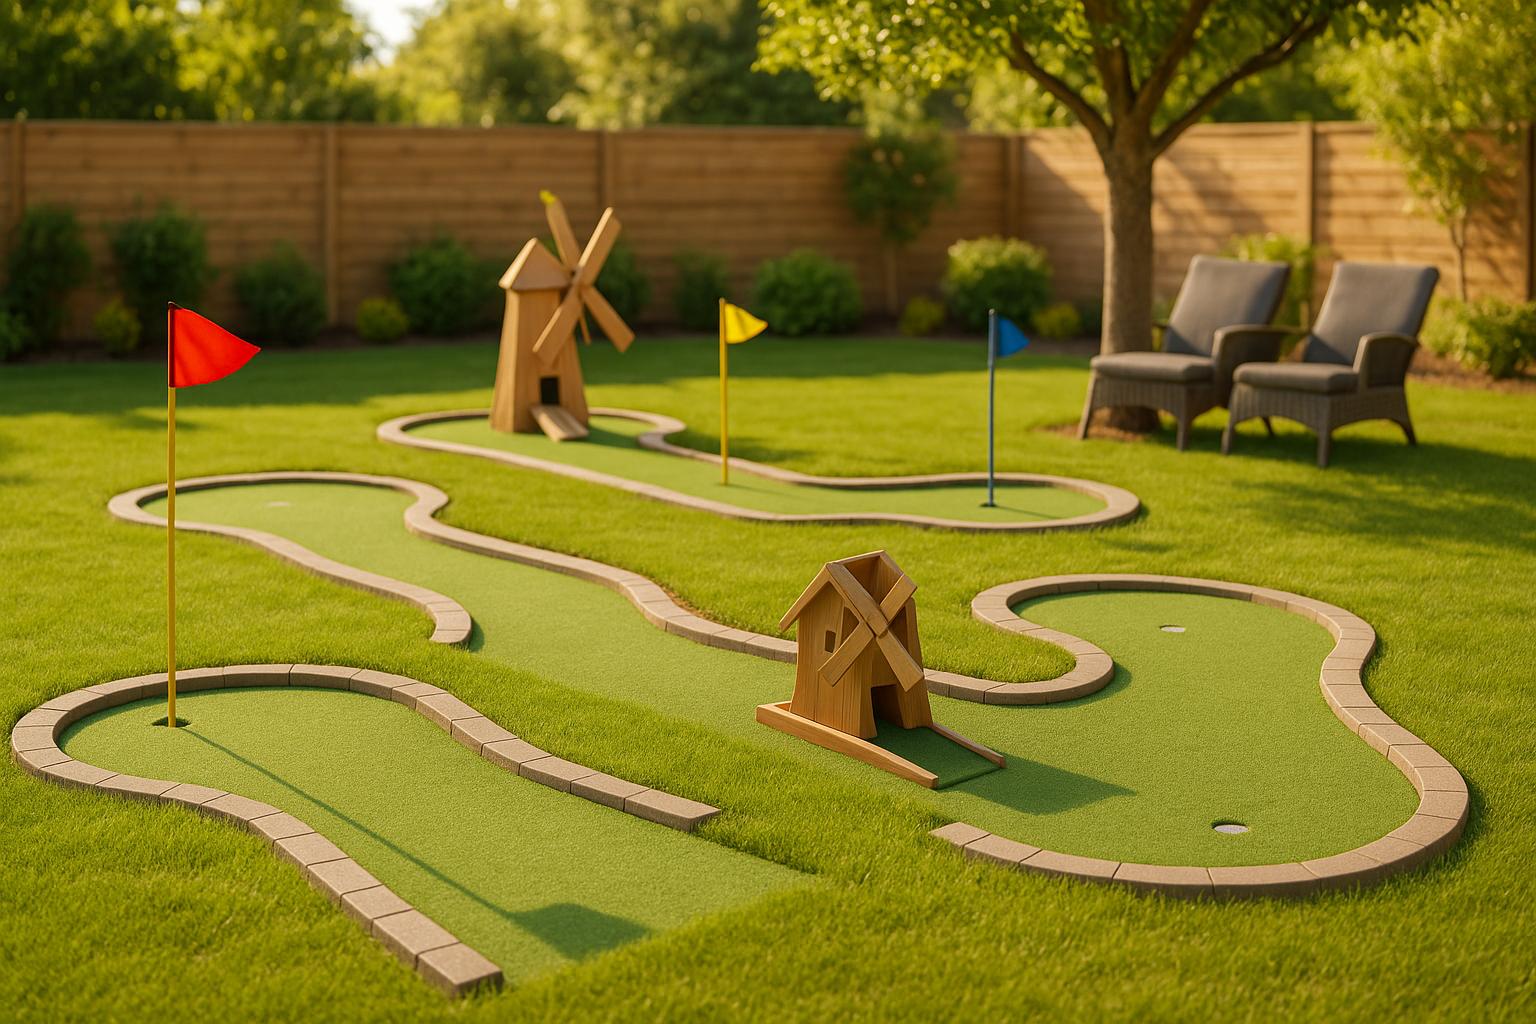
Transforming your backyard into a mini-golf course is easier than you think. It’s a fun, family-friendly project that adds charm to your space while offering endless entertainment. Here’s what you need to know:
- Plan Your Space: Measure your yard, consider natural features like slopes or trees, and sketch out hole layouts.
- Set a Budget: DIY setups can cost a few hundred dollars, while professional designs may run into thousands. Allocate funds for materials, tools, and optional services.
- Choose Materials: Options for surfaces include artificial turf (low maintenance), green felt (affordable), or natural grass (high upkeep). Use wood, stone, or MDF for the base.
- Add Obstacles: Incorporate ramps, tunnels, and decorations using items like PVC pipes, pool noodles, or themed props.
- Check Rules: Review local HOA and zoning regulations to avoid fines or project delays.
Maintenance Tips: Test holes for smooth gameplay, inspect for wear regularly, and address drainage issues promptly. For complex designs or drainage fixes, professional help can ensure durability and a polished look.
Whether you’re keeping it simple or going all out, this guide covers everything you need to create a backyard mini-golf course that blends fun with functionality.
Planning Your Mini-Golf Course
Measuring Your Space
Start by measuring your yard in feet, noting any obstacles like trees, slopes, or garden beds that could impact your design. Use these measurements to sketch out potential hole locations, either on paper or digitally. Don’t forget to include pathways between holes and buffer zones for safety – this step lays the groundwork for your layout.
"Our leveling and grading services create a smooth, usable surface for construction projects or improved drainage." – Pro Landscapes MD [1]
Existing features like slopes can actually work to your advantage. You can use natural hills to create tricky putting angles or incorporate trees as built-in obstacles or shaded spots. Not only does this add character to your course, but it can also help you save on construction costs.
Picking a Theme
Choosing a theme can elevate your mini-golf course from a backyard setup to a full-on experience. Popular options include jungle adventures, pirate ships, space exploration, or even Maryland-inspired landscapes that reflect local gems like the Chesapeake Bay.
When selecting a theme, aim for one that complements your yard’s natural features instead of clashing with them.
Creating a Budget
When planning your budget, break it into three main areas: materials, tools, and optional professional services. Materials might include turf, wood, stone, cups, and golf balls, while tools could range from saws and drills to measuring equipment. It’s smart to set aside an extra 10–20% as a cushion for unexpected costs.
DIY projects can cost anywhere from a few hundred dollars to several thousand, depending on the quality of materials and complexity of the design.
If you’re considering professional help, Pro Landscapes MD offers services like landscape design, hardscaping with premium materials (such as Techo-Bloc and Allen Block), and drainage solutions like French drains or regrading. These services can ensure your course blends seamlessly with your yard and stands the test of time.
Think about your skill level, time availability, and the kind of course you want. A simple DIY layout might be perfect for beginners, but more intricate designs with features like water elements or custom stonework could benefit from professional expertise.
Reviewing Local Rules
Before breaking ground, check with your homeowners association (HOA) to understand any rules about landscaping changes, permanent structures, or outdoor modifications. Some HOAs have specific guidelines about materials, colors, or the size of backyard projects.
Additionally, consult your local municipality regarding zoning laws, setback requirements, and rules about impervious surfaces. Depending on your course’s complexity, you might need permits before starting construction.
Make sure to document everything in writing to avoid potential fines or having to undo unapproved work later. Proper planning ensures that your mini-golf course can be enjoyed stress-free and without legal headaches. Once these steps are complete, you’ll be ready to gather materials and start building.
How to Build a Miniature Golf Course | This Old House

Materials and Tools Needed
Using quality materials and tools can make building your backyard mini-golf course much easier and more efficient. While your exact shopping list will depend on how complex your design is, there are some basic materials and tools that are essential for any successful project.
Base Materials
The base of your mini-golf course is the foundation for its durability and playability. Many DIY enthusiasts prefer MDF panels (48-inch square, costing about $30–$50 each) for their sturdiness. If you’re looking for a more budget-friendly option, oriented strand board (OSB) panels also provide a stable surface.
For a more permanent setup, flagstone is a great choice. Large, continuous sections of flagstone create smooth transitions between holes and require less maintenance over time. Alternatively, compacted earth can be an economical option, especially if you want to incorporate natural terrain into your design. Existing slopes and features in your yard can add a unique touch to the layout. To build elevated sections, ramps, or transitions, you can use wooden boards or additional MDF panels.
Keep your local climate in mind when selecting materials. Wood products need protection from moisture, while stone-based materials work best with proper drainage systems.
Once your base is ready, you’ll need to decide on the best putting surface for your course.
Surface Options
The surface of your course plays a huge role in the quality of gameplay and the maintenance required. Your choice will likely depend on your budget, the look you’re going for, and how much upkeep you’re willing to handle.
| Surface Option | Cost per Sq Ft | Pros | Cons |
|---|---|---|---|
| Artificial Turf | $2–$5 | Consistent ball roll, weather-resistant, low maintenance | Higher upfront cost; may need professional installation |
| Green Felt/Carpet | $1–$3 | Easy DIY installation, affordable, smooth surface | Less durable outdoors; may fade or wear out quickly |
| Natural Grass | $0.50–$1 | Authentic look, eco-friendly, lowest initial cost | Needs regular watering, mowing, and reseeding; can become uneven |
Artificial turf is a popular choice for its polished look and minimal upkeep, providing consistent ball speed and direction. Green felt or outdoor carpet is a good option for temporary or covered setups, though it may not hold up well in harsh weather. Natural grass, while offering an authentic feel, requires a lot of maintenance to keep it playable.
Once you’ve chosen your surface, it’s time to gather the tools you’ll need to bring your course to life.
Tools and Accessories
Having the right tools will make your project easier and help give it a professional finish. Here are some must-haves:
- Drill/driver with hole saw attachments for creating cup holes and securing materials.
- Hacksaw and miter box for precise cuts on wood and PVC.
- Measuring tools like a tape measure, framing square, and level to ensure dimensions and slopes are accurate.
- Adhesives, such as wood glue, spray adhesive, and fast-setting glue (like Gorilla Glue), along with spring clamps to hold pieces in place while they set.
For boundaries, you can use composite deck balusters (around $3–$7 each) for consistent ball rebounds, or hardwood fence posts for durability and a satisfying bounce.
When it comes to obstacles and decorations, let your creativity shine. For example:
- Pool noodles secured with bamboo skewers can make flexible arches or bumpers.
- PVC pipes are great for tunnels and curved boundaries.
- Repurpose household items like cardboard boxes or milk jugs to create unique challenges.
To complete your course, install plastic cups flush with the surface for holes and use spray paint to customize golf balls for each player. Putters are easy to find at most local retailers.
Don’t forget landscaping supplies to add finishing touches. Use sand for hazards, decorative stones for accents, and garden stakes to mark boundaries and fairways. If your course includes water features or needs better drainage, materials like gravel or drainage pipes will come in handy. Protect wooden elements with weather-resistant sealants, and use spray paint to match your course’s theme.
For a more polished and durable finish, consider professional-grade materials. Companies like Pro Landscapes MD use high-quality options such as Techo-Bloc, Allen Block, and El Dorado Stone to create stunning hardscaping projects. These premium materials can elevate your backyard mini-golf course into a standout feature of your outdoor space.
Building Your Mini-Golf Course
With your materials ready, it’s time to dive into construction. Follow these steps to ensure your mini-golf course is both durable and fun to play.
Site Preparation
Every great mini-golf course starts with a well-prepared site. Begin by clearing the area of any debris – rake away small particles and remove larger items like rocks or roots. Proper leveling is key for smooth gameplay, so inspect the ground carefully for high and low spots. Fill in low areas with soil and compact raised sections to create an even surface.
Drainage is another critical factor. Poor drainage can lead to water pooling, which can damage your course over time. If your site has major drainage issues or uneven terrain, professional grading services might be worth considering. Companies like Pro Landscapes MD offer solutions for grading, leveling, and drainage to help create a solid foundation.
Once cleared and leveled, use a level tool to double-check the evenness of each planned hole area. This step is especially important if you’re using rigid materials like MDF panels or flagstone, as uneven ground can cause gaps or instability. With a smooth and drainable site, you’re ready to move on to building the course base.
Course Base Construction
Now that your site is prepped, it’s time to install the base materials for each hole. Work on one hole at a time to ensure proper spacing and to test how the course flows.
If you’re using flagstone, lay each piece according to your design, leaving space for features like sand traps if desired. The natural look of flagstone adds character, but make sure each piece is securely positioned on the ground. For MDF panels, carefully align each section and confirm that it’s level before securing it.
Boundaries are essential for keeping balls in play and giving the course a finished look. Materials like wood planks, bricks, or repurposed fence posts work well for this. Secure them along the edges of each hole with screws or stakes. Edging, such as treated lumber or bricks, further defines the course and creates clean transitions between playing areas. For a more polished result, premium materials like Techo-Bloc or El Dorado Stone can be used to enhance both durability and appearance.
Smooth transitions between holes are important for consistent gameplay. Avoid sharp elevation changes that could cause the ball to jump or roll unpredictably. If elevation changes are part of your design, use gradual ramps made from MDF or wood planks to keep the flow natural.
With the base complete, it’s time to add obstacles and decorations to bring your course to life.
Installing Obstacles and Decorations
This is where the fun begins – adding obstacles and decorations to make your course unique. Start with structural obstacles like ramps and tunnels. Ramps can be crafted from plywood or boards and should be secured firmly to prevent movement. For tunnels, PVC pipes are a great option and can be partially buried for stability.
Flexible materials like pool noodles can be shaped into arches or bumpers, adding a playful challenge without making the course overly difficult. Everyday items like cardboard boxes or milk jugs can also be transformed into creative obstacles – just make sure they’re weighted down or secured to avoid shifting during play.
Themed decorations tie the course together and make it visually appealing. Painted rocks can create anything from pirate treasures to jungle vibes, while custom signs add personality to each hole. For outdoor use, choose weather-resistant materials or plan to store delicate items during bad weather.
Landscaping elements can elevate the overall look of your course. Strategically placed shrubs can act as natural boundaries, while mulch around planted areas reduces maintenance and defines spaces. You can even use stone veneer to turn simple wooden obstacles into eye-catching features.
If you want to go the extra mile, consider adding water features. Shallow bowls sunk into the ground can serve as water hazards – just ensure proper drainage to prevent muddy conditions. For more elaborate features like fountains or ponds, professional installation can ensure they function properly and integrate seamlessly with your course.
Finally, test your course! Roll a few balls to check for fair gameplay. Secure all obstacles to prevent tipping, and ensure ramps, tunnels, and decorations have no sharp edges. Adjust as needed to strike the perfect balance between fun and challenge.
sbb-itb-843f8be
Finishing and Maintenance
Your mini-golf course is complete, but the job doesn’t end there. Regular testing and consistent upkeep are essential to keep your course safe, enjoyable, and in top condition for years.
Testing the Course
Before opening the course, test every hole to ensure smooth gameplay. Play through each one multiple times, experimenting with different skill levels to uncover potential issues. Pay attention to how the ball rolls – does it glide smoothly across the flagstone or artificial turf? Make sure it doesn’t get stuck or veer off unpredictably.
Test ramp angles and boundary performance by rolling balls from various positions. Ramps should provide enough speed without sending balls flying off the course, while boundaries should allow fair bounces without creating dead zones. If adjustments are needed, you can tweak ramp angles by adding or removing support material.
Ensure that balls reach the cup with moderate effort and that the cup is securely positioned. If necessary, reposition obstacles, smooth uneven surfaces, or adjust boundaries to improve gameplay. Once everything feels right, double-check that all features meet safety standards.
Safety Checks
Safety should be a top priority for all players. Start by inspecting wooden walls and boundaries for splinters or sharp edges – sand them down as needed to prevent injuries.
Obstacles like rocks, logs, or other structures must be firmly secured to avoid tipping over during play. Ramps should also be stable enough to hold weight without shifting or collapsing if someone accidentally steps on them.
Pay close attention to cup placement, ensuring it’s flush with the ground to prevent tripping hazards. Check all materials for cracks or sharp edges, and replace any components that have been weakened by exposure to UV rays or weather.
If you’ve used bamboo skewers to secure pool noodles, make sure the ends are cut level with the ground or covered to eliminate puncture risks. Similarly, boundaries made from extension cords or garden hoses should be positioned carefully to avoid creating tripping hazards.
Using weather-resistant materials can extend the life of your course. Protective sealants on wooden features and swapping temporary materials for more durable ones can help your course withstand rain, sun, and other elements.
Maintenance Schedule
Once your course is safe and functional, establish a regular maintenance routine. For natural grass courses, weekly mowing during the growing season ensures smooth putting surfaces. Overgrown grass can slow ball movement and create unpredictable bounces.
If you’re using artificial turf, sweep or brush it weekly to clear away debris, dirt, and leaves. A stiff brush works well to restore the turf’s texture and keep it looking fresh.
Conduct a monthly inspection to check for shifting surfaces, worn boundaries, or damage. Address any issues immediately. Sand traps will need raking after heavy use, and fresh sand should be added quarterly or as needed, depending on weather conditions.
Pool noodle obstacles typically last one to two seasons before showing signs of wear or sun damage. Replace them as needed. Check the cups each month to ensure they remain level and secure in the ground.
After storms or extreme weather, inspect the course right away. Look for displaced obstacles, water pooling, or structural damage that could impact safety or playability. Prompt repairs can prevent minor issues from turning into major problems.
For more complex repairs or upgrades, such as improving drainage or landscaping around the course, professional services can be a big help. Companies like Pro Landscapes MD (https://prolandscapesmd.com) specialize in grading, drainage installation, and hardscaping, which can enhance both the functionality and look of your mini-golf course.
Finally, keep a maintenance log to track repairs, replacements, and recurring issues. This record will help you spot patterns, plan future upgrades, and manage your maintenance budget effectively.
When to Hire Professionals
Building a DIY mini-golf course can be a gratifying project, but certain aspects require professional expertise to ensure everything is safe, durable, and seamlessly integrated into your outdoor space. Bringing in professionals at key stages can make a big difference in the quality and longevity of your course.
Advanced Designs and Hardscaping
Some mini-golf features go beyond the scope of most DIY projects. If you’re envisioning multi-level holes, custom stonework, or water features, professional hardscaping services are essential to make your ideas both safe and visually appealing.
Pro Landscapes MD specializes in creating durable hardscaping elements that can elevate your mini-golf course. From flagstone walkways to custom retaining walls, their designs improve not just the functionality of your course but also its overall aesthetic. These elements enhance gameplay while blending beautifully with your outdoor space.
"Hardscaping integrates stonework and other hard materials into your landscape, including patios, retaining walls, and more." – Pro Landscapes MD
Professionals ensure that stone obstacles and decorative walls are installed securely for years of use. With premium materials like Techo-Bloc and Allen Block, they deliver results that can withstand tough weather and heavy activity, protecting your investment over time.
For more intricate designs, such as natural stone steps between levels or decorative stone veneers on obstacles, expert installation is key. Professionals handle critical aspects like foundation work, drainage, and structural integrity – details that are often overlooked in DIY projects.
And speaking of drainage, that’s another area where professional expertise is crucial.
Drainage Problems
One of the most common pitfalls in mini-golf projects is poor drainage. Issues like standing water, erosion, or soggy surfaces can quickly ruin your hard work.
Professionals can implement effective drainage solutions, such as French drains or regrading, to prevent water from pooling and causing damage. Pro Landscapes MD offers comprehensive systems to keep your course dry and playable year-round.
"Proper drainage is essential to maintaining the health and stability of your landscape. We offer a range of drainage solutions to prevent water damage, flooding, and erosion." – Pro Landscapes MD
Regrading services are especially important for correcting slope and water flow issues. By reshaping the land, professionals ensure water is directed away from your course, protecting putting surfaces and obstacles from damage.
"Regrading reshapes the land to improve water flow, prevent pooling, and protect your foundation." – Pro Landscapes MD
Their expertise in land leveling and yard repair also comes in handy for uneven terrain or areas damaged by water. A stable, well-drained foundation is critical for the long-term success of your mini-golf course.
Once drainage is under control, professional landscaping can further enhance your course’s overall appeal.
Landscaping Improvements
Hiring professionals for landscaping can transform your mini-golf course into a standout feature of your property, adding both beauty and value.
Expert plant selection and garden design can create natural obstacles and cohesive themes. Pro Landscapes MD’s horticulturists are skilled in choosing plants that thrive in your local climate while requiring minimal upkeep.
"At Pro Landscapes MD, we specialize in creating outdoor environments that blend beauty, function, and sustainability." – Pro Landscapes MD
Strategic tree placement not only provides shade for players on hot days but also introduces interesting challenges and natural boundaries between holes. Professionals consider factors like tree size, root systems, and seasonal changes to ensure your course remains functional and attractive over time.
For putting surfaces, lawn care expertise is invaluable. Professionals handle fertilization, pest control, and maintenance to keep grass healthy and smooth, removing the trial and error of DIY lawn management.
Additionally, professional landscaping ensures your mini-golf course integrates seamlessly with existing outdoor features like patios, walkways, and garden beds. Rather than feeling like a separate project, it becomes part of a unified outdoor living space.
"Every property is unique, and so is every project. We provide personalized designs that fit your specific needs, preferences, and landscape." – Pro Landscapes MD
Conclusion
Transforming your backyard into a mini-golf course is a fantastic way to add personality to your outdoor space while creating a source of endless fun. The key to success lies in careful planning, thoughtful material choices, and regular upkeep.
Start by measuring your space, choosing a theme, and setting a realistic budget. These steps lay the groundwork for a smooth construction process. Using high-quality, weather-resistant materials ensures your course can withstand the elements and minimizes future repair costs. Regular maintenance is essential to keep your course safe, functional, and enjoyable for years to come.
For more intricate designs, like multi-level holes or water features, professional help can make a big difference. Pro Landscapes MD combines years of expertise in landscape design, hardscaping, and drainage solutions to bring complex ideas to life.
"At Pro Landscapes MD, we specialize in creating outdoor environments that blend beauty, function, and sustainability." – Pro Landscapes MD
Their experience with premium materials, such as Techo-Bloc and Allen Block, paired with their full range of services – from design to maintenance – ensures a polished and enduring result.
FAQs
What are some fun and creative obstacles I can add to my backyard mini-golf course?
Adding some creative obstacles can transform your backyard mini-golf course into a fun and memorable experience for everyone. Think about including loop-the-loops, ramps, or tunnels crafted from materials like PVC pipes or wood. Everyday items can also double as quirky challenges – try flower pots, garden gnomes, or even small water features to add personality and complexity to your course.
If you’re aiming for a more natural vibe, use elements like landscaping stones, plants, or wooden logs to create obstacles that blend naturally with the surroundings. Want to take it a step further? You could work with professionals to design an outdoor space that’s not only functional for mini-golf but also enhances the overall beauty of your backyard.
How can I tell if I need professional help to build my backyard mini-golf course?
Deciding whether to bring in professional help for your backyard mini-golf course largely depends on how complex your project is. If you’re imagining elaborate designs, custom landscaping, or unique construction elements, hiring experts can save you time and ensure the results meet your expectations.
For example, if your course needs proper drainage to avoid water damage or uneven surfaces, turning to professionals like Pro Landscapes MD could be a smart move. Their expertise in landscape design, construction, and hardscaping means they can tackle technical challenges while helping you create the mini-golf course you’ve envisioned.
What are the best ways to maintain a backyard mini-golf course year-round?
To keep your backyard mini-golf course looking great and functioning smoothly year-round, regular upkeep and seasonal tweaks are key. Make it a habit to inspect the course weekly for any debris, wear, or damage. Clear away leaves, dirt, and twigs to keep the playing surface clean. If you’ve got artificial turf, give it an occasional brushing to prevent it from flattening and to keep gameplay smooth. For those using natural grass, regular mowing is a must, and you’ll want to reseed or patch up any bare spots as needed.
When winter rolls around, take extra care by gently removing snow and ice to avoid damaging the surfaces. After heavy rain, check for drainage problems – standing water can lead to long-term issues if not addressed. Don’t forget to examine hardscaping features like borders, rocks, or retaining walls for any cracks or movement, and make repairs promptly to keep the course safe and looking sharp. With steady maintenance, your mini-golf course can remain both fun to play and easy on the eyes throughout the year!
Chat with Us