


- bhavya gada
- No Comments
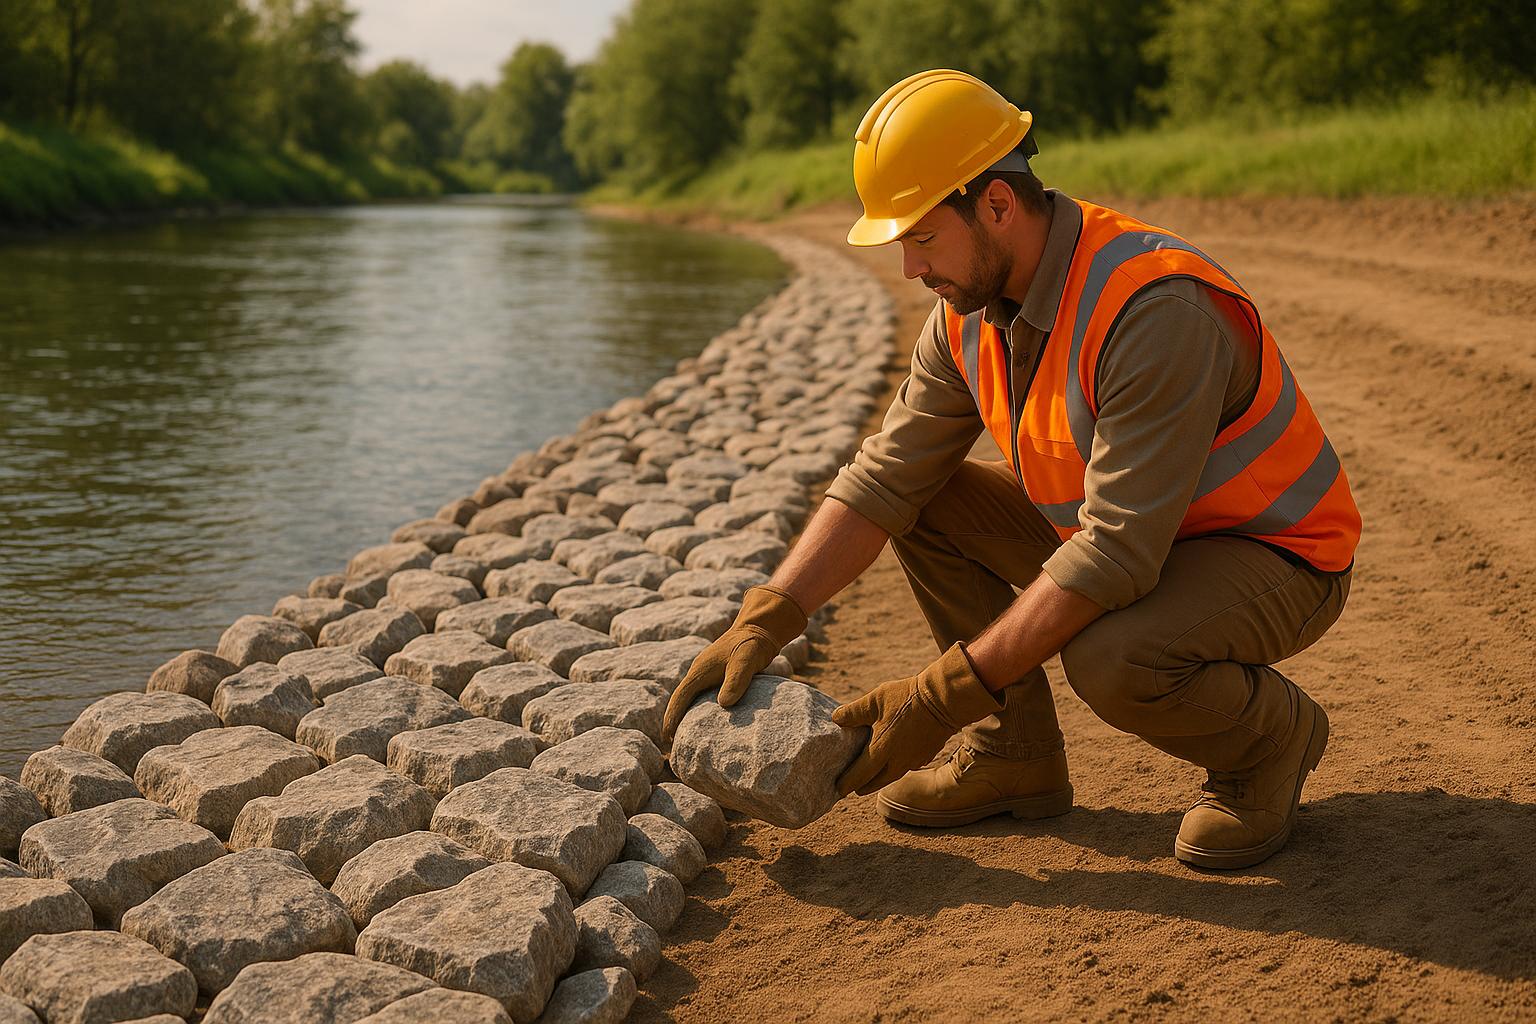
Erosion can damage your property, weaken shorelines, and disrupt drainage areas. Riprap, a layer of angular stones, is a reliable way to protect against erosion caused by water flow. This guide explains how to install riprap effectively, covering site preparation, material selection, installation steps, and maintenance tips.
Key Takeaways:
- What is Riprap? A protective layer of interlocking stones that absorbs water energy, slows erosion, and stabilizes slopes or shorelines.
- Benefits: Lasts up to 30 years, supports drainage, and creates habitats for aquatic species.
- Common Uses: Shoreline protection, streambank stabilization, and drainage control, especially in areas with poor soil conditions or heavy rainfall.
- Steps to Install:
- Inspect and prepare the site.
- Use filter fabric or gravel to prevent soil loss.
- Place angular stones, starting from the bottom.
- Ensure proper interlocking for stability.
- Maintenance: Inspect twice a year, clear debris, reposition shifted stones, and manage vegetation.
Riprap is a durable, low-maintenance solution for erosion control, but proper planning and installation are crucial. For complex projects, hiring professionals ensures long-term results.
Installing 100ft Boulder Shoreline! Lakefront Erosion Control Demonstration
Planning and Site Preparation
The success of a riprap installation often depends on thorough planning and proper site preparation. A well-executed plan can ensure your riprap lasts for decades, while poor preparation may lead to failure in just a few years. Start by understanding the erosion issues at your site and preparing the area accordingly.
Evaluating the Erosion Problem
Begin by inspecting your property to understand the slope, soil type, and how water flows across the landscape [2]. Observing your site during different weather conditions – especially after heavy rain – can reveal critical details about water movement. For instance, Maryland’s clay-heavy soils, like those in Montgomery County, behave differently than the sandy soils near the Chesapeake Bay. Knowing your soil type is essential for a successful installation.
Use a level and tape to measure the slope of your site. If the slope exceeds 15% or has a ratio steeper than 3:1 (horizontal to vertical), you may need to regrade or add extra stabilization measures [3][6].
Pay close attention to how water flows during storms – note where it collects, how quickly it moves, and which areas experience the most erosion. Documenting these patterns will help you determine the appropriate size and placement for your riprap.
Mark any sensitive areas, such as vegetation, utility lines, or property boundaries [3]. In Maryland, soils prone to erosion are often found in areas previously affected by construction or farming, so identifying these zones is crucial.
Once you have a clear understanding of water flow and soil characteristics, you can move on to preparing the site for installation.
Site Preparation
Clear the area of debris, vegetation, and loose soil. Remove any pollutants that could compromise the effectiveness of the riprap. Grade the slope to a 3:1 ratio using tools like a transit or laser level, and compact the soil firmly from the bottom upward with a plate compactor or hand tamper [6]. Proper compaction is essential to prevent future settling.
Excavate the area to the depth required for your chosen stone size and local conditions [4].
Next, install a layer of filter fabric or gravel between the soil and the riprap [2][4]. This layer prevents the stones from sinking into the soil while allowing water to pass through. In most Maryland sites, geotextile fabric is a reliable choice, but in areas with heavy clay soils, a gravel filter layer may perform better.
Before proceeding with the installation, double-check that your plans comply with local regulations.
Local Regulations and Permits
After preparing the site, ensure your project aligns with local requirements. Maryland has specific rules for riprap installations, particularly near waterways. For example, in Anne Arundel County, you’ll need a building permit to install or modify seawalls or riprap revetments along shorelines [8]. Permits can be applied for online, in person, or by mail [8].
If your project involves tidal wetland areas, the Maryland Department of the Environment offers general licenses for riprap revetments up to 500 feet long and extending no more than 10 feet channelward of the mean high water line [7]. Larger projects or those requiring environmental compensation may require individual licenses [7].
Always verify local regulations with your county government before starting any riprap work [8]. If your project is near a water body, consult the Wetlands Administrator to determine if permits are needed. Even what appears to be a simple drainage ditch could be classified as a waterway, requiring additional approvals [7]. Addressing these requirements early can save time and prevent potential delays or penalties.
Selecting Materials for Riprap
The materials you choose play a crucial role in ensuring your riprap installation stands the test of time. The right combination of stones and filter materials creates a solid foundation for effective erosion control. Understanding these options allows you to tailor your choices to your site conditions and budget. Once you’ve selected your materials, proper installation practices will bring your project to life.
Choosing the Right Stones
The stones you select must withstand Maryland’s weather and water flow. Angular stones are ideal because they interlock, creating a stable barrier that resists being displaced by water forces [9][11]. This interlocking design helps spread the impact of water evenly across the installation.
Stone size is another key factor. For moderate erosion control on gentle slopes, Class 1 riprap (6 to 12 inches in diameter) is a reliable choice [9]. On the other hand, Class 3 riprap, which includes stones 18 inches or larger, is better suited for steep slopes or areas with fast-moving water [11]. Residential projects often use stones ranging from 6 to 30 inches in size [10].
Fieldstone, also called glacier stone or river rock, is a great option for shoreline projects. Its smooth, rounded edges protect filter fabric during installation and settling. Plus, it blends naturally with Maryland’s landscapes, making it both functional and visually appealing [10].
Avoid using crushed limestone near water. Its sharp edges can damage filter fabric, and it may break down during freeze-thaw cycles. Additionally, limestone can alter water pH levels, which might harm aquatic ecosystems [10]. Instead, opt for durable materials like granite or trap rock, which are better suited for long-term use and safer for the environment.
When making your final choice, consider the specific conditions of your site. Properties near water may need larger stones to handle stronger flows, while inland drainage projects can often use smaller, more economical options.
Filter Materials
The filter layer is essential for maintaining the integrity of your riprap installation. It prevents soil from migrating while allowing water to drain, ensuring the stones stay in place over time.
Geotextile fabric is the most commonly used filter material in Maryland. This synthetic fabric allows water to flow through while keeping soil particles out. For heavier stones, choose a non-woven geotextile fabric designed to handle the load.
In areas with clay-heavy soils, such as central Maryland, sand and gravel filters can be particularly effective. A well-designed graded filter typically includes several layers, starting with fine sand near the soil and transitioning to coarser gravel beneath the stones. This layered approach improves performance in challenging soil conditions.
Finding Local Suppliers
Sourcing materials locally can help reduce transportation costs and make it easier to get additional stones if needed. Maryland has access to excellent stone options from nearby quarries, but finding the right supplier is key to a successful project.
Start by searching local directories for suppliers specializing in erosion control materials. You can also ask local contractors or engineers for recommendations.
Before placing a large order, request samples to evaluate the quality of the materials. Good riprap stones should have consistent size, minimal dust, and angular shapes for effective interlocking [12]. Reputable suppliers can also provide details about the source quarry and the stone’s specifications.
Finally, verify supplier credentials and compare quotes, including delivery fees [13]. Licensed suppliers often maintain higher quality standards and can provide the necessary documentation for permits. Choosing a local supplier not only helps manage costs but also ensures consistency in the materials used for your project.
Step-by-Step Installation Guide
Once you’ve gathered your materials and prepped the site, it’s time to dive into the installation process. Following the right techniques at each stage ensures your riprap system will effectively control erosion for years to come. Taking your time now can save you from expensive fixes down the road.
Preparing the Subgrade
The subgrade is the backbone of your riprap system, so it’s important to get this step right. Start by clearing the area of any brush, trees, stumps, or debris. Removing organic material prevents it from decomposing under your installation, which could lead to instability later.
Next, grade the subgrade to a maximum slope of 3:1. This slope strikes the right balance between stability and efficient water flow. If needed, add fill material to achieve the correct grade, then compact it until it matches the density of the surrounding, undisturbed soil.
Installing the Filter Layer
The filter layer is what keeps soil in place while letting water flow through freely. Whether you go with geotextile fabric or a sand and gravel system, precise installation is critical for long-lasting results.
If you’re using geotextile fabric, start at the lowest point of the slope and work your way up. Unroll the fabric smoothly to avoid wrinkles or folds, which can become weak spots. Overlap each piece by at least 12 inches, ensuring the upstream section overlaps the downstream one to prevent water from getting underneath. Temporarily secure the fabric with landscape pins or sandbags, and leave a 6-inch overhang beyond the riprap area so it can be tucked under the stones later.
For a sand and gravel filter system, begin with the finest material next to the soil. A common setup includes a 6-inch layer of fine sand, followed by 4 inches of coarse sand, and topped with 4 inches of small gravel. Smooth and level each layer before moving on to the next.
Once the filter layer is ready, you can move on to positioning the riprap stones.
Placing the Riprap Stones
Now it’s time to lay the stones. Start at the bottom of the slope (the toe) and work your way up. This approach ensures that each row of stones supports the ones above it, creating a stable, interlocking system.
Carefully place each stone to maximize its contact with neighboring stones. Stagger the joints between stones, much like laying bricks, to avoid creating continuous gaps where water could flow improperly. Use smaller rocks to fill large voids, but make sure you don’t block the natural flow of water.
Work methodically across the area to maintain an even thickness. For most residential projects, a thickness of 18 to 24 inches (measured perpendicular to the slope) is sufficient for effective erosion control.
Final Inspection
Once everything is in place, take the time to inspect your work. Check that the riprap maintains a consistent thickness across the entire area, paying extra attention to edges and transitions where variations are more likely.
Look closely at the arrangement of the stones to ensure they interlock properly and that voids are filled appropriately. Walk across the installation to test its stability – stones should feel solid and not shift underfoot. If you notice any movement, address it immediately, as it could indicate problems with interlocking or the subgrade.
Examine the filter fabric to ensure it isn’t exposed or damaged. Finally, observe how water flows over and through the riprap during rainfall to confirm proper drainage. Take photos from different angles to document your work for future reference and maintenance.
sbb-itb-843f8be
Maintenance and Troubleshooting
A properly installed riprap system can serve you well for decades, but it requires consistent care to remain effective. Maryland’s unique climate brings its own set of challenges, from fluctuating weather patterns to environmental factors, which can impact your installation over time.
Regular Maintenance Tasks
Keeping your riprap in good shape starts with seasonal inspections. Plan to check it twice a year – once in early spring after the freeze-thaw cycles and again in late fall before winter sets in. During these inspections, look for signs of trouble like stones that have shifted, gaps that have widened, or exposed filter fabric.
Another critical task is debris removal, especially after storms. Leaves, branches, and sediment can pile up on the riprap, disrupting water flow and encouraging vegetation growth. Use a rake or blower to clear the debris, but be cautious not to disturb the stones.
If stones have moved – particularly along edges or steep slopes – stone repositioning is necessary. Shift any out-of-place rocks back into position to restore the system’s interlocking structure.
Don’t overlook vegetation management. Small weeds can be pulled manually when the soil is damp, while larger plants should be cut at ground level to prevent root systems from disturbing the stones.
Staying on top of these tasks will help you avoid bigger problems down the road.
Common Mistakes and Fixes
Spotting potential issues early can save you from costly repairs later. Here are some common problems and how to resolve them:
| Common Mistake | Effects on Performance | Corrective Action |
|---|---|---|
| Inadequate filter layer | Soil washes through the stones, creating voids | Add geotextile fabric or an appropriate filter system |
| Blocked drainage paths | Water pools behind the riprap, increasing pressure | Clear debris to maintain proper water flow |
Maryland’s specific climate conditions add another layer of complexity to maintaining riprap systems.
Maryland-Specific Challenges
Maryland’s climate introduces several unique challenges that can impact your riprap installation:
- Freeze-thaw cycles: The state’s fluctuating temperatures cause repeated expansion and contraction, which can shift stones out of place. These cycles have become less predictable due to climate change, making regular inspections even more important [14].
- Severe weather events: Heavier rainfall and stronger storms increase erosion risks and lead to sediment buildup on your riprap. This makes it essential to clear debris promptly and monitor for signs of erosion [14].
- Vegetation overgrowth: Maryland’s warm temperatures encourage the growth of weeds, vines, and small trees between stones. Left unchecked, tree roots can push stones apart, so removing woody vegetation as soon as it appears is critical [14].
- Wildlife interference: Burrowing animals like groundhogs and muskrats can destabilize your riprap by tunneling beneath the stones. If you notice small holes or loose stones, consider adding wire mesh under the installation or using larger stones that are harder to move.
- Rising sea levels and storm surges: Coastal areas near the Chesapeake Bay are particularly vulnerable. Look for signs of undermining at the base of your riprap and consider design adjustments, like a higher sill, to account for future water level increases [14].
"Living shorelines are better, more resilient…They’re softer, they can bend and bounce back." – Heather Nelson, MDE’s Wetlands and Waterways Program Manager [15]
Adapting to these challenges with regular maintenance and flexible design updates will help ensure your riprap system stands the test of time.
When to Hire Professionals
When tackling complex erosion control projects, professional installation offers the assurance of long-term effectiveness that DIY approaches often can’t match. While putting down riprap might seem simple at first glance, achieving proper erosion control demands a level of expertise that goes beyond basic installation. Professionals bring the know-how for selecting the right materials, ensuring accurate placement, and delivering a system that performs as intended.
Benefits of Professional Installation
Hiring professionals brings a range of advantages. They carefully choose materials tailored to your area’s water velocity, soil type, and other local conditions. Their meticulous placement and grading work ensures the riprap can handle the forces of water, ice, and shifting soil. This precision not only enhances the system’s durability but also cuts down on future maintenance needs [16][17]. In Maryland, trusted service providers stand out for their ability to deliver results that last.
Pro Landscapes MD: Erosion Control Experts

Pro Landscapes MD specializes in drainage solutions, stormwater management, grading, and erosion control for riprap projects [18]. Their comprehensive services are the backbone of a sturdy riprap system, combining thoughtful planning with skilled execution to extend the system’s lifespan and reduce upkeep [18].
What truly sets Pro Landscapes MD apart is their personalized approach. Instead of relying on generic solutions, they craft designs tailored to the specific conditions of your property. They also prioritize using high-quality materials and eco-conscious methods, ensuring that their projects are both durable and aligned with modern erosion control standards.
Operating across Howard County, Montgomery County, Carroll County, Frederick County, Prince George’s County, and Baltimore County – including areas from Annapolis to Washington, DC – Pro Landscapes MD leverages their deep understanding of the region’s unique climate and soil challenges. This local expertise plays a key role in enhancing riprap performance.
For projects that require advanced erosion control, scheduling an appointment with Pro Landscapes MD ensures a thorough assessment, the right material selection, and expert installation. Their professional touch delivers reliable results that stand the test of time.
Conclusion
Installing riprap requires careful planning and consistent upkeep. When executed properly, this tried-and-true method offers reliable protection against soil erosion while accommodating natural shifts in the ground and the movement of water.
Key Points to Remember
The success of any riprap project begins with thorough site preparation. A solid foundation depends on a detailed site assessment and adherence to proper grading standards to ensure stability.
Material selection is equally critical. The right stones can mean the difference between a system that lasts for decades and one that fails prematurely. Angular, variably sized rocks are essential for creating the interlocking structure needed for durability. As the Westmoreland Conservation District notes:
"Choosing a stone size that is immovable by the passing waters will help keep banks where they belong" [19].
Pairing riprap with filter materials is another must. Use either granular materials or nonwoven geotextile fabric to prevent soil from washing through the gaps between stones [1].
Proper installation techniques also play a major role in performance. Layer stones strategically: place larger ones at the base and smaller ones above, angling them to direct water flow [5]. Secure geotextile fabric firmly by stapling it to the ground, and use a rock bucket during installation to minimize dirt along the shoreline [6].
Finally, regular maintenance is key to long-term success. Inspect your riprap annually and after heavy storms. Look for displaced stones, signs of erosion, or debris buildup [5]. Addressing minor issues early – like replacing a few missing stones – can save you from costly repairs down the line.
Next Steps
To protect your property effectively, start by evaluating your specific erosion risks. After heavy rainfall, inspect your land for areas prone to erosion. Take note of slope angles, measure affected regions, and observe water flow patterns.
For simpler projects on gentle slopes with minimal water flow, a well-planned DIY approach can work. However, more complex situations – like steep slopes, high water velocities, or challenging soil conditions – are best handled by professionals. Experienced contractors bring valuable expertise in material selection, grading, and installation techniques, ensuring the system performs as intended.
While professional installation may seem like a bigger upfront investment, it often proves more cost-effective over time. Properly installed riprap requires fewer repairs and lasts longer than systems built without expert guidance. Contractors also understand local soil conditions, permitting requirements, and the best techniques to maximize your system’s effectiveness.
Don’t wait until the next storm hits. Whether you tackle the project yourself or hire a professional, act now to safeguard your property from worsening erosion.
FAQs
What mistakes should I avoid when installing riprap for erosion control?
When installing riprap to control erosion, it’s important to avoid a few common missteps that can undermine its effectiveness:
- Skipping site preparation: If you don’t clear away debris or lay down a filter fabric or geotextile layer, the soil underneath can erode, making the riprap unstable over time.
- Choosing unsuitable stones: Using stones that are too small, irregularly shaped, or unable to interlock properly can leave the structure vulnerable to water flow and erosion.
- Poor placement: Simply dumping stones without layering them strategically can weaken the overall stability and make the riprap less effective.
For the best results, start with a thorough site assessment, pick materials that suit the specific conditions, and install the riprap promptly after any site disturbance to minimize further erosion.
How do I choose the right size and type of stones for erosion control?
When it comes to controlling erosion, picking the right size and type of stones is all about meeting the specific needs of your project. Riprap stones, which are usually between 6 to 12 inches in size, work well for stabilizing slopes and holding back soil because they lock together and stay in place. If you’re dealing with areas that experience stronger water flow – like shorelines or drainage channels – larger stones, sometimes up to 24 inches, offer the extra stability needed.
The type of stone you use is just as important as the size. Popular choices include limestone, dolomite, and quartzite. These are often locally sourced to blend with the natural landscape and keep costs reasonable. To make the right decision, think about the area’s soil type, slope steepness, and how water moves through it. For the best results, it’s a good idea to check local guidelines or consult with a professional landscaper who can guide you toward the most effective materials for long-lasting erosion control.
How can I tell if my riprap installation needs maintenance or repairs?
If your riprap installation isn’t performing as it should, there are a few warning signs to watch for. Check for loose or shifted rocks, visible cracks, or spots where erosion or sediment buildup is becoming noticeable. Another red flag is vegetation sprouting through the riprap or soil washing away from underneath the structure – both suggest it’s time for some maintenance or repairs.
Taking care of these problems quickly can help keep your riprap stable and effective, protecting your property from erosion in the long run.
Chat with Us