


- bhavya gada
- No Comments
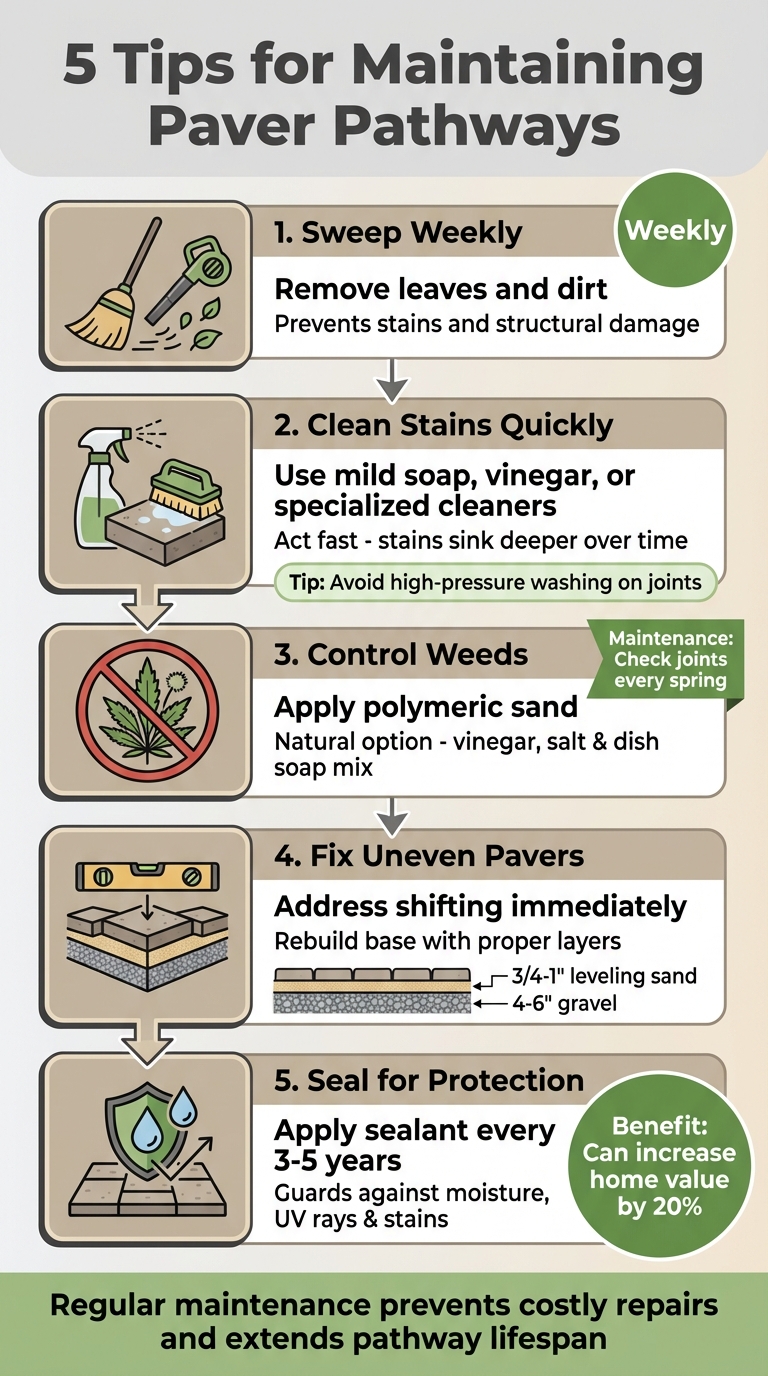
Want to keep your paver pathways looking great and lasting longer? Regular care is the key to avoiding expensive repairs and maintaining their safety and appearance. Here’s a quick breakdown of what you need to do:
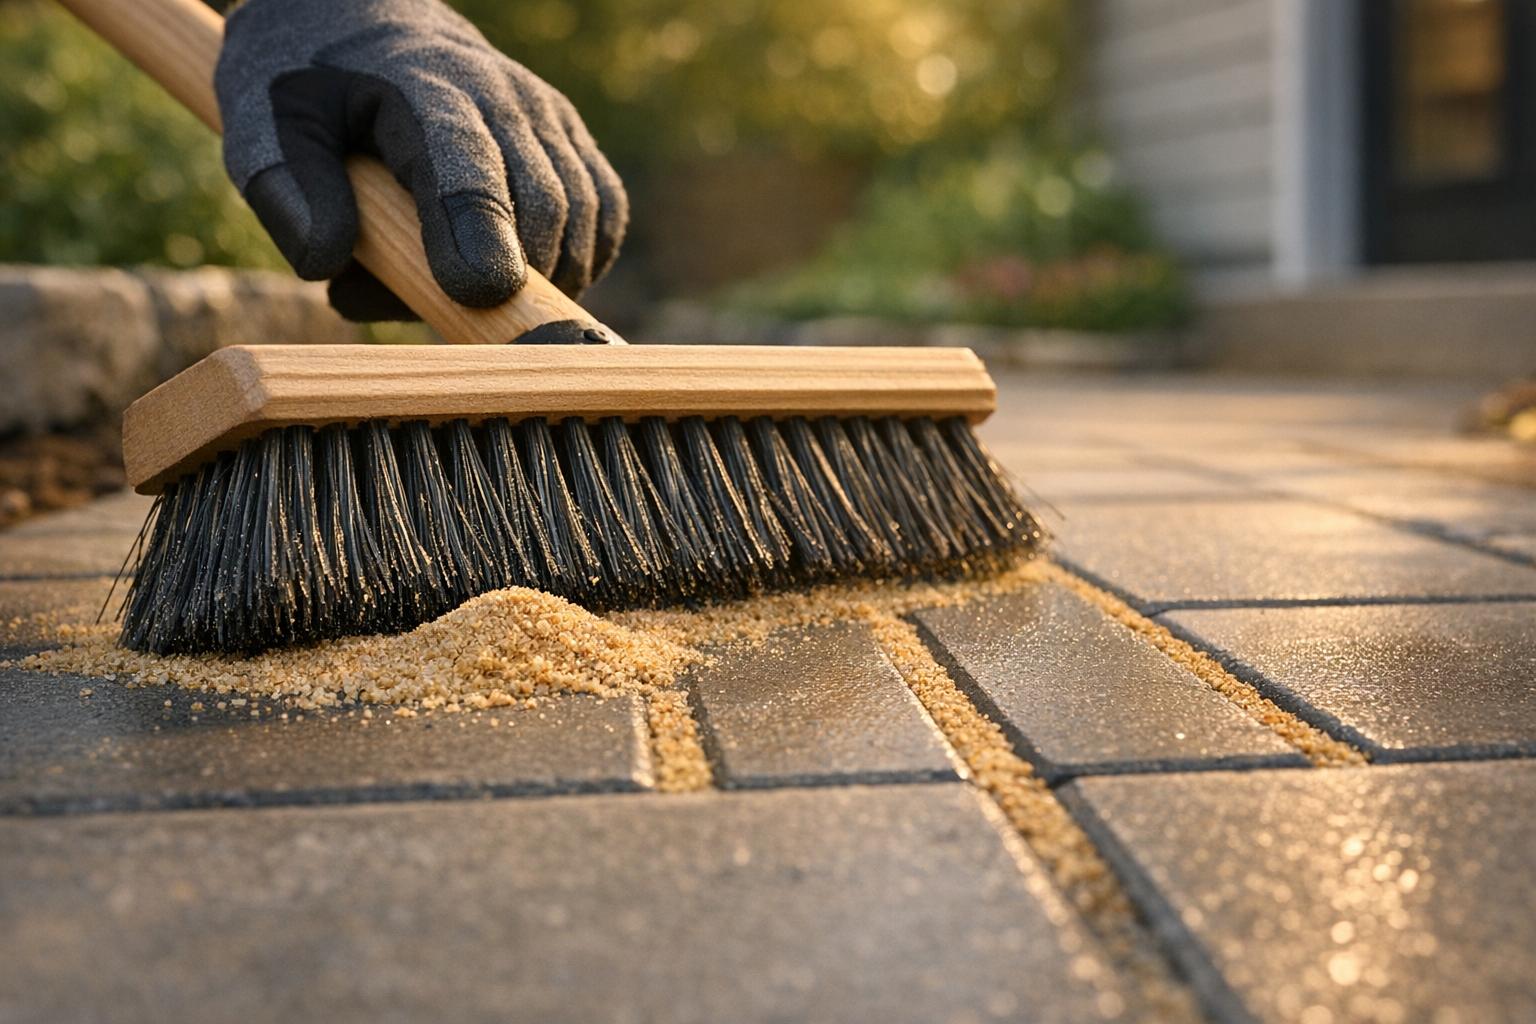
- Sweep Weekly: Remove leaves and dirt to prevent stains and damage.
- Clean Stains Quickly: Use mild soap, vinegar, or specialized cleaners for tough spots.
- Control Weeds: Use polymeric sand or natural solutions like vinegar to keep weeds out.
- Fix Uneven Pavers: Address shifting or settled pavers by leveling the base and resetting them.
- Seal for Protection: Apply a sealant every 3–5 years to guard against moisture, UV rays, and stains.
5 Essential Steps for Paver Pathway Maintenance
HOW TO MAKE PAVERS LOOK NEW! – easy fix and repair tips!
sbb-itb-843f8be
1. Sweep and Remove Debris Regularly
Taking a few minutes each week to sweep your paver pathways can save you from costly repairs down the road. Organic debris, like leaves and dirt, doesn’t just sit idly – it can cause staining and even structural problems over time. When debris is left on your pavers through multiple rainstorms, it starts to decompose, leaving behind stains that are tough – sometimes impossible – to clean. Alan Macbeth, Senior Landscape Designer at Kingstowne Lawn & Landscape, explains:
"If you have debris on your patio, like fallen leaves, sweeping it off can make a huge difference in preventing stains. Much of the staining on patios is from leaves and other debris that were left lying on the patio for a long time, likely during many rainstorms." [7]
But staining isn’t the only issue. Debris can also act as abrasive grit, wearing down your pavers over time. Worse, when it clogs the joints, it traps water that can freeze and expand during Maryland’s freeze-thaw cycles, causing pavers to shift or crack [4][5][6].
For regular maintenance, a push broom or leaf blower works great for clearing away dry leaves and dirt without harming the surface. A quick rinse with a garden hose can also help remove surface dirt [1]. However, during winter, avoid using metal snow shovels, as they can scratch or chip the pavers. Opt for plastic or rubber-edged tools instead [4].
Up next, let’s dive into how to handle stains and grime for a deeper clean.
2. Clean Stains and Grime
Once you’ve swept away the loose debris, it’s time to deal with the tougher stuff – stains and grime that sweeping alone can’t fix. Acting quickly is crucial here. The longer a stain sits, the deeper it sinks into the porous surface of your pavers, making it much harder to remove [9].
For everyday dirt or general grime, a mix of mild dish soap and warm water works wonders. Use a sponge or a bristle brush to scrub the surface gently, then rinse thoroughly. If you prefer a natural alternative, try a solution of white vinegar and water. Only use white vinegar, as other types could leave stains. Let the mixture sit on the pavers for about an hour before rinsing it off with soap and water.
For more stubborn stains, like oil or grease, household soap might not cut it. In these cases, opt for an oil remover or a professional-grade cleaner. Alan Macbeth, Senior Landscape Designer at Kingstowne Lawn & Landscape, shares this advice:
Do your best to eliminate stains like grill grease and red wine. But even in those cases, there are now excellent cleaners, so these one-time major issues are quite easily addressed [7].
If you spot a chalky white residue on your pavers, you’re likely dealing with efflorescence – a mineral deposit that can be treated with specialized cleaning products. For high-traffic areas, regular monthly cleaning with a paver-specific cleaner and a sturdy bristle brush helps keep things in top shape [8].
If you decide to use a power washer, stick to a low-pressure setting and keep the nozzle away from the joints to avoid dislodging the stabilizing sand. For most situations, though, manual scrubbing with a brush is just as effective – and much safer. Once your pavers are spotless, the next step is tackling weeds between the joints to complete your maintenance routine.
3. Control Weeds Between Pavers
Weeds can ruin the look of your pavers and even push them apart, leading to instability. The trick to keeping weeds at bay is to cut off their access to soil and moisture.
Polymeric sand is a great solution for this. Unlike regular sand, which can shift or wash away, polymeric sand contains special additives that harden when exposed to water, forming a solid barrier. As F&M Contractors puts it:
This sand hardens when wet, forming a solid bond that helps keep weeds at bay [3].
Start by removing any weeds and debris from the joints. Moisten the area to make weed removal easier, using your hands or joint tools to extract them without disrupting the bedding sand.
If you prefer natural methods, try mixing one gallon of white vinegar with one cup of salt and a tablespoon of dish soap. Apply this on a hot, sunny day for the best results. Alternatively, pour boiling water directly onto the weeds, but make sure to wear gloves and boots for safety. Be cautious with vinegar, as it can stain certain natural stones – test it on a hidden spot first.
Once the weeds are gone, apply polymeric sand according to the manufacturer’s instructions to avoid staining the pavers. Check the joints every spring for any erosion and top them off with fresh sand as needed. Regular sweeping also helps by clearing away dust and organic material before it settles and allows seeds to germinate.
Staying consistent with weed control not only keeps your pavers looking great but also prevents further damage. In Maryland’s changing weather, this step helps maintain proper drainage and stability. With weeds under control, it’s time to focus on fixing any shifting or uneven pavers.
4. Fix Shifting or Settled Pavers
Weather and ground movement can wreak havoc on pavers, causing them to shift or sink over time. In Maryland, the freeze-thaw cycles are especially harsh on pathways. Water seeps into gaps, freezes, and expands, pushing pavers out of alignment. As Surrounds Landscaping explains:
Deterioration in a hardscape happens the same way as a pothole on a road – when left alone, the hole just gets bigger because every time it fills with water and freezes it grows [6].
To tackle uneven pavers, start by marking the problem spots with chalk. Use a flat screwdriver or pry bar to carefully lift the affected pavers, keeping them in order for easy repositioning. Check the base layer underneath – if the sand has washed away or the gravel has shifted, you’ll need to rebuild it. A solid foundation includes a compacted subgrade, landscape fabric, 4–6 inches of gravel, and a final layer of 3/4–1 inch leveling sand [10]. Adjust and smooth the sand with a straight board before resetting the pavers.
If tree roots are encroaching, trim them back before putting the pavers back in place [10]. Use a rubber mallet to tap the pavers securely and check the alignment with a spirit level. Fill the joints with polymeric sand, then lightly mist with water to set it – just be careful not to overdo it, as too much water can wash the sand away.
For permeable pavers, shifting often signals clogged joints. In 2025, Harvest Outdoor Living restored a Forest Hill driveway by removing sediment-blocked drainage and replacing it with clean #8 stone [5]. Regular inspections and maintenance can help you avoid similar issues and keep your pathways looking and functioning their best.
5. Seal Pavers for Protection
Once you’ve taken care of shifting pavers, sealing is the next step to ensure they stay protected for the long haul.
Sealing creates a strong barrier that shields pavers from moisture, oil spills, and UV rays. This helps maintain their color, prevents stains, and makes cleaning much easier [1][2][4][7]. Alan Macbeth, Senior Landscape Designer at Kingstowne Lawn & Landscape, explains:
Sealing can help enhance the color of the pavers. It can also help pavers resist stains [7].
Before sealing, wait 60–90 days to allow any efflorescence (a white, powdery residue) to fade. After the initial application, reapply the sealant every 3–5 years, or every 1–2 years in areas with heavy foot or vehicle traffic. High-quality sealers typically cost $80–$150 per gallon, covering an area of 80–150 square feet [12].
Make sure the pavers are thoroughly cleaned and completely dry before sealing. This prevents dirt or debris from being locked into the surface [7][4]. To determine if it’s time to reseal, try the water test: sprinkle water on the pavers. If the water soaks in rather than forming beads on the surface, it’s time for a new coat [1][11]. For permeable paver systems, opt for a water-based, breathable sealant that enhances the look without interfering with drainage [5].
Timing is key when applying the sealer. Choose a period with clear skies for at least 24 to 48 hours and temperatures between 50°F and 90°F [12]. With proper care, sealed pavers can even boost your home’s value by as much as 20% [13].
Pro Landscapes MD Services

Sometimes, routine upkeep just doesn’t cut it, and that’s where professional care steps in to protect your paver pathways. Expert services not only fix existing problems but also strengthen the preventive measures you’ve already put in place. Pro Landscapes MD offers specialized paver pathway maintenance throughout central Maryland, covering areas like Howard County, Montgomery County, Carroll County, Frederick County, Prince George’s County, and Baltimore County.
One of their key services is applying polymeric sand, which helps secure the pavers, minimizes weed growth, and stops water from seeping through the cracks [4][6]. This sand typically needs to be replaced every 2 to 4 years, especially if it’s stained by pollen or affected by mold and moss [6]. Their expertise ensures this process is done efficiently and effectively, complementing the basic care outlined earlier.
Pro Landscapes MD also excels in structural repairs. If a paver is cracked or broken, they can replace it without disturbing the surrounding area. Their team carefully lifts the damaged piece, re-levels the base, and resets the paver so it’s flush with the rest – often completing the job in a single day [2][4][5]. Beyond repairs, they also offer deep cleaning services to bring back the original shine of your pavers.
Their power washing services are designed to remove stubborn grime, moss, and mineral buildup without damaging the stone or nearby grass [1][6]. From Annapolis to Wheaton, Pro Landscapes MD has earned a solid reputation for delivering quality results and ensuring customer satisfaction. With their professional touch and the maintenance tips shared earlier, your pathways can stay both sturdy and visually appealing.
Conclusion
Taking care of your paver pathways doesn’t have to be overwhelming. A few minutes each week can make a big difference. Regular sweeping and quick clean-ups help prevent stains, while keeping weeds in check ensures their roots won’t compromise the foundation. Addressing shifting pavers early can stop small problems from turning into expensive structural fixes. And don’t forget sealing – done every 3–5 years, it shields against UV damage, moisture, and even makes cleaning easier.
By sticking to this straightforward routine, you’re not just preserving the appearance of your pathway – you’re also saving yourself from costly repairs down the road. As Alan Macbeth, Senior Landscape Designer at Kingstowne Lawn & Landscape, puts it:
A well-installed paver surface is incredibly durable… the key thereafter is just looking after the surface.
With consistent care, your pathway will stay both beautiful and sturdy for years to come. However, if issues like persistent drainage problems, major shifts, or tough stains crop up, it’s smart to call in the experts. For those in central Maryland, Pro Landscapes MD offers professional paver pathway maintenance services, from repairs to high-quality sealing.
FAQs
What causes pavers to shift or sink?
Pavers often shift or sink because of issues like improper base preparation, lack of proper compaction, or poor drainage. These problems allow water to erode the base or cause soil beneath the pavers to move, ultimately affecting their stability.
Will sealing change how my pavers look?
Sealing your pavers can improve their appearance by enriching their color and giving them a polished finish. Depending on the type of sealer you use, it might create a glossy or matte protective layer, which could subtly change their overall look. Be sure to pick a sealer that aligns with the finish you want to achieve for the best outcome.
When should I call Pro Landscapes MD for help?
If your paver pathways need a professional touch, reach out to Pro Landscapes MD. Whether it’s cleaning, sealing, or removing stubborn weeds, they’ve got you covered. They can also handle more challenging problems like shifting pavers, cracks, drainage issues, or major damage that calls for skilled repairs. With their help, your pathways can stay strong and look great.
Chat with Us