


- bhavya gada
- No Comments
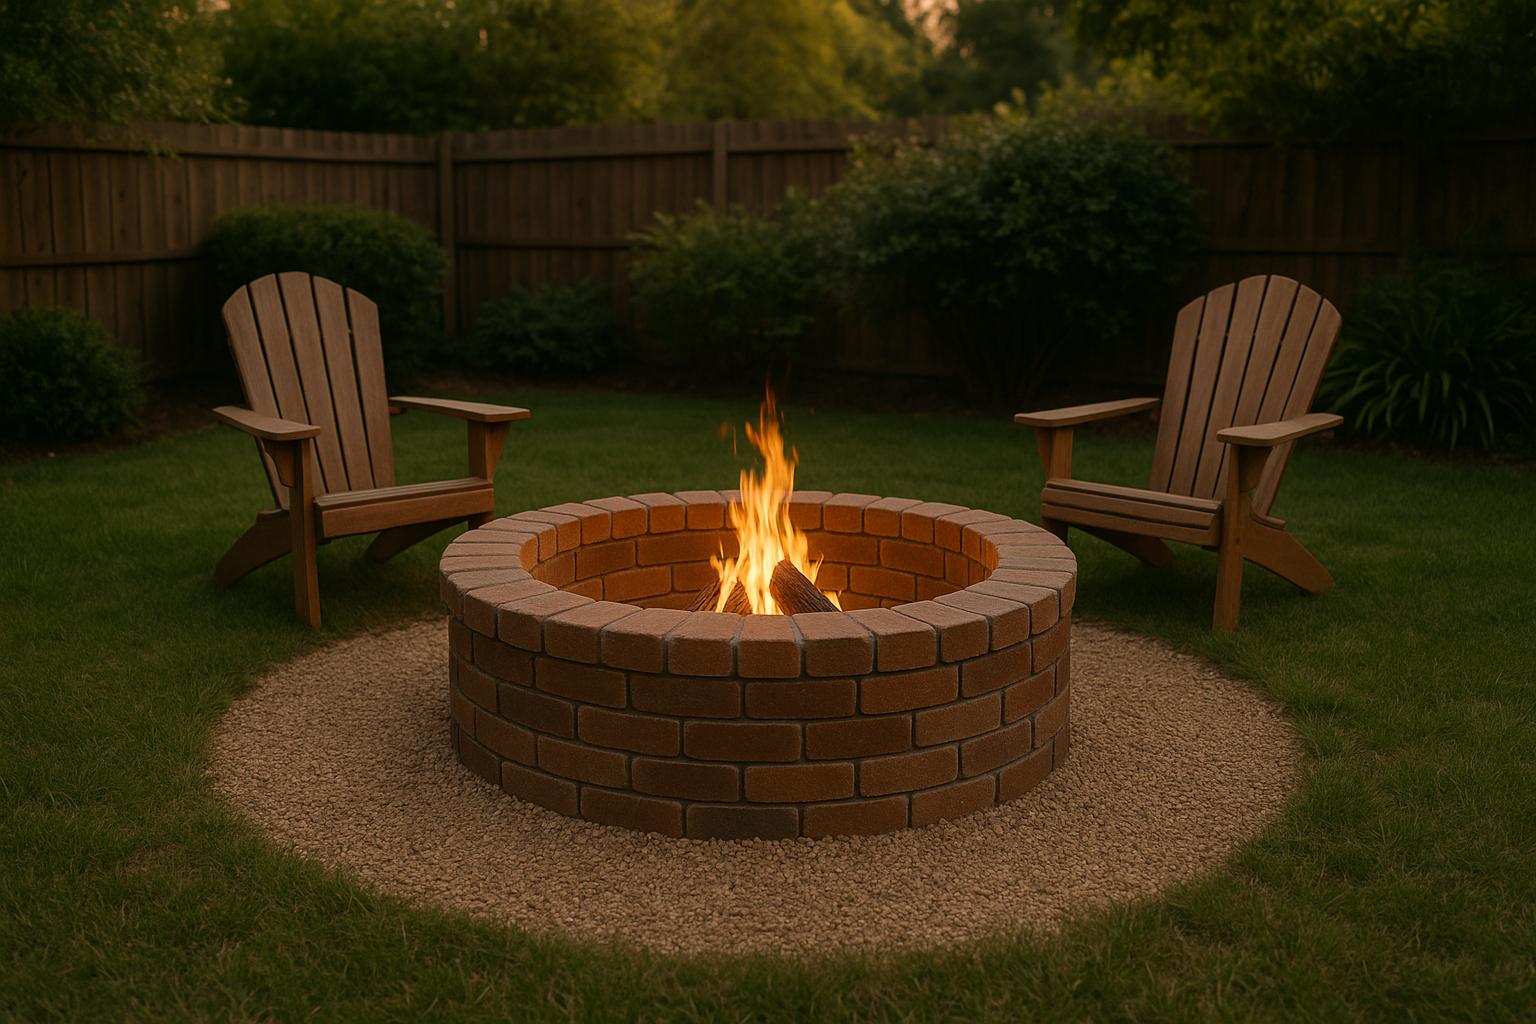
Building a brick fire pit is a great way to enhance your backyard. It creates a cozy space for gatherings, cooking, or simply enjoying a quiet evening. Here’s a quick overview of what you need to know:
- Why Choose Brick? Durable, heat-resistant, and compliant with Maryland’s fire safety regulations. Fire bricks can handle temperatures up to 1,800°F.
- Maryland Regulations: Fire pits must be at least 15 feet away from structures, supervised by an adult, and burn only natural wood. Permits may be required depending on your location.
- Site Selection: Pick a flat, well-drained area away from vegetation and underground utilities. Ensure proper wind flow and drainage.
- Tools & Materials: Key tools include a shovel, level, and masonry tools. Use fire-rated bricks, gravel, and heat-resistant adhesive for construction.
- Construction Steps: Prepare the ground, stack bricks in a staggered pattern, and install a fire pit insert for added safety and longevity.
- Safety Tips: Keep a 3-foot safety zone, have fire extinguishing tools nearby, and never leave the fire unattended.
- Maintenance: Regularly clean ashes, inspect for damage, and cover the pit when not in use.
A well-built fire pit can last for years, adding value and enjoyment to your outdoor space. Whether DIY or professionally installed, it’s a rewarding project that transforms your backyard into a warm and inviting retreat.
How to build a brick fire pit
Maryland Fire Pit Rules and Site Selection
If you’re planning to install a fire pit in Maryland, it’s important to know the rules and regulations to ensure safety and avoid fines. Each county has specific guidelines, so understanding these can make all the difference.
Fire Pit Rules in Maryland
Fire safety is a priority in Maryland, and the rules for fire pits reflect that. Fire pits must be built using materials like steel, brick, or masonry to ensure durability and safety [1]. In Montgomery County, for example, recreational fires are limited to 3 feet in diameter and must burn only dry, seasoned natural wood [3]. The flames should not exceed 2 feet in height [1], making the fire easier to control.
There are also strict distance requirements. Fire pits need to be at least 15 feet away from any structure or anything that could catch fire [1]. For larger fires, like bonfires exceeding 3 feet in diameter, the rules are even stricter – these must be at least 1,500 feet away from buildings, property lines, or roads [3].
It’s mandatory to have a responsible adult supervising the fire at all times [1]. Additionally, fire-extinguishing tools like a fire extinguisher, sand, or a garden hose must be within reach [1]. A fire break, either natural or man-made, at least 10 feet wide and free of flammable materials, is also required [1].
What you burn matters, too. Only natural wood and kindling are allowed. Burning household trash, construction debris, tires, shingles, tar paper, leaves, or green brush is prohibited [3]. Always check local advisories for burn bans, as these can change with the seasons [1].
Choosing the Right Location
Picking the right spot for your fire pit is just as important as following the rules. Choose a flat, well-drained area that maintains the required 15-foot clearance from structures and avoids overhanging branches or thick vegetation. Make sure the site is away from underground utilities, which you can check by calling 811 (Dig Safe) at least 48 hours before you start digging.
Wind patterns are another key factor. Position your fire pit so that smoke and sparks are carried away from your home and seating areas. This will make gatherings around the fire more enjoyable and safer.
Drainage is critical, too. Avoid areas that collect water after rain, as standing water can weaken the fire pit’s foundation and lead to maintenance headaches. Ideally, the site should have a slight slope to allow water to drain naturally.
Finally, think about convenience. Choose a location that’s easy to access for carrying firewood, seating, and other supplies, while still maintaining the required safety distances.
Permit Requirements
Once you’ve chosen a safe spot, check if you need any permits. Some fire pits require permits or site inspections, depending on the county [1]. For example, open-air burning permits are necessary for fires near woodlands or within 200 feet of them [4]. If your property borders wooded areas – a common scenario in Maryland suburbs – you’ll likely need to contact your local Forest Service Office.
Small recreational fires, like campfires, usually don’t require permits [4]. However, permanent fire pit installations might. In areas like Montgomery and Howard Counties, building permits are often required for masonry structures.
It’s also a good idea to check with your local Environmental Health Department about air quality regulations [4]. Some regions impose extra restrictions during high pollution or drought periods, which could impact your fire pit plans.
Navigating permit requirements can be complicated, so hiring a licensed professional to handle the process could save you time and effort [2]. Some counties even have stricter rules than the standard 15-foot distance, so doing thorough research upfront is crucial for a smooth installation process.
Tools and Materials Checklist
Before diving into your fire pit project, make sure to gather all the essential tools and materials. Being prepared not only makes the process smoother but also ensures safety and precision.
Required Tools
To get started, you’ll need a mix of basic construction tools and some masonry-specific equipment. A shovel is key for digging out the foundation area and moving materials. A tape measure will help you maintain accurate dimensions throughout the build.
A level is crucial for ensuring the ground and brick layers are even, while a tamper helps compact the soil and gravel base to prevent settling and keep your fire pit stable over time. A rubber mallet comes in handy for adjusting blocks without damaging them.
To outline the fire pit area before digging, use marking paint or string. A speed square will help you maintain proper angles during construction. For cutting bricks or pavers to size, you can use a masonry saw or opt for a brick hammer and chisel. If you’re using a circular saw, consider having someone operate a shop vacuum nearby to manage the dust.
For cement and mortar work, you’ll need a margin trowel, mason’s trowel, and a concave jointer to apply, smooth, and finish the joints effectively.
Don’t forget your safety gear. Always wear safety glasses, gloves, and a dust mask when cutting or handling masonry materials. A wheelbarrow will make moving heavy materials easier, and clamps can hold items steady during assembly.
Materials List
The foundation of a durable fire pit starts with fire-rated bricks, which are designed to withstand direct contact with flames. For the outer walls, retaining wall blocks are a good choice since they need to be heat-resistant but not flame-resistant.
To create a stable base, use paver base material, especially if you’re building on a lawn. This provides a solid foundation to keep your fire pit level and secure. Gravel or lava rock is essential for drainage and helps stabilize the fire bricks.
You’ll also need heat-resistant construction adhesive to securely bond the blocks. Make sure the adhesive is rated for high temperatures, and use a caulking gun for easy application.
Avoid materials that trap moisture, like pea gravel or river rocks, as they can explode when exposed to extreme heat. Instead, opt for natural stones like granite or bluestone. These materials not only handle high temperatures well but also add a timeless look to your fire pit. However, keep in mind that they can be heavy and require extra effort to install.
Once you’ve gathered all your tools and materials, you’re ready to move on to the actual construction.
Pro Landscapes MD‘s Supply and Services

If you’d rather leave the hard work to the pros, Pro Landscapes MD offers expert fire pit design and installation services in Baltimore and Washington, D.C. They use high-quality materials like Techo-Bloc and Belgard pavers, as well as natural stone, brick, concrete, and granite to create stunning fire pits and outdoor features.
Pro Landscapes MD can build both wood-burning and gas fire pits, and they also specialize in adding features like seating walls or built-in seating to create a cohesive outdoor living area. Their expertise extends beyond construction – they understand Maryland’s specific climate and soil conditions, ensuring your fire pit is built to last. Plus, they handle all the permit requirements, making the process hassle-free.
Whether you’re planning a DIY project or considering a professional installation, having the right tools and materials is key to building a fire pit that’s both safe and long-lasting. Pro Landscapes MD can help you bring your vision to life with their experience and attention to detail.
sbb-itb-843f8be
Step-by-Step Fire Pit Construction
Building a fire pit involves three main stages: preparing the ground, constructing the brick structure, and optionally adding a fire pit insert. Each step requires careful attention to detail to ensure the fire pit is both safe and long-lasting.
Marking and Preparing the Ground
Before you start digging, it’s essential to call 811 to check for underground utilities. This free service will identify any gas lines, electrical cables, or water pipes that could pose a hazard during excavation [7][5].
Pick a location that meets safety requirements. Your fire pit should be positioned away from buildings, trees, and property lines, while also avoiding areas with low-hanging branches or overhanging vegetation [6][7]. Make sure the ground is level by using a stake and a string level to check for evenness [7].
Mark the area for your fire pit using stakes and string, marking paint, or by arranging the bricks in a circle to outline the space [6][7]. For a perfect circle, tie a string to a stake, attach a spray paint can to the other end, and draw your circle [8].
Dig down 6–8 inches within the marked area, removing grass and keeping the soil surface even. Afterward, spread a layer of gravel and compact it with a hand tamper to create a solid foundation [6][7][8]. To ensure the gravel compacts well, wet it lightly with a garden hose before tamping it again [7][8].
With the foundation ready, you can move on to stacking the bricks.
Laying and Stacking Bricks
Start building the fire pit walls by placing fire-rated bricks along the inner edge of the marked circle [8]. If you plan to use a fire pit insert, position it temporarily to confirm the measurements before continuing to build the walls [8].
For stability, stagger the bricks in a running bond pattern, similar to steps, to avoid creating vertical seams that could weaken the structure [8]. Begin with the first layer, ensuring each brick is level and evenly spaced. Once the base is set, apply heat-resistant adhesive between bricks as you build the next layers. This adhesive prevents drying out while you position the bricks [8].
Construct three to four staggered layers to create a sturdy and well-proportioned wall [8]. Take your time with each layer, as mistakes in the lower levels can affect the entire structure as it rises.
When the brick structure is complete and level, you’re ready to install the fire pit insert.
Installing a Fire Pit Insert
A fire pit insert enhances safety and functionality by containing the flames and protecting the brick structure from heat damage. These metal liners also help prevent discoloration and extend the fire pit’s lifespan [10].
Fire pit inserts come in various styles, including match-lit, push-button, and electronic ignition systems. They’re often more affordable than custom-built pits and offer more design flexibility [9][10].
Once the brick layers are set, carefully lower the insert into the center of the structure. It should fit snugly without any gaps or forcing, ensuring stability and safety [8]. Position the insert so its top rim is slightly below or flush with the top layer of bricks for a polished, finished look.
Fill the bottom of the insert with lava rock or a similar heat-resistant material. Lava rock is ideal because it promotes good drainage, withstands high temperatures, and evenly distributes heat [8].
If you’re installing a gas fire pit insert, make sure all components are rated for outdoor use and meet safety standards. Consulting a certified plumber for gas connections is highly recommended to ensure proper installation and compliance with safety codes [11]. Additionally, check with your HOA and local building regulations before finalizing the project [11].
With the insert in place and properly filled, your fire pit is now ready for use. Thanks to a well-prepared foundation, solid brick walls, and a reliable insert, you’ll enjoy many cozy nights around your backyard fire pit.
Safety, Maintenance, and Finishing Touches
Now that your brick fire pit is complete, it’s time to focus on safety, upkeep, and those final touches that make it both functional and inviting. Proper precautions and regular care not only keep everyone safe but also ensure your fire pit lasts for years to come.
Fire Pit Safety Tips
When it comes to fire pit safety, where you place it and how you use it are key. Always position your fire pit at least 10 feet away from any structures, and keep a 3-foot safety zone around it while in use [12] [13]. If you can, aim for 20 feet for added peace of mind [13]. Avoid placing fire pits under string lights or power lines, as the heat and sparks can pose serious risks [12].
This safety buffer isn’t just about protecting property – it’s about people, too. Nearly half of pediatric burns from outdoor fires occur because of falls into fire pits, bonfires, or campfires [13].
"Fire pit safety is crucial to prevent burns, property damage, and other accidents." – AuthenTEAK [14]
Always have a fire extinguisher, a bucket of water, or a garden hose nearby, and keep a first aid kit within reach [12] [13]. Store matches and lighters out of children’s reach, and steer clear of using lighter fluid, gasoline, or kerosene to start your fire [12].
Weather matters, too. Skip using your fire pit on windy days, as gusts can send embers flying [13]. For wood-burning pits, a metal screen is a smart addition to keep sparks contained [12]. And don’t forget to store firewood at least 30 feet away from both the pit and your home [12].
Never leave a fire unattended, and make sure everyone stays at a safe distance from the flames [12]. Use long-handled tools with insulated grips to adjust logs without getting too close [13]. Overloading the pit with fuel can lead to dangerous flare-ups, so keep your fire manageable [13].
When the evening wraps up, extinguish the fire completely. For gas fire pits, turn off the gas supply entirely [12]. For wood fires, avoid dousing with water, which can cause rust. Instead, use dry sand or dirt to smother the flames [13].
Adding Final Touches
The area around your fire pit can be just as important as the pit itself. Good lighting is essential to prevent trips and falls during nighttime gatherings [13]. Solar-powered pathway lights or low-voltage landscape lighting are excellent options – they enhance safety without overpowering the fire’s natural glow.
For gas fire pits, check the burners for blockages or debris before every use [13]. Clear away leaves, dirt, or anything else that might have accumulated during downtime.
Once the area is set up, maintaining it regularly will keep your fire pit looking great and working well.
Regular Maintenance
Keeping up with maintenance doesn’t just preserve your fire pit’s appearance – it ensures safe operation, too. Remove cooled ashes regularly using a metal container, as ashes can be acidic and damage metal parts over time [17] [15].
Inspect the bricks for cracks, especially those caused by extreme temperature changes [15]. Use high-temperature masonry fillers to patch significant cracks [15] [17], and keep an eye on smaller ones to ensure they don’t grow.
Clean your fire pit twice per season with a diluted muriatic acid solution to remove soot and stains [15] [16]. Mix one part muriatic acid with nine parts water, scrub the bricks, and rinse thoroughly. Always wear gloves and eye protection when handling chemicals, and let the fire pit dry for 48–72 hours before using it again [15] [16].
Make sure drainage areas are clear of debris to prevent water buildup, and verify that water flows away from the fire pit during heavy rains.
Cover your fire pit when it’s not in use to protect it from the elements [15] [6] [18]. A good cover keeps out moisture, leaves, and debris, cutting down on cleaning time and reducing potential damage.
Regular care not only enhances your fire pit’s longevity but also helps prevent accidents. Each year, unintentional residential fires cause nearly 11,000 injuries [12]. Stay informed about local regulations and HOA guidelines to ensure your fire pit complies with the rules [13]. It’s also a good idea to check with your insurance provider to confirm coverage for fire-related incidents [13].
Conclusion: Enjoying Your Custom Fire Pit
Your brick fire pit isn’t just a durable addition to your backyard – it’s a centerpiece that can bring years of enjoyment to your family. By following the steps outlined earlier, you’ve ensured a safe and long-lasting feature that, with regular care, can serve your outdoor space for a decade or more [19][20]. It’s a practical investment that pays off in both functionality and enjoyment.
Beyond its construction, a custom fire pit offers plenty of perks. It’s perfect for outdoor cooking, marshmallow roasting, or simply acting as a decorative focal point when not in use. Many homeowners find their fire pit naturally becomes the heart of their backyard – a place for storytelling, laughter, and connection.
In fact, a 2023 survey by the American Society of Landscape Architects revealed that 66% of homeowners consider fire pits a must-have outdoor feature [20]. Not only can a well-built fire pit increase the enjoyment of your property, but it can also boost its value. Plus, it extends your outdoor living season, letting you enjoy your space even during cooler months. Add weather-resistant seating, landscape lighting, or a simple gravel or stone layout to create a cozy, inviting outdoor retreat.
To keep your fire pit in top shape, use weather-resistant materials and cover it during heavy rain or snow. Store firewood in a dry spot and consider adding cozy touches like blankets or windbreaks to make the space usable year-round.
For more intricate designs or professional help, Pro Landscapes MD offers expert hardscaping services across central Maryland. Their team ensures code-compliant installations that blend seamlessly with your existing landscaping. One happy customer in Howard County shared how their custom brick fire pit and matching stone seating turned their backyard into a functional and beautiful gathering spot.
Whether you’ve tackled this project on your own or decided to bring in the pros, your brick fire pit is set to become a lasting highlight of your outdoor living area.
FAQs
What tools and materials do I need to build a brick fire pit, and where can I get them?
To build a brick fire pit, you’ll need a few tools and materials to get started. Essential tools include a shovel, level, and trowel. If you’re aiming for a more polished finish, a brick hammer and masonry jointer can come in handy for detailed work.
For materials, gather fire bricks or heat-resistant bricks, mortar or construction adhesive, and gravel or paver base to ensure proper drainage. To boost safety and durability, consider adding a metal fire pit ring.
You can pick up these supplies at your local hardware store, home improvement center, or masonry supplier. While building a fire pit can be a satisfying DIY project, you can also opt for professional services. Pro Landscapes MD specializes in fire pit design and installation, offering a seamless way to create the perfect outdoor gathering spot.
How can I make sure my brick fire pit meets Maryland’s fire safety rules and permit requirements?
To make sure your brick fire pit meets Maryland’s fire safety rules, position it at least 15 feet away from any structures or flammable items, and always keep an eye on it while it’s in use. For portable fire pits, maintain a distance of 20 feet from buildings and follow the manufacturer’s instructions carefully. Also, clear a 10-foot radius around the fire pit, removing any flammable materials to create a safe buffer zone.
Before you begin building, reach out to your local county or city authorities to check if you need a permit or if there are additional safety guidelines specific to your location. Regulations can differ depending on where you live, so confirming these details ensures your fire pit is safe and compliant with local standards.
How can I maintain my brick fire pit to keep it safe and long-lasting?
To keep your brick fire pit in good shape and safe to use, make it a habit to inspect it regularly. Look out for cracks, loose mortar, or signs of weather damage, and take care of any repairs as soon as possible. After each use, clean out ashes and debris, and make sure the pit is completely dry before starting another fire.
Stick to using seasoned, dry firewood. This helps reduce smoke and keeps residue buildup to a minimum. Always set up your fire pit on a non-flammable surface like brick or concrete, and clear the area around it of overhanging branches or nearby plants. For extra protection, use a cover when the fire pit isn’t in use to guard it against weather-related wear and tear.
These straightforward steps will help your fire pit stay safe and remain a cozy, inviting feature in your outdoor space.
Chat with Us