


- bhavya gada
- No Comments
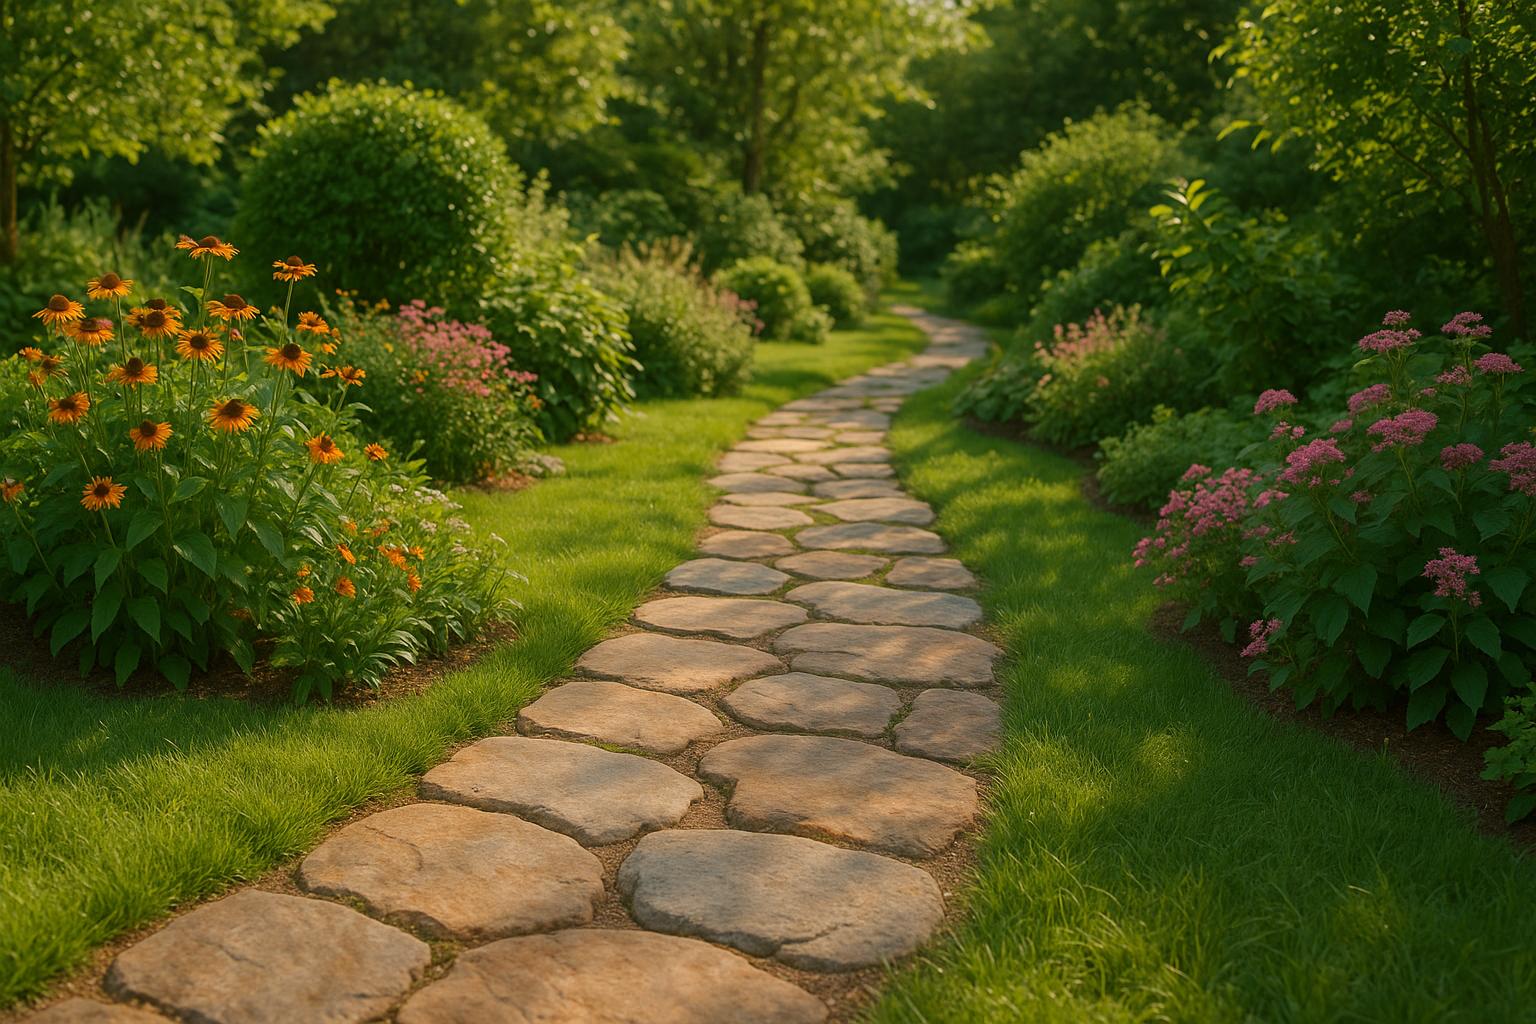
Natural stone pathways are a durable and stylish addition to any outdoor space, offering both functionality and aesthetic appeal. Materials like flagstone, granite, slate, and bluestone bring unique textures and colors that age beautifully over time. These pathways are ideal for Maryland’s climate, handling freeze-thaw cycles and wet conditions effectively when installed correctly.
Key points to consider:
- Benefits: Long-lasting, slip-resistant, low-maintenance, and visually appealing.
- Popular Stone Types: Flagstone (rustic), granite (durable), slate (modern), bluestone (versatile), sandstone (warm tones), limestone (cool tones), and fieldstone (natural look).
- Cost Range: $10–$30 per square foot, depending on the material.
- Design Tips: Plan for proper drainage, use stones with textured finishes for safety, and ensure pathways blend with your landscape.
- Maintenance: Regular sweeping, sealing every 2–3 years, and addressing seasonal challenges like freeze-thaw cycles.
Proper planning, installation, and care ensure your natural stone pathway remains a stunning and practical feature for years.
How to Install a Rustic Stone Walkway | Ask This Old House

Types of Natural Stone for Pathways
Picking the right natural stone for your pathway comes down to your design goals, budget, and how much foot traffic the area will handle. Each type of stone brings its own look and practical benefits. Knowing these differences will help you create a pathway that’s both stylish and built to last.
Flagstone
Flagstone is a go-to for outdoor walkways and patios, offering a rustic vibe with its irregular shapes and earthy tones. It’s priced at $10 to $25 per square foot, making it an affordable choice. However, because it’s porous, sealing is important to protect it from moisture and stains [1][2][3][4].
"Flagstone will last decades longer than concrete pavers. Pavers will fade and begin showing aggregate within 10 years of installation. You’ll probably want to replace them by year 20 but you can probably get 30 out of them. They’re just fancy looking concrete and will have all of the same issues that all concrete does over time." – motorwerkx, 20-year installer of flagstone and pavers [7]
Granite, Slate, and Bluestone
Granite is a tough, weather-resistant stone that can handle heavy foot traffic. Its speckled surface adds a polished, formal touch to pathways. While it’s on the pricier side, granite’s long lifespan makes it a smart investment [2].
Slate brings a refined look with its fine-grained texture and deep, dark colors. It naturally splits into smooth slabs, making it perfect for sleek, modern designs. For safety, choose a natural cleft or textured finish, as smooth slate can get slippery when wet [2].
Bluestone is another durable option, offering both versatility and style. It can be cut into uniform shapes for formal layouts or left irregular for a more natural look. Bluestone performs well in Maryland’s freeze-thaw cycles, making it a practical choice for the area [1].
"Bluestone is a type of flagstone with a unique steel-blue color. It is quarried exclusively in the northeastern United States and to a lesser extent in Canada." – Unilock [6]
Bluestone does require sealing to prevent stains and maintain its appearance. Darker varieties can absorb heat, which might make them uncomfortable to walk on in direct sunlight. Expect material and installation costs to range from $15 to $30 per square foot [1][3].
Sandstone, Limestone, and Fieldstone
Sandstone is known for its warm tones and slip-resistant surface. Its natural cleft finish adds texture, and its porous nature makes it easier to shape during installation [2].
Limestone offers cool, subtle tones like beige, gray, and cream. It’s softer than some stones, so sealing is recommended for high-traffic areas. While it’s often one of the more budget-friendly options, premium limestone varieties provide decent durability and remain cool underfoot in hot weather [1][2][3][5].
Fieldstone delivers a rustic, natural look with its irregular shapes. It’s an excellent choice for stepping-stone paths or informal garden walkways. The unevenness of fieldstone enhances its organic appeal [1].
Stone Type Comparison Chart
| Stone Type | Durability | Cost Range (per sq ft) | Appearance | Best Use Cases |
|---|---|---|---|---|
| Flagstone | High | $10-$25 | Irregular, earthy tones, natural cleft | Rustic paths, garden walkways, casual patios |
| Granite | Very High | High | Speckled, consistent, very hard | High-traffic areas, formal pathways, durable steps |
| Slate | High | Medium | Fine-grained, rich dark colors, smooth split | Neat pathways, contemporary designs, subtle elegance |
| Bluestone | High | $15-$30 | Steel-blue color, uniform or irregular cuts | Formal and informal designs, freeze-thaw resistance |
| Sandstone | Medium-High | Medium | Warm colors, often porous, natural cleft | Garden paths, decorative accents, areas needing soft hues |
| Limestone | Medium-High | Low-Medium | Warm beige/gray/cream, stays cool | Pool areas, sunny locations, budget-conscious projects |
| Fieldstone | High | Medium | Naturally irregular, authentic rustic look | Stepping-stone paths, informal garden walkways |
For homeowners in Maryland, locally sourced stones like Setters Quartzite and Sykesville Gneiss (sometimes called "Potomac Bluestone") are worth considering. These stones are well-suited to the local climate and may save on costs due to reduced transportation [8]. The right choice will depend on your priorities – whether that’s durability, cost, or achieving a specific design.
Up next, we’ll explore how to incorporate these stones into well-planned pathway designs.
Planning and Designing Natural Stone Pathways
Careful planning is key when designing a natural stone pathway. Your choices will influence how functional, visually appealing, and durable the pathway is – especially with Maryland’s seasonal changes in mind.
Design Considerations
Start by defining what your pathway will be used for. For high-traffic areas, like main walkways, aim for a width of 4 to 5 feet. Garden paths or secondary routes can be narrower at 2 to 3 feet, while utility paths can be as slim as 18 inches to 2 feet[10].
"A stone pathway should be at least 5 feet wide in commercial or shared-use areas to allow two people to walk side by side comfortably."
– Scott DeNardin, President, Hittle Landscaping[11]
The layout of the path can dramatically affect the overall look. Straight paths work well with formal or modern landscapes, offering clean, clear sightlines. On the other hand, curved paths feel more natural and inviting, perfect for informal or organic settings[10]. Material selection also matters – a wide, uninterrupted surface creates an open feel, while thick stone edging can make the path seem narrower.
To ensure the pathway blends seamlessly with your surroundings, consider existing features like slopes, trees, and natural movement patterns. Match the materials and colors to your home’s exterior for a cohesive look[11]. If stepping stones are part of your design, space them 2 to 3 inches apart. This spacing not only supports a natural walking stride but also keeps the design visually balanced[11].
Once your design is in place, the next step is addressing water flow and terrain.
Drainage and Grading
Proper drainage and grading are essential to protect your pathway from Maryland’s challenging freeze-thaw cycles, which can occur 70 to 100 times annually. Without these precautions, pathways can quickly deteriorate[12]. Grading ensures water flows away from the path, preventing surface pooling and potential damage.
Using a permeable base is a smart choice – it allows water to pass through, reduces stormwater runoff, and supports groundwater recharge[12]. For areas prone to drainage issues, you might need to include French drains or gravel catchment basins to handle excess water effectively[12].
Safety and Accessibility
For primary pathways, wider dimensions are important to accommodate traffic, but accessibility is just as critical. Ensure paths are at least 36 inches wide – 48 inches is even better in areas where accessibility is a priority[10]. Safety should be central to your design. In Maryland’s often wet climate, opt for stones with a natural, unpolished finish to provide better traction[9].
Keep slopes gentle, staying within a maximum grade of 1:48[10]. Smooth transitions between surfaces – whether connecting stone pathways to concrete, decking, or grass – help reduce tripping hazards.
Pathway lighting is another critical addition. It not only improves safety but also enhances the pathway’s overall design without being intrusive[13]. Wide, stable paths with good lighting make movement safer and more confident for everyone.
sbb-itb-843f8be
Step-by-Step Installation Guide
Building a natural stone pathway takes careful planning and attention to detail. Whether you’re taking on this project yourself or hiring professionals, understanding the steps involved can help you achieve a durable and visually appealing pathway that holds up well against Maryland’s variable weather.
Site Preparation
Start by clearing the area of grass, weeds, and roots. Use stakes and string or a garden hose to outline the path’s boundaries clearly.
Excavate the soil to a depth of about 5 inches. This allows room for the base materials and the stones while maintaining the proper grade [9]. Once the soil is removed, compact it thoroughly using a hand tamper or by walking over it repeatedly. This step ensures a solid foundation for the pathway.
For this phase, you’ll need tools like a spade, tamper, and measuring tape. Don’t forget safety gear such as gloves and knee pads. After compacting the soil, lay down a layer of landscape fabric to prevent weeds from growing through the pathway while still allowing water to drain. Secure the fabric with landscape staples to keep it in place before moving on to the next step.
Base and Stone Setting
A strong base is critical for a pathway that lasts. Use a 5-inch compacted layer of open-graded base material for added durability [9] [15]. Coarse builder’s or paver sand works better than fine sand for creating a stable surface.
Level the sand using a 2×4 board that’s slightly smaller than the width of your pathway. This ensures a smooth, even base. Lightly sprinkle water over the sand to help it settle before placing the stones [9]. Before securing the stones, lay them out in a dry run to plan their arrangement and make sure they fit well.
Start placing the stones at one end of the path, working your way to the other end. Press each stone firmly into the sand bed and check for levelness with a carpenter’s level. To promote proper water drainage, make sure the pathway has a slight slope away from nearby structures. Choose stones with textured surfaces to reduce slipperiness when wet, and avoid very dark stones that can become uncomfortably hot in the summer. Adjust the height of each stone by adding or removing sand underneath. For flagstone pathways, use stones that are 2 to 3 inches thick with natural, unpolished surfaces for better grip [9].
Finishing Touches
Once the stones are set, focus on defining the edges and filling the joints. Install edging material like galvanized metal, plastic, or pressure-treated wood along both sides of the path. Dig trenches so the edging sits about an inch above the final surface to keep the stones in place and reduce tripping risks [9].
Fill the joints between stones with polymeric sand, gator dust, or path fines, depending on your design and how much traffic the pathway will handle. Spread the filler evenly using a broom. For larger gaps, you can use small pebbles that sit slightly below the stone surface for a clean look. To protect your pathway from weather, stains, and wear, consider sealing it. This step can significantly extend the lifespan of your investment [15].
Regional Best Practices
Maryland’s freeze-thaw cycles can pose challenges, so proper drainage is essential. Extend the gravel base beyond the edges of the pathway to help manage water runoff effectively. In areas with persistent drainage issues, you might need to add French drains or gravel basins to control water flow [12].
For more complex designs or uneven landscapes, hiring a professional hardscaping contractor can ensure the pathway is installed correctly and tailored to Maryland’s unique climate [14]. This expertise can make a big difference in both durability and overall design.
Maintenance and Care for Natural Stone Pathways
Taking care of your stone pathway is key to ensuring it remains both functional and visually appealing for years to come. This guide outlines practical steps to keep your pathway in top shape, building on the design and installation tips covered earlier.
Routine Cleaning and Upkeep
Regular cleaning is your first line of defense against wear and tear. Sweep or use a blower weekly to clear away dirt and debris, preventing scratches and stains. For a more thorough clean, mix warm water with a mild, pH-neutral stone soap. Use a soft brush to scrub gently, then rinse thoroughly to remove any residue. Avoid harsh household cleaners like bleach, vinegar, or ammonia, as these can damage the stone by causing discoloration or etching.
Quickly blot any spills to avoid deep absorption, especially on more porous stones. For stubborn stains, test a stone-specific cleaner on a small, hidden area before applying it more broadly.
Understanding the characteristics of your stone is also important. For example, granite is tough and less reactive to pH changes, while limestone and marble are softer and more prone to acid damage.
| Stone Type | Characteristics | Potential Issues |
|---|---|---|
| Marble | Soft, porous, elegant | Easily etched by acidic substances |
| Granite | Durable, dense | Can scratch; unsealed surfaces may harbor bacteria |
| Limestone | Warm, natural tones | Highly porous and prone to staining |
| Slate | Textured, rugged | May flake or chip over time |
| Travertine | Earthy, matte finish | Pitted surface can trap dirt |
| Soapstone | Smooth, dark | Soft and prone to scratching |
Seasonal Maintenance for Maryland Homeowners
Maryland’s climate, with its freezing winters and humid summers, requires specific seasonal care for stone pathways. In March 2025, World of Stones USA, a Hagerstown-based supplier, recommended sealing pavers every 2–3 years, refilling polymeric sand annually, and taking steps to protect pathways from extreme weather conditions [16].
Winter Care:
Start by sealing your pathway with a high-quality, breathable, UV-resistant sealer every 2–3 years. This prevents water from seeping into the stone and causing freeze–thaw damage. When clearing snow, use tools with Teflon blades to avoid scratching the surface, and apply de-icing salts sparingly, focusing on snow and ice rather than the stone itself.
Summer Care:
During the warmer months, protect your pathway from UV damage and manage weed growth. Wetting the stones during peak heat can help prevent excessive drying and cracking. Elevated humidity and heat often lead to faster weed growth between joints; remove weeds manually or use organic solutions like diluted vinegar mixed with boiling water.
Annual tasks include refilling the joints with polymeric sand, which hardens when wet to keep stones stable during temperature changes. Inspect the pathway for cracks, spalling (chipping), or uneven settling, and address minor problems with patching compounds. For major repairs, it’s best to consult a hardscaping professional.
For deep cleaning, a pressure washer with a moderate setting (1,700–2,000 psi) and a fan tip nozzle works well for high-traffic areas. Use lower pressure and a gentler approach for softer stones like limestone or marble.
Long-Term Durability
Consistent seasonal maintenance is the secret to preserving your pathway’s durability. Sealing not only guards against stains and moisture but also makes future cleaning much easier. Selecting the right sealer finish is equally important. Wet finish sealers give the stone a darker, rain-soaked appearance, while dry finish sealers maintain a more natural look. Water-based sealers typically result in a matte finish, whereas solvent-based options provide a glossier appearance.
For more complex repairs or deep cleaning, professional help can make a big difference. Pro Landscapes MD offers expert hardscaping services and ongoing maintenance guidance throughout central Maryland, helping homeowners protect their investment against the region’s unpredictable weather.
Transform Your Outdoor Space with Natural Stone
Natural stone pathways bring both durability and charm to your outdoor areas, making them a perfect addition to any landscape. These pathways not only hold up against Maryland’s tough weather conditions but also add a touch of elegance to your property. Whether you prefer the rustic look of flagstone, the sturdy elegance of granite, or the inviting tones of limestone, each option enhances your outdoor space with a mix of style and practicality. Beyond their beauty, these pathways define walkways, connect different parts of your yard, and provide surfaces that require little maintenance. Let’s dive into how you can design, install, and care for these stunning features.
Partnering with Pro Landscapes MD

Crafting a natural stone pathway that truly transforms your outdoor space takes skill and precision. That’s where Pro Landscapes MD comes in. They bring expert craftsmanship and premium materials – like Techo-Bloc, Allen Block, and El Dorado Stone – to every project, ensuring pathways that are both stunning and durable across central Maryland.
Their team’s expertise in landscape design and horticulture sets them apart. From brainstorming designs to the final installation, they handle every detail. Whether it’s flagstone walkways, natural stone steps, or drainage solutions, their thorough approach ensures your pathway is built to withstand Maryland’s unique climate challenges.
Key Takeaways
Creating a natural stone pathway that stands the test of time involves focusing on four essential aspects:
- Material Selection: Opt for 2-3 inch natural stones that can endure Maryland’s freeze-thaw cycles, avoiding damage over time.
- Thoughtful Planning: Design pathways with proper drainage and slopes that blend seamlessly into your yard’s layout.
- Expert Installation: A stable base, precise stone placement, and secure joint filling are critical for long-lasting results.
- Regular Maintenance: Keep your pathway looking its best with routine cleaning and resealing every 2 to 3 years to preserve its appearance and functionality.
When these elements align, natural stone pathways become a lasting feature that combines strength, elegance, and practicality for years to come.
FAQs
How can I maintain a natural stone pathway in Maryland’s challenging weather conditions?
To keep your natural stone pathway looking great and holding up against Maryland’s tough weather, start by using a top-notch weather-resistant sealant. This creates a barrier that shields the stones from moisture, freezing temperatures, and erosion. Opt for materials like bluestone or flagstone, which handle temperature swings and heavy foot traffic much better. Also, make sure the pathway is installed on a well-compacted gravel or sand base to prevent shifting or settling over time.
Routine upkeep is essential – clean the pathway regularly to clear away dirt and debris, and check for cracks or other damage. Fix any problems right away to stop them from getting worse. By following these steps, your natural stone pathway can stay both attractive and durable for many years.
What’s the best way to ensure proper drainage for a natural stone pathway and avoid freeze-thaw damage?
To keep your natural stone pathway safe from freeze-thaw damage, focus on proper drainage. Start by grading the pathway with a slight slope – around 1/4 inch per foot – to direct water away from structures. Beneath the stones, use gravel or crushed stone as backfill to encourage water flow and avoid pooling. If you’re dealing with areas that collect a lot of water, adding French drains or drainage channels alongside the pathway can offer extra protection.
What should I consider when selecting natural stone for a pathway to ensure it’s durable, cost-effective, and visually appealing?
When selecting natural stone for your pathway, prioritize strength, budget, and appearance. Choose stones that can handle different weather conditions, resist damage from regular use, and don’t demand much maintenance. Prices can range from $2 to $50 per square foot, depending on the type and grade of stone. For appearance, pick a stone that enhances your outdoor design and fits seamlessly into the natural surroundings. Pay attention to details like texture, color, and finish to craft a pathway that’s practical and visually appealing.
Chat with Us