


- bhavya gada
- No Comments
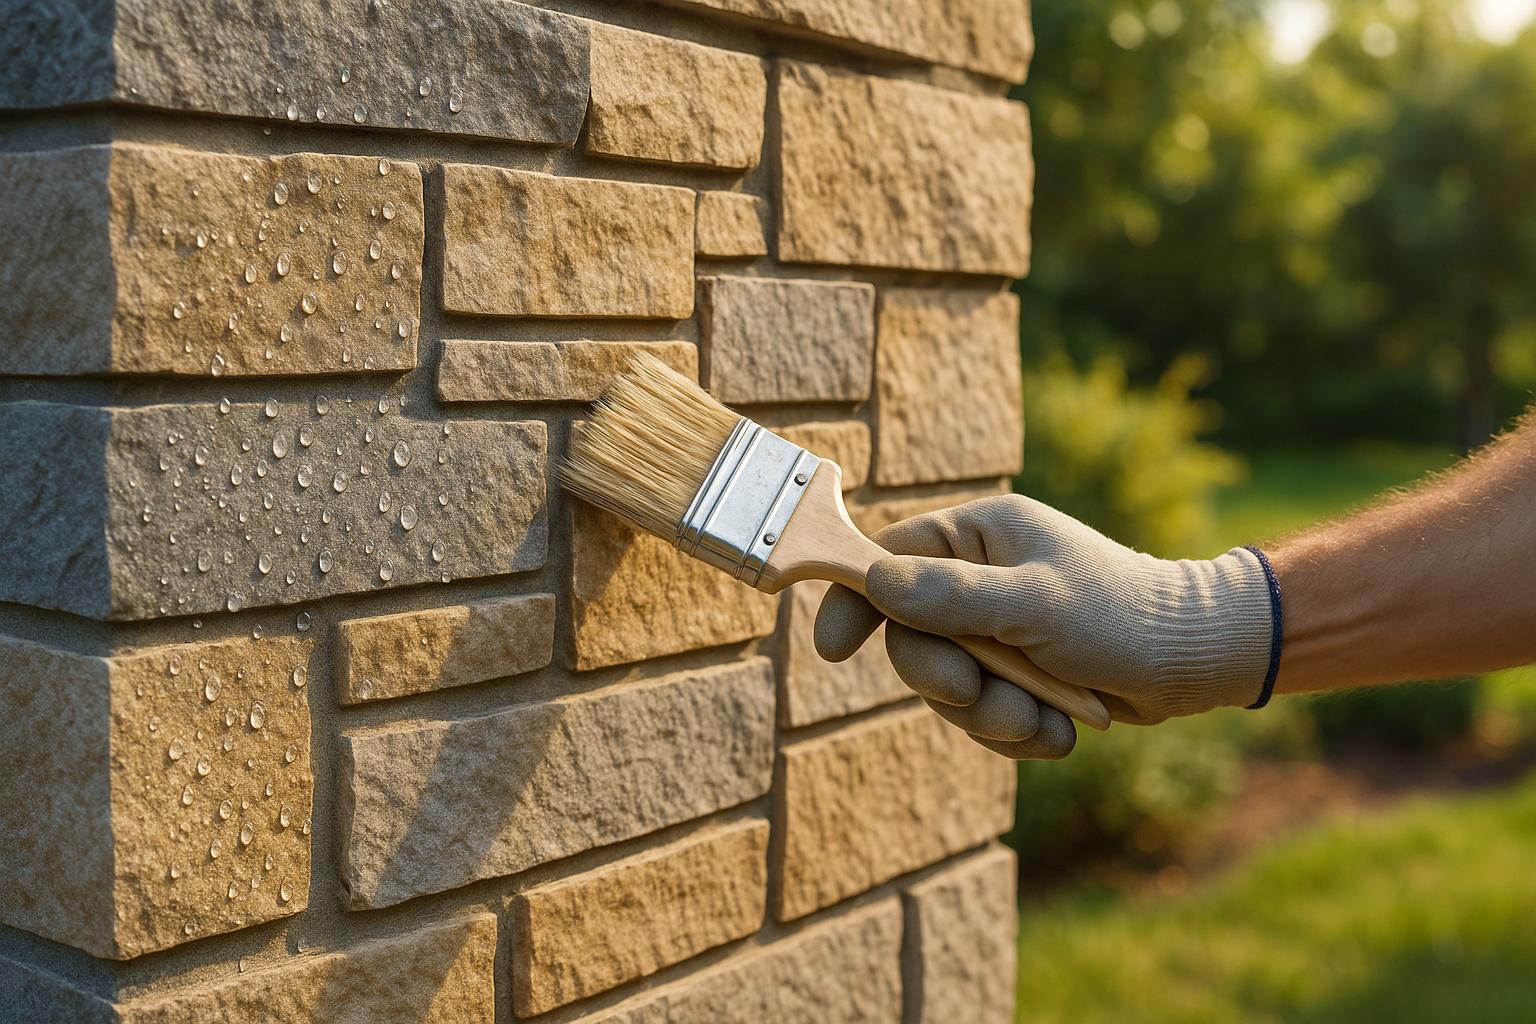
Stone veneer looks great but can easily get damaged by water if not properly waterproofed. Here’s what you need to know to protect your investment and make it last:
- Why Waterproofing Matters: Stops water damage, mold, cracking, and keeps your veneer looking good.
- Key Uses: Needed for exterior walls, fireplaces, retaining walls, and even indoor spaces like bathrooms.
- Materials You’ll Need: Waterproof barriers, drainage mats, flashing, sealants, and adhesives.
- Steps to Waterproof:
- Clean and prep the surface.
- Apply a waterproof membrane.
- Add drainage systems like weep screeds and ventilation.
- Common Mistakes: Thin barriers, poor overlaps, and bad drainage can lead to leaks.
- Maintenance: Inspect twice a year, especially after storms, and reapply sealant as needed.
Quick Tip: Maryland’s wet and freeze-thaw climate makes waterproofing even more critical. Use high-quality products like LATICRETE HYDRO BAN or MAPEI MAPELASTIC SMART for best results.
Keep reading for step-by-step instructions, tools, and expert advice to ensure your stone veneer stays durable and beautiful.
Stone Veneer Waterproofing Details For Architects + Builders (Prevent Moisture Issues)
Required Materials and Tools
Stone veneer waterproofing in Maryland’s humid, freeze-thaw climate demands specific materials and tools. Below is a breakdown of what you’ll need to get the job done right.
Waterproofing Products
To achieve reliable moisture protection, a complete waterproofing system with multiple protective layers is essential. Here’s a quick look at the key materials:
| Product Type | Recommended Options | Purpose |
|---|---|---|
| Weather-Resistant Barriers | LATICRETE MVIS Air & Water Barrier | Shields against moisture |
| Flashing Materials | Galvanized steel, aluminum, butyl-based | Directs water away |
| Drainage Plane Materials | Dimple mat, entangled mesh | Facilitates water drainage |
| Adhesives | LATICRETE MVIS Masonry Veneer Mortar, MAPEI KERAQUICK MAXI S1 | Ensures secure bonding |
| Sealants | Polyurethane or silicone-based | Protects joints and gaps |
For sealing joints, penetrations, and terminations, opt for high-performance polyurethane or silicone-based sealants. These materials remain flexible, accommodating movement while offering long-lasting protection against water infiltration – a crucial feature for Maryland’s wet and humid conditions.
Now, let’s focus on the tools you’ll need for proper installation.
Installation Tools
Using the right tools is just as important as selecting quality materials. Here’s what you’ll need:
- Moisture Testing Equipment
Digital moisture meters, infrared thermometers, and hygrometers to assess and monitor moisture levels. - Application Tools
- Notched trowels for applying adhesives
- Wet film gauges for measuring thickness
- Caulking guns for sealant application
- Levels and measuring tools for accuracy
- Safety Equipment
- Safety glasses
- Waterproof gloves
- Dust masks
- Knee pads
Make sure to use professional-grade tools for precise application and effective moisture management. Additionally, include drainage components and create ventilation holes at both the top and bottom of the wall coverings to help water escape efficiently [4].
Waterproofing Installation Steps
Here’s how to properly install stone veneer waterproofing, step by step.
Surface Preparation
For masonry surfaces like concrete and CMU blocks:
- Remove contaminants such as dust, grease, oil, and paint using mechanical methods.
- Repair cracks or damaged areas with suitable patching compounds.
- Ensure the surface is completely dry and stable before proceeding.
For wood frame construction, follow these steps:
| Step | Action | Purpose |
|---|---|---|
| 1 | Install two layers of Grade D building paper | Establishes the first moisture barrier. |
| 2 | Apply corrosion-resistant metal lath | Provides a sturdy backing for the veneer. |
| 3 | Secure with galvanized nails every 6 inches | Ensures the lath stays firmly in place. |
| 4 | Overlap seams during installation | Guarantees continuous moisture protection. |
Once the surface is clean, stable, and prepped, move on to applying the moisture barrier.
Moisture Barrier Application
- Primary Barrier Installation Apply a high-quality waterproofing membrane, such as LATICRETE HYDRO BAN or MAPELASTIC SMART. Use two coats, following the drying times recommended by the manufacturer.
- Flashing Integration Install flashing at key junctions, extending it 4 inches up vertical surfaces and onto horizontal surfaces. Overlap the flashing with the waterproofing membrane by 2 to 3 inches for seamless protection.
- Seam Treatment
- Reinforce corners and joints with reinforcement fabric.
- Use compatible sealants at transitions to prevent leaks.
- Ensure the waterproofing membrane provides continuous coverage.
With the moisture barrier in place, the next step is setting up an effective drainage system.
Water Drainage Setup
Proper drainage is critical for managing water and maintaining the durability of the veneer.
- Drainage Plane Installation Install a rainscreen drainage mat over the waterproofing membrane. This creates a capillary break, helping water drain efficiently and preventing moisture buildup.
- Weep System Setup Place weep screeds above the exterior grade and finished surfaces. Space them consistently along vertical walls to allow water to escape.
- Ventilation Integration
- Add vent strips at the top and bottom of walls.
- Maintain a minimum 3/8-inch drainage gap behind the veneer.
- Ensure there’s a continuous airflow path to keep the area dry.
These steps create a reliable waterproofing system, capable of handling variable weather conditions, like those found in Maryland.
Avoiding Installation Mistakes
Getting waterproofing installation right is essential to protect stone veneer and ensure it lasts. Here’s how to dodge common pitfalls and achieve reliable results.
Barrier Installation Errors
Waterproofing stone veneer starts with proper barrier installation. But mistakes here can lead to water damage. Here are some typical errors and how to avoid them:
| Error Type | Problem | Prevention |
|---|---|---|
| Membrane Overlap | Overlaps that are too small let water in | Maintain a 2–3 inch overlap between sheets for a secure barrier. |
| Application Thickness | Thin liquid membrane layers fail | Follow the manufacturer’s thickness guidelines, like those for MAPELASTIC SMART. |
| Transition Points | Weak seals at transitions | Use reinforcement fabric and compatible sealants to seal these areas. |
| Mechanical Support | Insufficient structural support | Add mechanical fixings, especially for external applications. |
Additional tips:
- Make sure substrates are dry and free of contaminants before applying waterproofing materials.
- Reinforce corners and penetration points with dedicated collars or flanges to prevent leaks.
- Double-check all joints and edges for proper sealing.
Getting the barrier right is the first step to long-term moisture protection.
Stopping Efflorescence
Efflorescence – those unsightly white mineral deposits – forms when water migrates through the veneer, carrying minerals to the surface. Preventing this issue requires careful moisture control.
- Install Capillary Breaks
Add a drainage plane with a 3/16-inch air gap to improve ventilation and stop moisture buildup. This is especially important in humid regions like Maryland. - Use Three Layers of Defense
Combine these elements for effective moisture protection:- Barrier system: The outermost layer for water resistance.
- Concealed barrier system: A water-resistive layer with proper overlaps.
- Rainscreen design: Ensures drainage and ventilation.
- Seal Joints Properly
- Use high-quality mortar and sealants to create watertight bonds.
- Include weep holes at the bottom of walls to allow water to escape.
- Integrate water-resistive barriers with window and door flashings for seamless protection.
For more details, refer to the Water Drainage Setup guide to learn about vent integration.
sbb-itb-843f8be
Waterproofing Maintenance
Keeping up with regular maintenance is crucial for protecting stone veneer from water damage and ensuring it lasts for years. Routine inspections can help catch potential problems early, saving you from costly repairs down the road.
Inspection Schedule
Experts at Pro Landscapes MD suggest inspecting your stone veneer twice a year – once in the spring and again in the fall. Spring inspections help identify winter-related damage, while fall checks prepare the structure for seasonal rains.
| Inspection Type | Frequency | Check Points |
|---|---|---|
| Visual Inspection | Spring & Fall | Look for surface cracks, loose stones, and any issues with flashing |
| Moisture Testing | As needed | Use a moisture meter to check damp-prone areas, especially after storms |
| Professional Assessment | Annually | Get a full evaluation of the waterproofing system and drainage setup |
| Post-Storm Inspection | After heavy storms | Inspect for damage or displaced materials caused by severe weather |
A quick way to test waterproofing is by performing a water spray test. Spray water on the surface – if it beads up and runs off, the waterproofing is effective. If it soaks in, it’s time for maintenance [3].
After inspections, address any issues right away, especially with sealants, to maintain the system’s integrity.
Sealant Application
Keeping the sealant in good condition is essential for long-term protection. Start by cleaning the surface with a mild detergent, water, and a soft brush to remove dirt and organic buildup [2]. Once the surface is completely dry, you can apply a new layer of sealant.
Here’s how to maintain sealants effectively:
- Check for peeling or worn areas in the existing sealant.
- Use a high-quality silane or siloxane product for reapplication.
- Ensure the new sealant is applied evenly across all surfaces.
Maryland’s climate presents specific challenges for stone veneer maintenance. Freeze-thaw cycles, heavy rainfall, and high humidity can accelerate wear and tear. To combat these conditions, pay special attention to:
- Drainage systems and gutter maintenance to prevent water buildup.
- Flashing integrity and proper ventilation behind the veneer.
- Sealant durability, especially in areas exposed to extreme weather.
Lastly, avoid placing mulch or plants directly against the stone veneer. These can trap moisture, speeding up deterioration [1][3]. By staying proactive, you can keep your stone veneer looking great and performing well for years to come.
Maryland Climate Factors
Maryland’s climate, with its annual rainfall of 40–45 inches and frequent freeze-thaw cycles, makes effective stone veneer waterproofing a necessity. Without proper measures, these conditions can lead to moisture-related issues like efflorescence, cracking, or structural damage.
Rain Management
To combat Maryland’s heavy rains, a multi-layered approach to moisture protection is essential. Each layer plays a specific role in keeping water out and ensuring durability:
| Protection Layer | Purpose | Key Features |
|---|---|---|
| Primary Barrier | Deflects water directly | Weather-resistant membrane, properly overlapped |
| Secondary Protection | Controls trapped moisture | Drainage mat with weep holes |
| Tertiary System | Evacuates water | Integrated flashing and drainage channels |
This layered system is especially crucial in Maryland’s climate. For example, a weather-resistant barrier placed behind the stone veneer can significantly reduce water infiltration. Products like MAPELASTIC SMART and LATICRETE HYDRO BAN are highly effective in managing prolonged moisture exposure [2].
To further enhance drainage, techniques like installing weep screeds, flashing, ventilation, and sloping are recommended. These strategies align with Pro Landscapes MD’s specialized approach to waterproofing in Maryland.
Pro Landscapes MD‘s Approach

Pro Landscapes MD has developed a tailored system to meet Maryland’s unique weather challenges. Their approach combines advanced waterproofing techniques with strategic drainage solutions to ensure long-lasting results.
Take, for instance, a recent project in Howard County where Pro Landscapes MD installed stone veneer on a residential retaining wall. The team applied a double coat of waterproof membrane, added weep screeds, and used high-quality flashing. Even after several seasons of heavy rains and winter freezes, the wall remains structurally sound and free of efflorescence.
Their waterproofing strategy focuses on three key areas:
- Substrate Preparation: Surfaces are thoroughly cleaned and primed to ensure proper adhesion of waterproofing materials.
- Moisture Management: High-performance waterproof membranes are installed with precise overlapping to prevent water penetration.
- Drainage Integration: Features like weep holes and drainage mats are strategically placed to channel water away effectively.
In areas prone to particularly heavy rainfall, such as Howard and Montgomery Counties, Pro Landscapes MD goes a step further by incorporating additional drainage solutions like French drains and dry riverbeds. These features help manage excess water and protect stone veneer installations from damage.
Summary
Protecting stone veneer installations from water damage requires a well-thought-out, three-layer waterproofing system. The first layer acts as the primary defense, keeping water out at the surface. The second layer, a concealed barrier, manages any moisture that makes it past the exterior. To tackle Maryland’s unpredictable weather, a rainscreen system adds an extra layer of defense by creating air space between the water-resistant barrier and the veneer cladding [1].
For a successful installation, proper preparation and high-quality materials are key. Using professional-grade products like KERAQUICK MAXI S1 and LATICRETE MVIS Masonry Veneer Mortar ensures the flexibility and bonding strength needed for a long-lasting application [2].
Here’s a breakdown of the three essential layers that make up this system:
| Protection Layer | Key Components | Primary Function |
|---|---|---|
| Surface Prep | Clean substrate, mechanical removal of contaminants | Prepares an ideal bonding surface |
| Moisture Barrier | Weather-resistant membrane, drainage mat | Blocks water from seeping in |
| Final Protection | High-performance adhesive, proper curing time | Secures a waterproof seal |
Pro Landscapes MD has demonstrated the effectiveness of this multi-layered system across various Maryland regions, including Howard County and Montgomery County. Their expertise combines advanced waterproofing techniques with efficient drainage solutions, ensuring installations withstand Maryland’s freeze-thaw cycles and heavy rainfall.
To maintain the integrity of the system, annual inspections are crucial, especially after severe weather events. Clearing drainage systems promptly also plays a vital role in preventing water buildup that could compromise the waterproofing.
In Maryland’s demanding climate, proper waterproofing is more than a good idea – it’s a necessity. When installed and maintained with these proven methods, a robust waterproofing system not only protects your investment but also keeps your stone veneer looking beautiful for years to come.
FAQs
How do I select the best waterproofing products for my climate?
Choosing the right waterproofing products for your stone veneer starts with understanding the specific challenges of your local climate. If you live in a region with frequent heavy rainfall, it’s important to choose waterproofing membranes or sealants that can handle extended water exposure. In colder areas, go for products designed to be freeze-thaw resistant to prevent damage caused by temperature swings.
Make sure to read product labels carefully to ensure they’re compatible with your stone veneer materials. If you’re unsure, consulting a professional can help you find the best options for your needs. Picking the right products not only protects your stone veneer but also helps it last longer and remain durable.
How can I tell if my stone veneer waterproofing is failing, and what steps should I take to fix it?
If your stone veneer is showing signs of trouble, like water stains, mold, mildew, or cracks, it could mean the waterproofing is failing. Another red flag is efflorescence – that white, chalky residue caused by water dissolving salts in the stone or mortar. Ignoring these problems can lead to more damage and ruin the look and durability of your veneer.
To address these issues, start by finding and fixing the source of the water problem. This could involve repairing damaged flashing or resealing areas where water is getting through. Once that’s done, apply a high-quality waterproof sealant made specifically for stone veneer. If the damage is severe, it’s a good idea to call in a professional to ensure the repairs are done right and provide lasting protection. Routine upkeep, like checking for cracks and keeping the surface clean, can go a long way in avoiding future problems.
Is it better to install a stone veneer waterproofing system myself or hire a professional?
Installing a stone veneer waterproofing system isn’t a task to take lightly. It demands precise preparation and a keen eye for detail. While you might tackle it yourself if you’re equipped with the right tools and know-how, bringing in a professional often guarantees better results and long-term durability.
Experts, such as the team at Pro Landscapes MD, excel in handling each phase of the process – from meticulous prep work to seamless installation. Their expertise ensures your stone veneer not only stands the test of time but also stays safeguarded against water damage, sparing you from unnecessary headaches and expensive repairs down the road.
Chat with Us