


- bhavya gada
- No Comments
Terracing is a proven method to manage erosion on sloped land by creating level platforms that slow water flow, reduce runoff, and stabilize soil. In Maryland, where heavy rains and varied landscapes are common, terracing can protect your property while improving usability and value. Key benefits include:
- Erosion Control: Terraces reduce water speed, trap sediment, and prevent soil loss.
- Water Management: Improves soil absorption and prevents pooling or runoff damage.
- Vegetation Support: Provides stable ground for plants, which further anchor the soil.
For Maryland homeowners, terracing projects require careful planning, including site assessment, permits, and choosing the right materials like timber, stone, or concrete. Proper drainage systems and vegetation are essential to ensure long-term stability.
Quick Facts:
- Cost: $10–$40 per sq. ft., depending on materials.
- Lifespan: Timber (15–20 years), Stone (100+ years), Concrete (50+ years).
- Permits: Required for large projects disturbing over 5,000 sq. ft. of land.
- Maintenance: Regular drainage checks, vegetation upkeep, and wall inspections.
Terracing not only prevents erosion but also transforms steep, unusable land into functional and attractive spaces. Professional help, like services from Pro Landscapes MD, ensures compliance with local regulations and a durable design tailored to Maryland’s unique conditions.
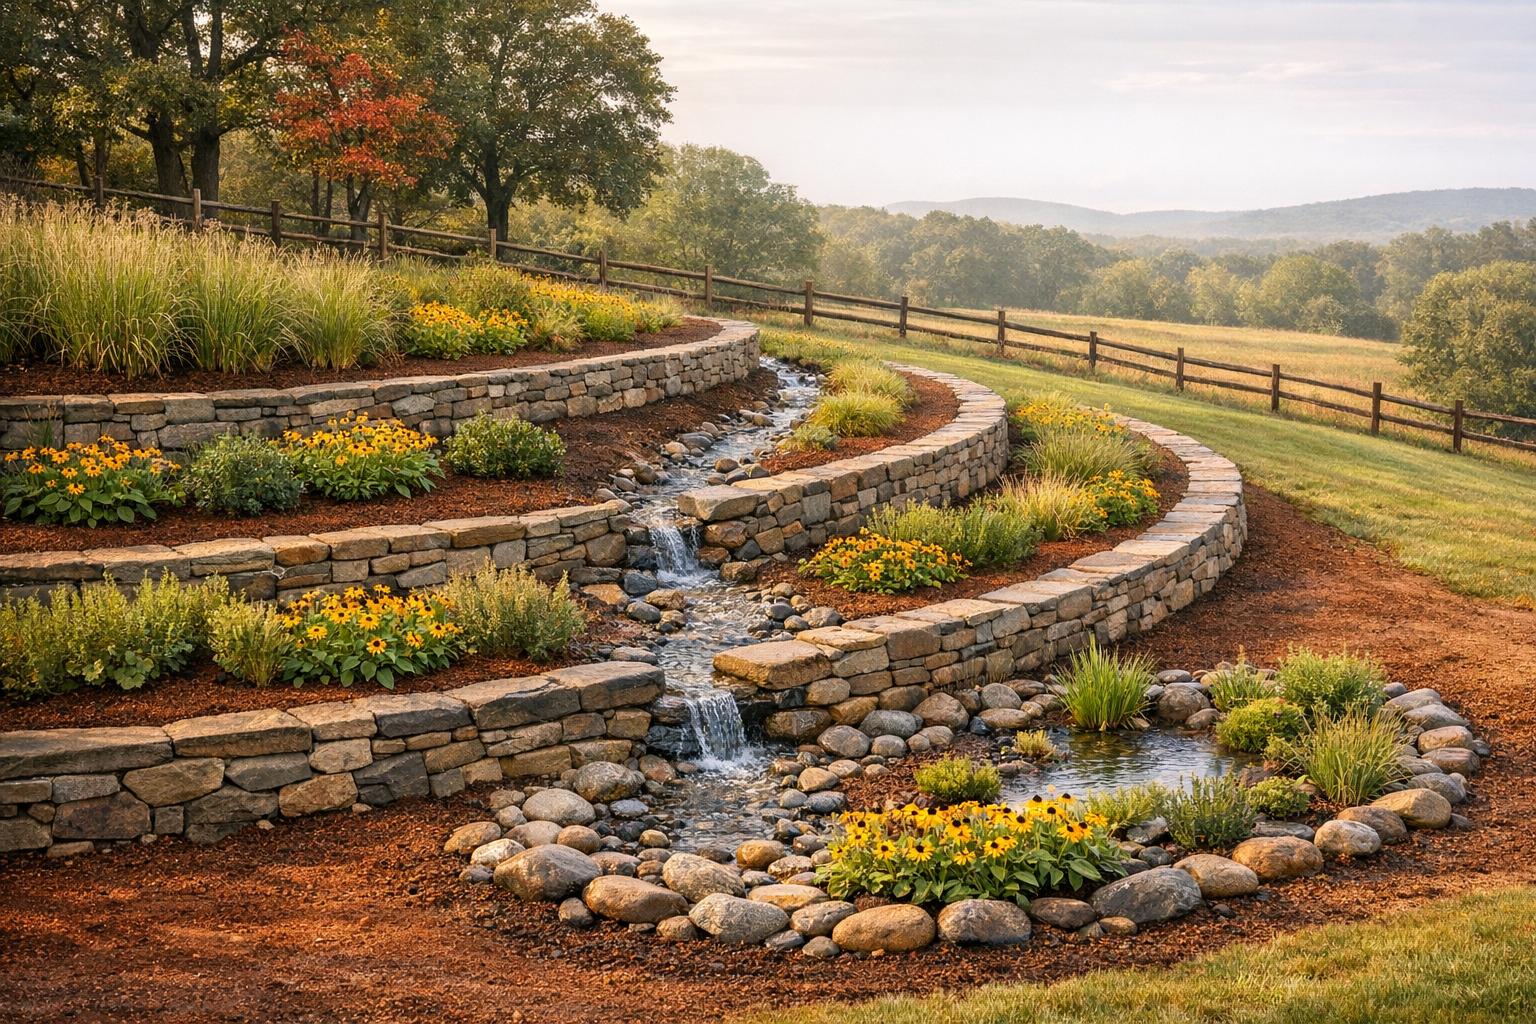
Terracing Extremely Steep Hillside Slope with Loose Eroding Soil to Create Stable Hill for Planting
sbb-itb-843f8be
How Terracing Works
Terracing changes how water moves down a slope by disrupting its natural flow. Instead of allowing rainwater to pick up speed and volume as it descends, terraces act as barriers that slow it down, spread it out, and direct it safely to an outlet. This slows erosion by reducing the water’s energy and giving it more time to soak into the soil.
Ridges and channels are key in this process, as they catch runoff before it gathers enough force to cause damage. In Maryland’s humid climate, these channels are often graded to guide water to safe outlets like grassed waterways or subsurface drains. By slowing the water, the system minimizes erosion and increases the ground’s ability to absorb moisture, setting the stage for better erosion control.
Terracing’s Role in Erosion Control
Terracing helps prevent erosion by breaking slopes into smaller, more manageable sections and trapping sediment. Purdue University agricultural engineers explain:
Terracing is a soil conservation practice applied to prevent rainfall runoff on sloping land from accumulating and causing serious erosion [2].
By dividing a long slope into shorter sections, terraces stop water from gaining the speed and force that lead to erosion. Each flat section acts as a basin, trapping soil particles that might otherwise be washed away. Modern PTO terraces take this further by using a "riser" – a surface inlet with a small opening – to control how quickly water is released. This system temporarily holds water, allowing sediment to settle before the water is drained through subsurface tiles [2].
Terracing is most effective on fields with long, uniform slopes of less than 8% [2]. However, for steeper residential slopes in Maryland – ranging from 10° to 45° – specialized terracing systems can be designed to provide extra support, reducing the risk of landslides and other slope failures [1].
Main Components of a Terrace System
Each part of a terrace system plays a role in maintaining soil stability. The system includes ridges that act as barriers, channels that guide water, and outlets – like grassed waterways or subsurface drains – that safely remove excess runoff.
The riser, the vertical or near-vertical face between terraces, adds structural support. It’s often reinforced with materials like stone, timber, or deep-rooted plants to prevent collapse. The bench, or flat area, slows water and provides space for vegetation, which adds another layer of stability. Together, these components ensure controlled water flow, reducing erosion and maintaining a stable landscape year after year.
Planning Your Terracing Project in Maryland
Once you understand how terracing helps manage erosion, the next step is to carefully plan your project while considering Maryland’s specific conditions. The state’s varied landscape – ranging from the Eastern Shore’s coastlines to the central counties’ rolling hills – means soil types and regulations can differ widely. Taking the time to evaluate your site thoroughly can save you money, avoid structural problems, and ensure a smoother process overall.
Site Assessment: Evaluating Slope and Soil
Start by identifying your soil type. For example, Sassafras soil, Maryland’s official state soil, covers about 500,000 acres and is known for its excellent drainage and load-bearing properties [4]. If your property is on the Lower Eastern Shore or near the Chesapeake Bay, you’ll also need to account for saltwater intrusion. As of July 2020, this issue has impacted 50,365 forested acres in Maryland, and sea levels in the region are rising at twice the global average rate [4].
Next, measure the slope angle and length of your land. This will help determine the right terrace design. Steeper slopes may need reinforced retaining walls and more advanced drainage systems. To further stabilize the soil and reduce erosion, consider planting cover crops like rye or barley.
Permits and Local Regulations
Permits are a key part of any terracing project in Maryland. For instance, in Montgomery County, projects that disturb 5,000 square feet of land or involve moving 100 cubic yards of earth require an Engineered Sediment Control Permit [5]. Smaller projects may qualify for a Small Land Disturbing Activities (SLDA) permit, though most terracing efforts exceed these limits.
Permit reviews typically take 2–4 weeks, and permits are valid for two years. The process involves paying a non-refundable fee, posting a refundable construction bond, and settling any remaining fees before the final inspection [5]. Before starting construction, schedule a pre-construction meeting with an inspector and clearly mark the disturbance boundaries [5]. Most counties use online systems like DPS eServices for submitting plans and documentation. Once the project is done, you’ll need to submit an "as-built" stormwater management plan to confirm your work matches the approved design [5]. Also, check local municipal requirements, as some counties in Maryland have their own permitting rules.
To make navigating these regulations easier, consider working with local professionals like Pro Landscapes MD. Their expertise in grading, drainage systems, and retaining walls across counties like Howard, Montgomery, and Baltimore ensures your project complies with Maryland’s erosion control standards.
Finally, don’t overlook financial assistance. Programs like the Maryland Agricultural Water Quality Cost-Share Program and the Cover Crop Program offer grants ranging from $35 to $65 per acre for erosion control measures [4]. These can help offset the costs of your terracing project.
Types of Terrace Designs

Terrace Material Comparison: Cost, Lifespan, and Best Uses
When planning terraces for your Maryland property, it’s crucial to match the design to your site’s slope, soil conditions, and budget. The right choice ensures effective erosion control and long-term durability. Each terrace material offers distinct benefits and trade-offs, so understanding your options will help you make the best decision.
Timber Terraces
Timber terraces are a budget-friendly option, costing around $10–$15 per square foot [6]. They’re great for DIY enthusiasts and bring a rustic charm to wooded or casual landscapes. However, timber has a lifespan of 15–20 years [6] and requires ongoing maintenance to prevent rot and insect damage. Due to its structural limitations, timber is best for walls no higher than 4 feet [6], making it ideal for gentle slopes.
Stone Retaining Walls
If you’re looking for durability and elegance, natural stone is a top-tier choice. It comes with a higher price tag, ranging from $25–$40 per square foot [6], but offers unmatched longevity, often exceeding 100 years with minimal upkeep [6]. Its timeless aesthetic can boost property value and suits both classic and modern landscapes. Additionally, stone’s resilience makes it well-suited to Maryland’s diverse climate, though professional installation is typically required due to its weight and complexity.
Concrete and Vegetated Terraces
Concrete terraces provide two main options:
- Engineered concrete blocks: These cost $15–$25 per square foot [6] and last over 50 years [6]. They deliver a clean, uniform appearance and reliable structural integrity.
- Poured concrete: With costs between $20–$35 per square foot [6], poured concrete allows for custom designs, making it a favorite for contemporary landscapes. However, it may be prone to cracking in areas with frequent freeze-thaw cycles [6], which could be a concern in regions with harsh winters.
For those prioritizing eco-friendly solutions, vegetated terraces are an excellent choice. Incorporating plants with deep roots, such as Fragrant Sumac, Bearberry, or Little Bluestem, can naturally stabilize soil. The University of Maryland Extension highlights the benefits of vegetation:
"Live roots from spreading perennials or shrubs are one of the best solutions for stabilizing the soil" [7].
By blending structural elements with native plants, you can create a terrace that not only controls erosion but also improves over time.
| Material | Lifespan | Cost (per sq. ft.) | Best For |
|---|---|---|---|
| Timber | 15–20 years [6] | $10–$15 [6] | Budget-friendly projects, gentle slopes, walls under 4 ft. |
| Concrete Blocks | 50+ years [6] | $15–$25 [6] | Sleek designs, moderate slopes, long-term value |
| Poured Concrete | Variable | $20–$35 [6] | Custom designs, areas with mild winters |
| Natural Stone | 100+ years [6] | $25–$40 [6] | High-end aesthetics, steeper slopes, maximum durability |
Materials and Tools for Building Terraces
Choosing the right materials and tools is key to creating terraces that last. Your selection should align with the slope’s conditions, your budget, and how involved you want to be in the installation process. Below, we’ll dive into the essential components: hardscape materials, drainage systems, layout tools, and stabilization methods.
Hardscape Materials
Terraces are often built with materials like reinforced concrete, paver stones, mortared stone, concrete blocks, brick, or timber [9]. If you’re looking for an eco-friendly option, systems made from 100% recycled HDPE plastic are worth considering. These lightweight solutions are designed for slopes between 10° and 45° and incorporate recycled materials, such as the equivalent of 13 milk jugs per system. As USA Today reported:
Dirt Locker, a patented terracing system, is transforming sloped land into lush, stable, and productive terrain [1].
Drainage Components
Proper drainage is just as important as the terrace structure itself. To prevent water pressure from building up behind retaining walls, install perforated PVC pipes (commonly known as French drains) surrounded by gravel and filter fabric on the uphill side [9]. For areas with less permeable soil, graded terraces with well-placed drainage outlets can help avoid water pooling, which could destabilize the structure. Additionally, during construction, protect storm sewer inlets with gravel or geotextile bags filled with stone to keep sediment out [9].
Layout and Excavation Tools
For smaller terraces, basic tools like measuring tapes, string lines, stakes, and shovels are sufficient [11][12]. On larger slopes, you may need tools like water levels or marking flags to establish contour lines [12][13]. If the project involves significant excavation, equipment such as tractors with front-end loaders or backhoes can handle the heavy lifting. For paver installations, a plate compactor that delivers over 3,000 pounds of force is essential to properly settle the base layers and remove air pockets [11].
Stabilization Materials
Temporary stabilization is crucial during construction. Erosion control blankets made from jute, coconut fiber, or synthetic materials provide excellent short-term support [9]. In Maryland, for example, applying 2–3 tons of hay or straw mulch per acre on regraded terrace soil is a common practice to secure the soil structure [14]. For vegetative terraces, planting stiff-stemmed perennial grasses like Switch grass and Eastern gamagrass can create natural "living" barriers. These grasses trap sediment and gradually form natural terrace benches. As the MU Extension explains:
Vegetative barriers are narrow, parallel strips of stiff, erect, dense vegetation planted on or close to the contour… Over a period of years, barriers form terrace-like benches [10].
Terrace Installation Process
Terrace installation typically unfolds in three main phases: marking contours and excavation, building retaining walls, and setting up drainage and vegetation.
Step 1: Marking Contours and Excavation
Start by assessing your slope, terrain, and soil type to determine the best terrace design. Proper spacing is key for accommodating equipment and managing erosion effectively [1][8]. As Mahdi Al-Kaisi, a Retired Professor of Soil Management and Environment, explains:
Soil types, slopes, and tolerance for in-field erosion determine terrace design and structure throughout the state [8].
Use alignment tools to follow the natural curves of the hillside, especially on steep or uneven terrain [1]. Modern modular systems can stabilize slopes ranging from 10° to 45° while creating a channel and ridge from the displaced soil to help control water flow [1][8]. Be sure to check for low spots and fill them in to maintain a consistent ridge height, which is crucial for preventing overflow during heavy storms. Engineered terraces are designed to handle a 10-year storm event [8].
During this phase, install drainage features like standing pipes or inlets and mark them with bright paint or flags to ensure safe grading. For guidance on engineering requirements specific to your soil, reach out to your local Natural Resources Conservation Service (NRCS) office [8].
Once contours are marked and excavation is complete, you can move on to constructing retaining walls.
Step 2: Building Retaining Walls
With contours marked and excavation done, the next step is building retaining walls to secure each terrace level. The materials you choose – stone, timber, concrete blocks, or modular systems – will determine the construction technique. To maintain the ridge’s integrity, avoid removing soil from it, as this can increase erosion risks during heavy rainfall [8].
For stone or block walls, start at the lowest point and work your way upward, ensuring each layer is level and properly backfilled. If using timber or modular systems, follow the manufacturer’s instructions to ensure the structure is stable and durable.
After the retaining walls are in place, the focus shifts to drainage and vegetation to enhance stability.
Step 3: Installing Drainage and Vegetation
Proper drainage is crucial for the longevity of your terrace system and effective erosion control. Install French drains by digging trenches along the uphill side of each retaining wall and placing perforated PVC pipes surrounded by permeable gravel [15]. For areas with significant runoff, catch basins at the base of slopes can redirect water safely through underground pipes [15].
Swales – shallow, grass-covered ditches – can also help manage water along natural slopes [15]. In areas where water needs to percolate slowly, dry wells (underground basins filled with rocks) may be a good option [15]. Before digging for any underground drainage systems, call 811 to have utility lines marked [15].
After setting up the drainage system, establish vegetation immediately to prevent soil erosion. Use hard, clay-like soil for final grading instead of bagged topsoil, which is more prone to washing away [15]. When grading slopes near structures, maintain a gap of at least 4 inches between the top of the slope and the bottom of any siding [15]. Plant deep-rooted native species in rain gardens or low-lying areas to better absorb stormwater [15]. For compacted soil, especially in Maryland, professional aeration can significantly improve water absorption [15].
These steps complete your terrace system, ensuring effective erosion control and long-term stability. If you’re in central Maryland and need professional help with terrace installation, Pro Landscapes MD offers services to ensure your project is completed safely and meets local standards.
Maintaining Your Terraces
Keeping your terraces in good shape is crucial to prevent erosion. The key areas to focus on are drainage systems, the condition of retaining walls, and vegetation upkeep.
Drainage Inspections
After major storms, inspect your drainage systems, including underground pipe outlets, to clear sediment and avoid blockages[13]. As Robert W. Schottman and John White from MU Extension explain:
Terrace ridges are damaged unless the land is farmed on the contour[13].
Pay special attention to discharge points for signs of washouts and clean debris from outlets at least once a year. Remove any silt bars that form in terrace channels to ensure water flows freely[2]. If your system uses grassed waterways instead of pipes, make sure the vegetation is erosion-resistant and clear of debris that might disrupt water flow[13]. Proper drainage maintenance is essential for keeping both the walls and ridges intact.
Wall and Ridge Maintenance
Inspect retaining walls and terrace ridges for damage, especially after heavy rains. For broad-based terraces, rebuilding ridges may occasionally be necessary by plowing toward the ridge top from both sides[2]. Avoid using tillage or heavy equipment in ways that don’t follow the terrace contour, as this can wear down the ridges and weaken the system[13]. Keeping water from seeping behind the structures is critical to preventing soil erosion. Along with structural checks, vegetation management plays a big role in maintaining terrace stability.
Vegetation Management
Apply a 3- to 4-inch layer of shredded mulch – such as redwood, cedar, oak, or pine – to suppress weeds and protect the soil[17][18]. Replace any dead plants promptly to avoid weak spots that can speed up erosion[17]. For grass-covered terraces, regular mowing promotes healthy growth and prevents woody plants from taking over[16]. Prune shrubs and trees to maintain structure and shade, which help protect the soil, and remove invasive weeds before they outcompete stabilizing plants[16][17].
Common Terracing Mistakes to Avoid
Even with careful planning, terracing projects can fail if crucial details are missed. Avoiding common mistakes during construction is key to ensuring long-term stability and performance.
One frequent misstep is selecting the wrong type of terrace. For example, using level terraces on low-permeability soils can lead to water pooling, while graded terraces in areas that need level ones can disrupt proper water infiltration [3]. Another issue is designing terrace ridges that exceed 100 meters (about 328 feet) in length, which increases the risk of failure during storms [3].
Inadequate soil compaction is another common error. Soil should be compacted in 6-inch increments to prevent settling and collapse [3]. Similarly, failing to incorporate proper drainage during construction can leave lower terraces vulnerable to runoff damage if unexpected rain occurs [3].
Getting riser slopes wrong can also cause long-term instability. The recommended slope ratios are as follows: 0.75:1 for hand-made earth risers, 0.5:1 for rock-reinforced risers, and 1:1 for machine-built earth risers [3]. Deviating from these ratios can result in slumping and erosion on the slopes.
Another oversight is failing to enrich exposed subsoil with nutrients, which can hinder vegetation growth and weaken erosion control efforts. Nutrient supplementation should be addressed early on [3]. Additionally, piling mulch too high – creating so-called "mulch volcanoes" – can harm plants by trapping moisture against the bark, inviting pests and fungus, and encouraging roots to grow into the mulch rather than the soil. Keep mulch at a consistent depth of 2 to 3 inches, and pull it back a few inches from plant bases.
After heavy rainfall, inspect terraces for standing water or changes in runoff patterns. Addressing flow issues promptly can prevent further damage and limit maintenance costs to around 5% of the initial investment [3]. Regular monitoring after storms is essential to preserve the terrace’s functionality.
Conclusion
Terracing transforms steep, erosion-prone slopes into stable, productive landscapes. When done right, terraces can reduce surface runoff by over 41.9%, decrease sediment loss by up to 52%, improve soil moisture by 12.9%, and increase agricultural yields by as much as 44.8% [19]. With a functional lifespan of more than 15 years and maintenance costs averaging just 5% of the initial investment, terracing offers a durable and cost-effective solution for Maryland property owners [3].
Success hinges on proper design and execution. Poorly planned terraces can actually worsen erosion – potentially increasing it by 1 to 5 times compared to well-designed systems [19]. The Purdue University Cooperative Extension Service emphasizes:
Regardless of who installs it, a terrace system must be well designed. Usually this will require the services of an engineer or someone specially trained in terrace design [2].
Expertly designed terraces are key to meeting environmental regulations and ensuring long-term effectiveness. Professionals ensure proper spacing, drainage, and riser slopes while managing the complexities of field surveying and subsurface drain installation. They also sequence construction from the top of the slope downward to control runoff throughout the process [2]. This attention to detail is crucial for Maryland homeowners looking to protect their properties from erosion.
For homeowners in Howard County, Montgomery County, Carroll County, Frederick County, Prince George’s County, and Baltimore County, Pro Landscapes MD offers tailored hardscaping and drainage solutions. Their expertise in retaining walls, grading, stormwater management, and erosion control ensures that your terrace system is built to last.
Whether you’re dealing with a steep backyard or a hillside garden, investing in professional terrace design not only preserves the stability of your landscape but also enhances its beauty. A well-executed terrace system saves time, reduces costs, and eliminates the frustration of dealing with erosion, all while protecting your property for years to come.
FAQs
Is my slope too steep for terracing?
The steepness of your slope plays a key role in determining whether it’s suitable for terracing. Slopes that are steeper than 2:1 (2 units horizontal to 1 unit vertical) often need extra stabilization measures, like retaining walls or riprap, to prevent erosion. If your slope is particularly steep, it’s wise to consult a landscape professional. They can help design a safe and effective solution to manage erosion and ensure the stability of your terracing project.
Do I need a permit for terracing in Maryland?
Yes, in Maryland, a grading permit is required for terracing projects that involve land grading or erosion control. Before beginning the work, you also need to submit an erosion and sediment control plan for approval.
How can I tell if my terrace drainage is working?
If you want to ensure your terrace drainage is working properly, start by observing how quickly water disappears after rain or watering. If water drains efficiently without pooling or lingering, that’s a good sign. Also, keep an eye out for signs of erosion or runoff around the edges of the terrace, as these could signal potential problems.
Make it a habit to regularly check drainage outlets or channels to confirm they’re free of debris that could block water flow. If you notice persistent standing water or erosion, it’s a clear indicator that your drainage system might need some attention or adjustments.
Chat with Us