









- bhavya gada
- No Comments
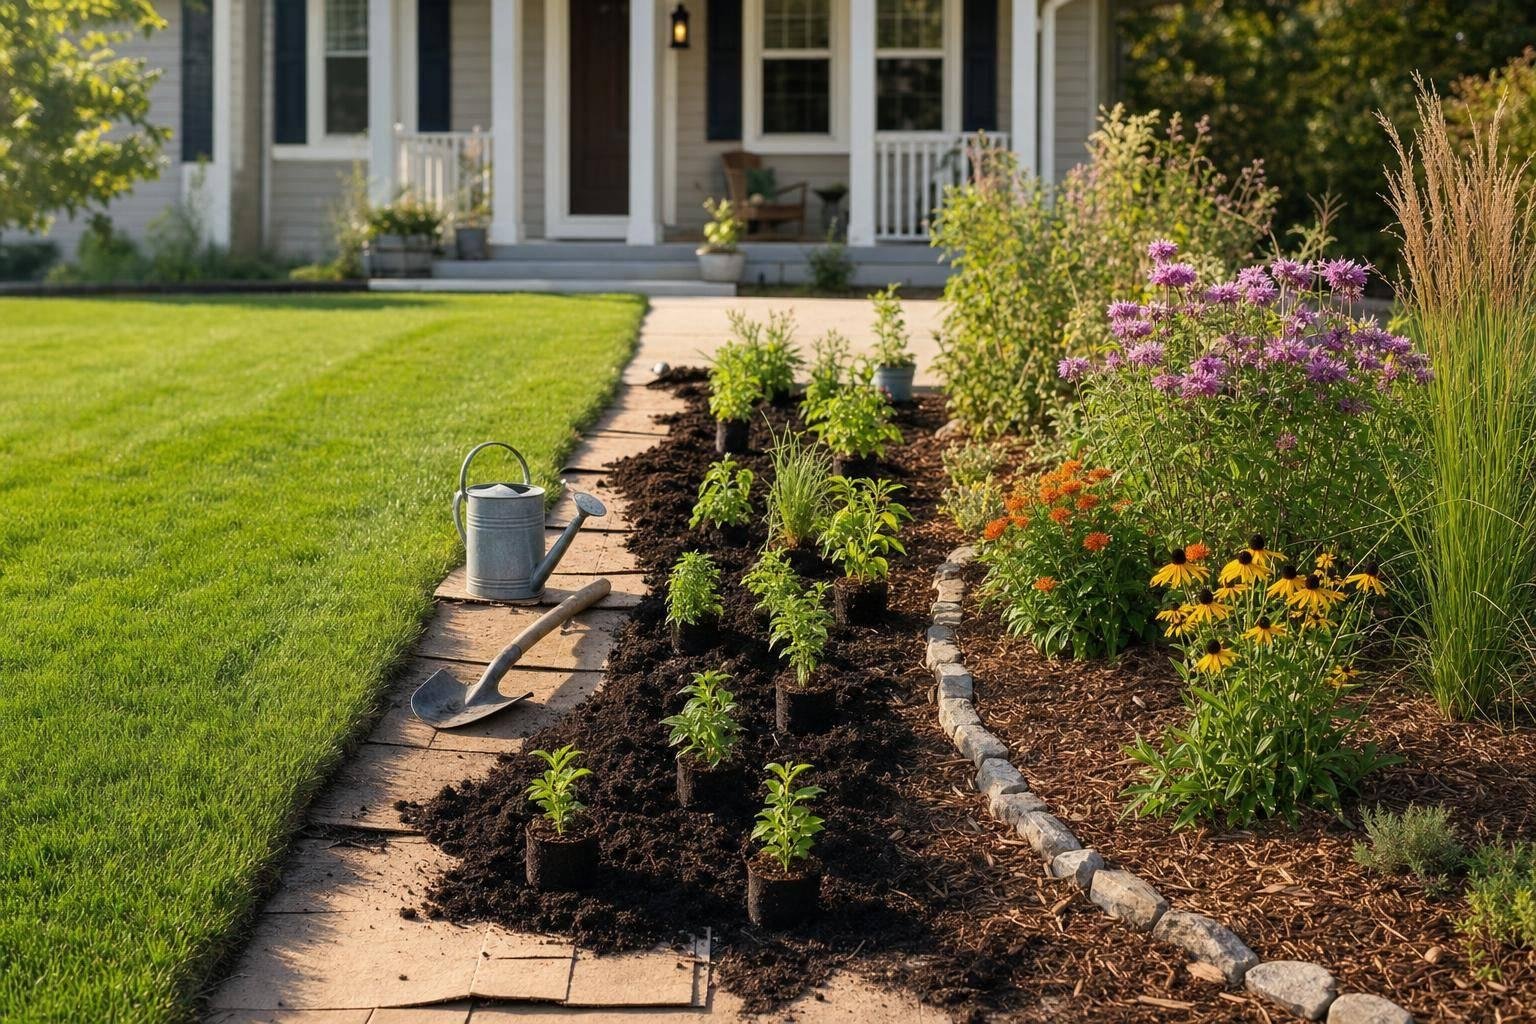
You can cut mowing, lower fertilizer use, and make part of your Maryland yard easier to care for by replacing grass with native plants. In most U.S. lawns, turf grass uses a lot of water and routine upkeep, and the EPA notes that landscape irrigation can make up about 30% of household water use nationwide. This guide boils the job down to 7 clear steps so you can plan the site, remove turf, prep soil, pick the right plants, lay them out, plant them, and care for them during the first two seasons.
If I wanted the short version, here it is:
- Check the site first: sun, wet spots, slope, and any HOA or local rules
- Remove turf the right way for the size of the area and your timeline
- Test the soil and fix compaction without overworking it
- Choose Maryland native plants based on light and moisture
- Sketch the layout so the bed looks neat and plants grow well together
- Plant at the right depth and use a thin layer of mulch
- Water deep, pull weeds early, and monitor for 2 seasons
A few details matter more than most people think. Wet soil needs different plants than dry soil. Steep slopes may need grading or drainage work first. And planting too deep can lead to crown rot, while too much mulch can slow growth.
| Step | What I’d focus on | Main goal |
|---|---|---|
| 1 | Sun, drainage, slope, rules | Make a plan that fits the yard |
| 2 | Turf removal method | Clear the area with the right level of soil disturbance |
| 3 | Soil test and light loosening | Help roots get started |
| 4 | Native plant match | Fit plants to site conditions |
| 5 | Plant grouping and edges | Keep the bed orderly |
| 6 | Planting depth and mulch | Avoid early plant stress |
| 7 | Watering and weeding | Help the bed fill in over 1–2 seasons |
The main idea is simple: if I match the site, soil, and plants from the start, the new bed usually needs less mowing and gives pollinators and birds food and cover. From there, the work is mostly about clean setup and steady early care.
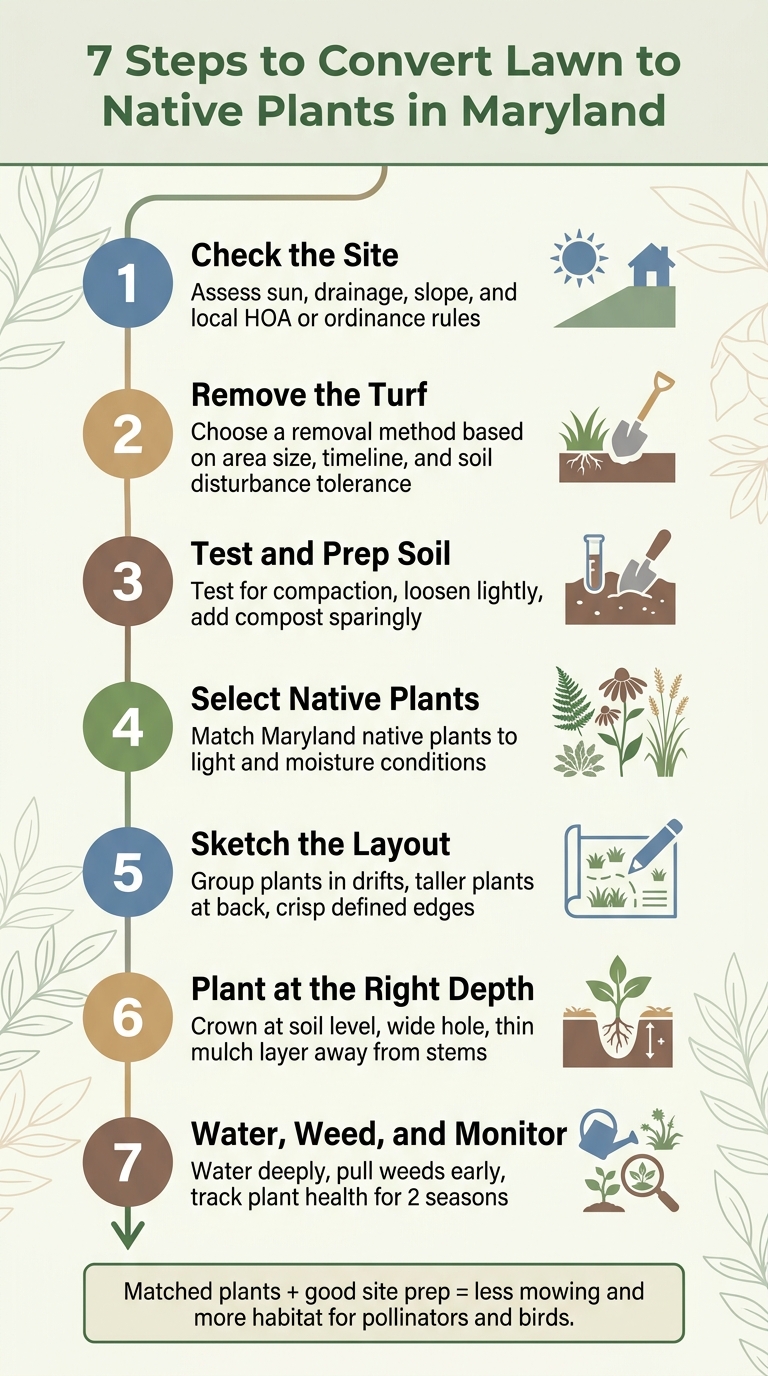
7 Steps to Convert Lawn to Native Plants in Maryland
Kill Your Lawn — The Why and How to Converting Lawn to Meadow Garden
sbb-itb-843f8be
Steps 1–2: Review the Site and Remove the Turf
Look at the site and the rules first. That saves time, money, and the kind of redo work nobody wants later.
Step 1: Check Sun, Drainage, Slope, and Local Rules
Start with the basics: sun, drainage, and slope. Then check HOA standards, setbacks, sightlines, and any Maryland or local native-plant or meadow ordinances that may apply to a native planting.
Those details shape the whole job. A yard that stays wet after rain needs a different plan than a dry, flat patch that gets full sun all day. The same goes for a steep slope versus a level front lawn. Rules matter too. If a planting area affects visibility near a driveway or street corner, for example, sightline rules can change what you’re allowed to do and where you can do it.
Step 2: Choose a Turf Removal Method That Fits the Site
Pick a turf removal method based on the size of the area, your timeline, and how much soil disturbance you can live with.
That choice has a big effect on the next phase. Some methods are better for smaller spaces. Others make more sense when you need to clear a larger area or want to move fast. And if you’re trying to avoid stirring up the soil too much, that should guide the plan from the start.
When to Bring in Professional Help
Bring in professional help for drainage corrections, grading, or hardscape edging before planting. Pro Landscapes MD handles drainage, grading, edging, and lawn conversion projects across central Maryland.
Once the site is cleared, move to soil prep.
Steps 3–5: Prepare the Soil, Pick Native Plants, and Plan a Simple Layout
Once the turf is gone, these next three steps do a lot of the heavy lifting. Soil prep, plant choice, and layout shape how well the planting settles in and whether you end up fixing problems later. This is the part where the bed starts to take form before anything goes into the ground.
Step 3: Test and Prepare Soil Without Overworking It
Start with a soil test and check for compaction, which is common in Maryland yards. You want to know what the soil is dealing with before you start changing it.
If the ground feels compacted, loosen it lightly. Don’t dig too deep or turn everything over. A light touch usually works better here. Use compost sparingly and only where it’s needed, and make sure drainage moves water away from the foundation.
Step 4: Select Maryland Native Plants by Light and Moisture
Choose Maryland native plants based on the light and moisture in each part of the yard. That matters more than people think. Plants for a sunny, dry spot won’t do well in shade or wetter soil, and the reverse is just as true.
Match plants to the site, and you’ll usually get faster establishment and better long-term performance. It also helps support pollinators and birds, which is one of the big reasons many homeowners make this switch in the first place.
Step 5: Sketch a Layout That Looks Orderly and Supports Habitat
After you’ve picked your plants, arrange them before you dig. A simple sketch on paper is enough. Put taller plants at the back of a border or in the center of an island bed, then place shorter plants along the edges.
Group the same species in drifts instead of sprinkling single plants across the whole bed. Drifts look cleaner, and they help pollinators find plants faster. Keep the edges crisp and well defined so the bed looks planned, not random, and is easier to maintain.
Once the layout is marked, move to planting depth, mulch, and watering.
Steps 6–7: Plant Correctly and Handle Watering and Early Care
With the layout set, it’s time to get everything in the ground at the right depth, then water and mulch with a light touch.
Step 6: Plant at the Right Depth and Apply Mulch Lightly
After you mark the layout, plant in the same groupings you sketched. Before planting, water each plant well so the root ball settles faster.
Dig each hole wider than the root ball, not deeper. Set the crown – where the stems meet the roots – right at soil level. If you plant too deep, the crown can rot. Too shallow, and the roots can dry out.
Add a thin layer of mulch when you’re done, but keep it away from the stems. That helps hold moisture and cut down on weeds without smothering the plant.
Once everything is planted, shift your attention to water and weed control while the bed gets established.
Step 7: Water Deeply, Weed Early, and Track the First Two Seasons
During the first growing season, water deeply, pull weeds early, and keep an eye on plant health through the first two seasons. Maryland’s summer heat and dry spells can stress new plantings fast, so check the bed weekly during establishment. That makes it easier to catch drought stress and weeds before they turn into a bigger problem.
Where it makes sense, leave some seed heads and leaf litter in place to feed pollinators and give insects shelter.
Watch for:
- Dry spots
- Mulch buildup
- Plants that lean
- Plants that fail to leaf out
These first months shape how fast the native area fills in.
Conclusion: A 7-Step Process for a Lower-Maintenance Maryland Yard
This process works because it fits the site, the plants, and the layout to Maryland conditions. Each step builds on the one before it, so the planting area works with local conditions and gives wildlife a place to thrive. When those parts line up, plants can settle in fast and stay easier to care for.
The payoff grows over time. Once native plant areas are established, they usually need less mowing while also supporting pollinators and birds.
If your project calls for grading or drainage work, getting professional help can keep things on course. For bigger jobs, steep slopes, or yards with poor drainage, Pro Landscapes MD can help with landscape design, planting, and drainage work across central Maryland.
FAQs
When is the best time to convert lawn in Maryland?
Fall is usually the best time in Maryland to install native plants. The cooler weather helps roots grow well and cuts down on watering, which gives plants time to settle in before summer heat and possible drought hit.
Spring can work too, but it often takes more steady watering and closer attention in early summer. If you plant in spring, do it after the last frost, which is usually in mid to late April.
How large should a native plant area be to make a difference?
Even a small patch – like 3 by 3 feet or 4 by 4 feet – can make a meaningful difference.
If you want to support more pollinators, try setting aside 100 to 200 square feet. And if you can convert one-fifth to one-quarter of your yard to native plants, that can lead to broader benefits across your local ecosystem.
How long does it take for native plants to fill in?
Native plants usually take 2 to 3 years to fill in and reach full maturity. The good news is that they can start supporting local biodiversity not long after you plant them.
During those first couple of years, steady early care makes a big difference. It helps plants settle in, put down roots, and get off to a strong start. As the planting grows in, it becomes easier to spot what’s doing well in your space. From there, you can add more of the varieties you like best over time.
Chat with Us