









- bhavya gada
- No Comments
If I want a court that plays well and holds up, I have to plan lighting, fencing, drainage, and utilities at the same time.
Here’s the short version: lighting affects pole height, glare, and power use; fencing affects ball control, access, and safety; and both depend on site slope, wind, drainage, and nearby homes. If I set the order right – water first, power next, structure after that – I cut down on rework, extra cost, and later repairs.
A few facts help frame it fast:
- 1 foot-candle = about 10.76 lux
- Backstops are usually taller than sideline fencing
- Dark fence coatings like black or dark green can make the ball easier to track
- Poor drainage can lead to standing water, erosion, and frost heave
- Routine checks after storms can catch loose hardware, sagging fabric, and shifted light aim
What I’d focus on first:
- Set the use level: casual play, practice, or match play
- Match pole height and fixture aim to even light and lower glare
- Place fence posts and pole bases so they don’t clash with conduit or drainage
- Use coated chain link for lower upkeep and clear sightlines
- Check gates, ties, hinges, and tension for safety at the perimeter
- Follow the build sequence to avoid trench and footing conflicts
This article boils down to one point: a court perimeter works best when lighting and fencing are planned as one system, not two separate jobs.
What Are The Best Outdoor Tennis Court Lighting Packages for 2026?
Court Lighting Design: Levels, Layout, and Glare Control
Good court lighting does a few jobs at once. It needs to spread light evenly, keep glare low, show colors well, and make the ball and court lines easy to see.
Recommended Light Levels by Type of Play
Lighting is usually measured in foot-candles (fc) or lux. One foot-candle equals about 10.76 lux.
From there, the main job is simple: match the light level to how the court will be used. Casual play, practice, and competitive play do not need the same brightness. A neighborhood court used for pickup games won’t need the same output as a court set up for match play.
Pole Height, Fixture Placement, and Beam Angles
Once the target light level is set, pole height and spacing have a big effect on how evenly light lands across the court. Taller poles often help spread light more evenly over the playing surface.
Placement matters just as much. Poles need to clear fence lines, playing areas, and nearby property boundaries. Fixtures should be aimed with care so light stays on the court, doesn’t blind players, and doesn’t spill into neighboring yards or lots. In plain terms, the lighting layout has to work with the fence line, not fight it.
During installation, careful fixture alignment also helps cut down on shadows and patchy coverage.
Electrical, Controls, and Operating Costs
After the layout is locked in, the next step is power and controls. The electrical plan should match the court layout from the start, not get patched in later.
It also helps to use controls that keep operation simple while cutting wasted runtime and power use. That can mean timers, scheduling controls, or other setups that make it easier to run the system without leaving lights on longer than needed.
Court Fencing Design: Height, Materials, and Access
Once the lighting plan is in place, the next job is making sure the fence fits the court, the site, and the level of play. A good fence has to do a few things at once: keep balls in play, stay easy to see through, and give people a clean way in and out.
Fence Height for Backstops, Sidelines, and Gates
Fence height changes depending on where the fence sits around the court. Backstops behind the baselines are usually taller than the fencing along the sidelines. That extra height helps stop hard-hit balls and keeps play inside the court area.
Sideline fencing can be lower while still marking a clear edge. Gates also need careful planning. They should be wide enough for equipment access and placed where they won’t disrupt play or create blind spots around the perimeter.
Chain Link, Coatings, and Visibility
Chain link is the standard option for court fencing. It holds up well, keeps costs in check, and still lets air and sightlines pass through the fence line. For many courts, vinyl-coated chain link in dark green or black is the go-to pick.
Why those darker colors? They cut glare, fade into the background, and make the ball easier to follow against the fence. The coating also adds corrosion resistance, which helps the fence last longer outdoors.
Post Footings, Tensioning, and Player Safety Details
Posts need to be set in concrete footings sized for local soil conditions and wind loads. That part matters more than it may seem. If the footing is undersized, the whole fence system can shift or weaken over time.
Proper tensioning keeps the fabric taut, stops sagging, and gets rid of loose sections that could snag players or equipment. Hardware matters too. Tension bars, ties, and gate hinges should have smooth finishes or protective caps so there are no sharp edges near the playing surface. Player safety at the fence line comes down to steady tensioning and hardware that stays secure over time.
Once fence height, materials, and gate locations are set, installation can be scheduled around grading, utilities, and post layout.
sbb-itb-843f8be
Installation Sequence and Site Preparation
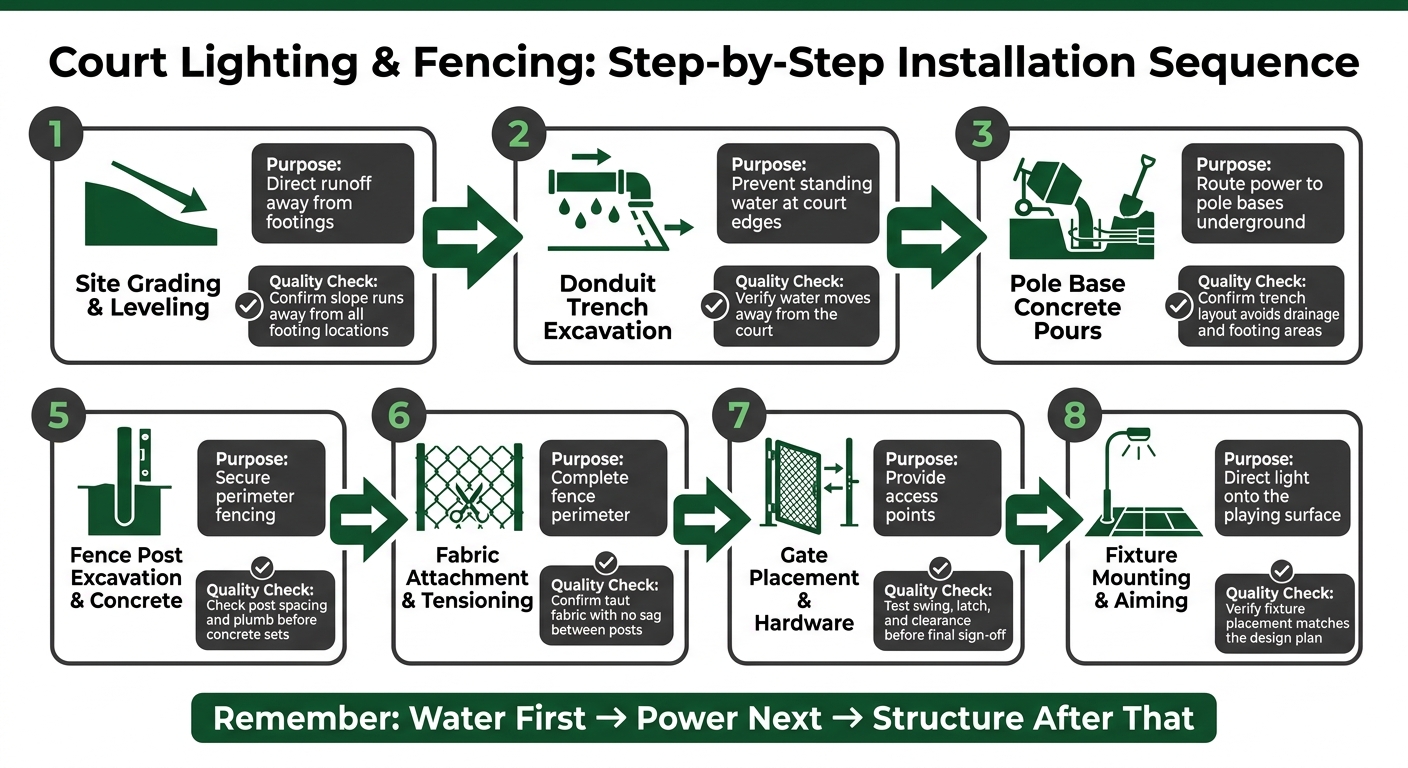
Court Lighting & Fencing Installation Sequence: Step-by-Step Build Order
Once the pole locations, fence lines, and gate positions are locked in, the next step is site prep. This is where the project either stays on track or starts fighting avoidable problems later.
The site should be graded and drained before any lighting poles, conduit, fence posts, or gates are installed. After drainage paths and utility routes are mapped, the work can move in a clear sequence.
Grading, Drainage, and Utility Planning Before Installation
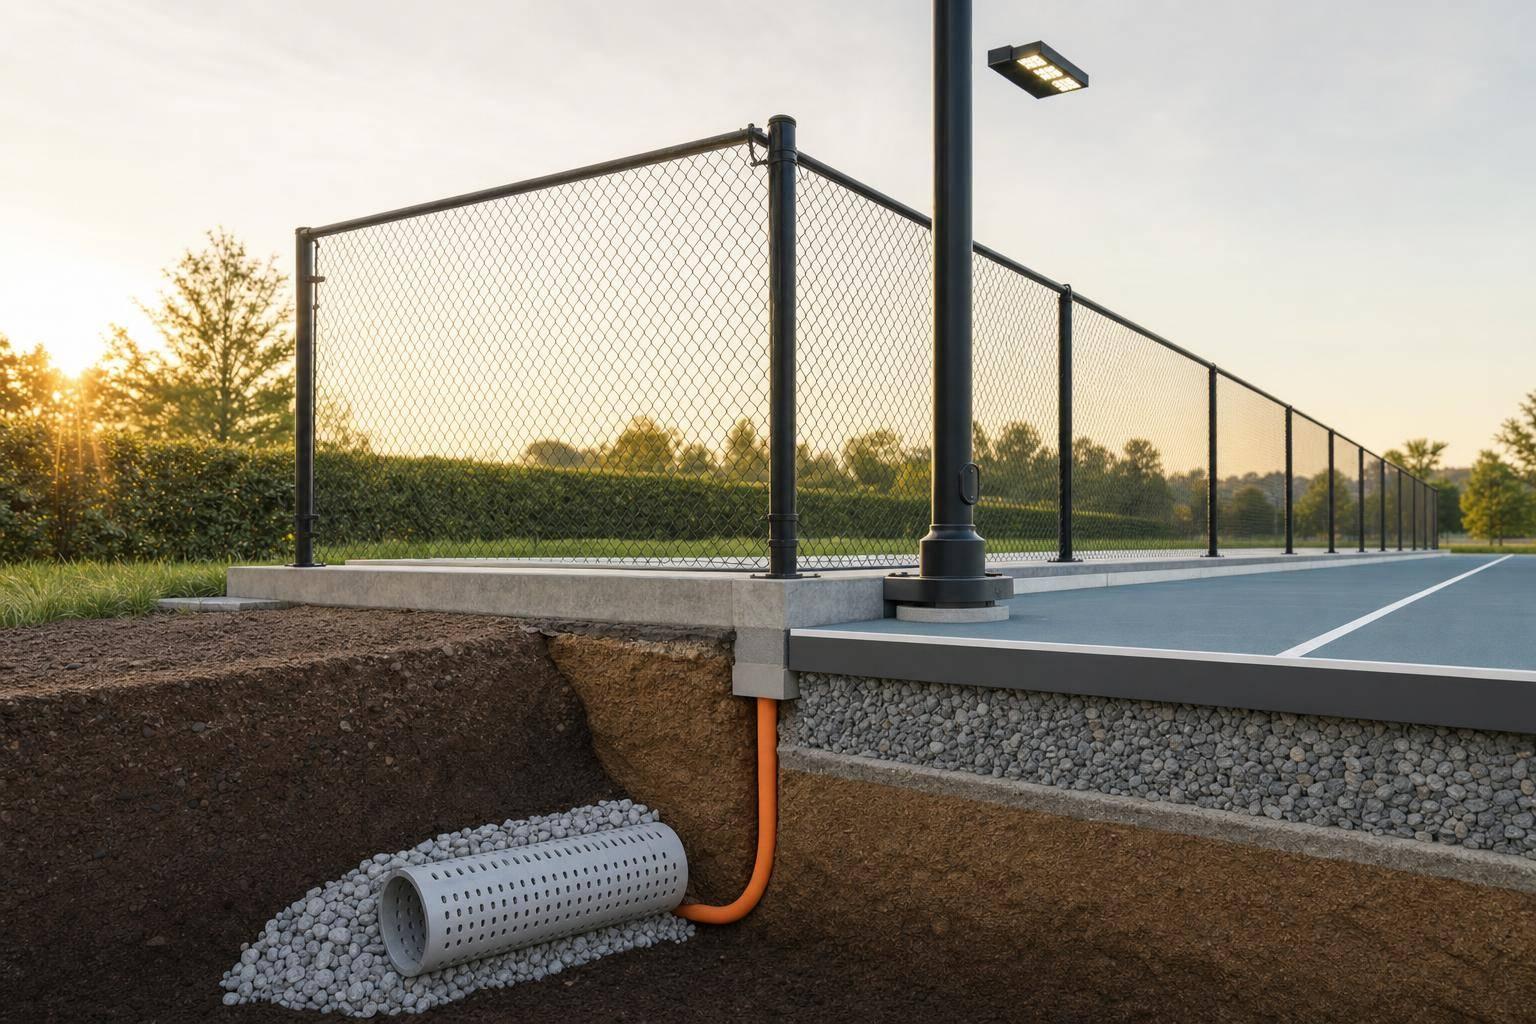
Start by grading the site so water moves away from the court and all footing locations. That matters more than it may seem at first. Good drainage helps cut down on standing water, erosion, frost heave, and long-term wear around the perimeter.
Drainage planning should happen at the same time as utility layout. If conduit routes are mapped before excavation begins, power lines can be routed without running into drainage lines or fence footings. It’s a lot easier to sort that out on paper than in an open trench.
For central Maryland projects, Pro Landscapes MD can handle grading, drainage, and land leveling around the court perimeter.
Build Order for Poles, Wiring, Posts, and Gates
Once grading and drainage are done, the build should follow a set order. Lighting pole bases are usually installed after the first excavation work and before fence posts. Conduit goes in while the trenches are still open. After that, fence post footings are installed, with spacing coordinated so they don’t interfere with the electrical runs.
| Step | Purpose | Key Quality Check |
|---|---|---|
| Site grading and leveling | Direct runoff away from footings | Confirm slope runs away from all footing locations |
| Drainage installation | Prevent standing water at court edges | Verify water moves away from the court |
| Conduit trench excavation | Route power to pole bases underground | Confirm trench layout avoids drainage and footing areas |
| Pole base concrete pours | Anchor lighting poles securely | Allow the concrete to cure fully before setting poles |
| Fence post excavation and concrete | Secure perimeter fencing | Check post spacing and plumb before concrete sets |
| Fabric attachment and tensioning | Complete fence perimeter | Confirm taut fabric with no sag between posts |
| Gate placement and hardware | Provide access points | Test swing, latch, and clearance before final sign-off |
| Fixture mounting and aiming | Direct light onto the playing surface | Verify fixture placement matches the design plan |
A simple way to think about it: water first, power next, structure after that. When the order slips, trades can end up reworking trenches, moving footings, or fixing drainage after the fact. That’s the kind of headache no one wants on a court build.
Maintenance, Repairs, and Final Takeaways
Routine Maintenance for Lights and Fences
Once the court is installed, regular checkups help it keep doing what it was built to do. Small issues can turn into bigger repairs if no one spots them early.
Check the lights to make sure they work and still point where they should. Look at the fence fabric, posts, and hardware for rust, sagging fabric, loose ties, or bent parts. Test the gate swing and latch. After storms or heavy use, walk the full perimeter and look for any damage.
Over time, light aim, fence tension, and hardware can shift. That’s normal. Routine checks help protect both play quality and safety.
Key Points for a Durable, Low-Maintenance Court Perimeter
The best low-maintenance perimeters usually start with smart design and the right materials. Coated materials, secure hardware, and easy repair access make upkeep much simpler.
A steady inspection routine also helps protect safety, play quality, and appearance.
FAQs
How do I choose the right light level for my court?
Start with your court’s size and layout. Bigger courts need more coverage and more fixtures if you want light spread evenly across the whole area. For a full residential court, a 4-pole LED system is a common setup.
You’ll also want to plan for the court surface, boundaries, and walkways. A mix of fixtures can help cut down on dark spots and glare. For the best layout and a weather-resistant install, it’s smart to bring in a professional.
What fence height works best for tennis or pickleball?
Fence height usually comes down to one simple thing: keeping balls on the court and out of neighboring property.
For residential courts, 10-foot fencing along the far sides is a common standard because it does a better job of stopping balls from getting loose.
If you want the space to feel more open, or you don’t want to block views near seating or an entrance, 3-foot fencing can work on the near side.
That said, local rules can differ by municipality, so it’s smart to check before you build.
Why should drainage and utilities be planned before poles and fencing?
Planning drainage and utilities first can save you from expensive headaches later and help protect the court for the long haul.
Before anyone digs for fence posts or light poles, mark all underground utilities. It’s a simple step, but skipping it can lead to major disruption, added cost, and damage that’s hard to undo.
Drainage matters just as much. Systems like French drains or proper grading help support court stability and reduce erosion. Put those in place first, and the court is far more likely to stay dry and usable. It also saves you from messy, high-cost retrofits down the line.
Chat with Us