


- bhavya gada
- No Comments
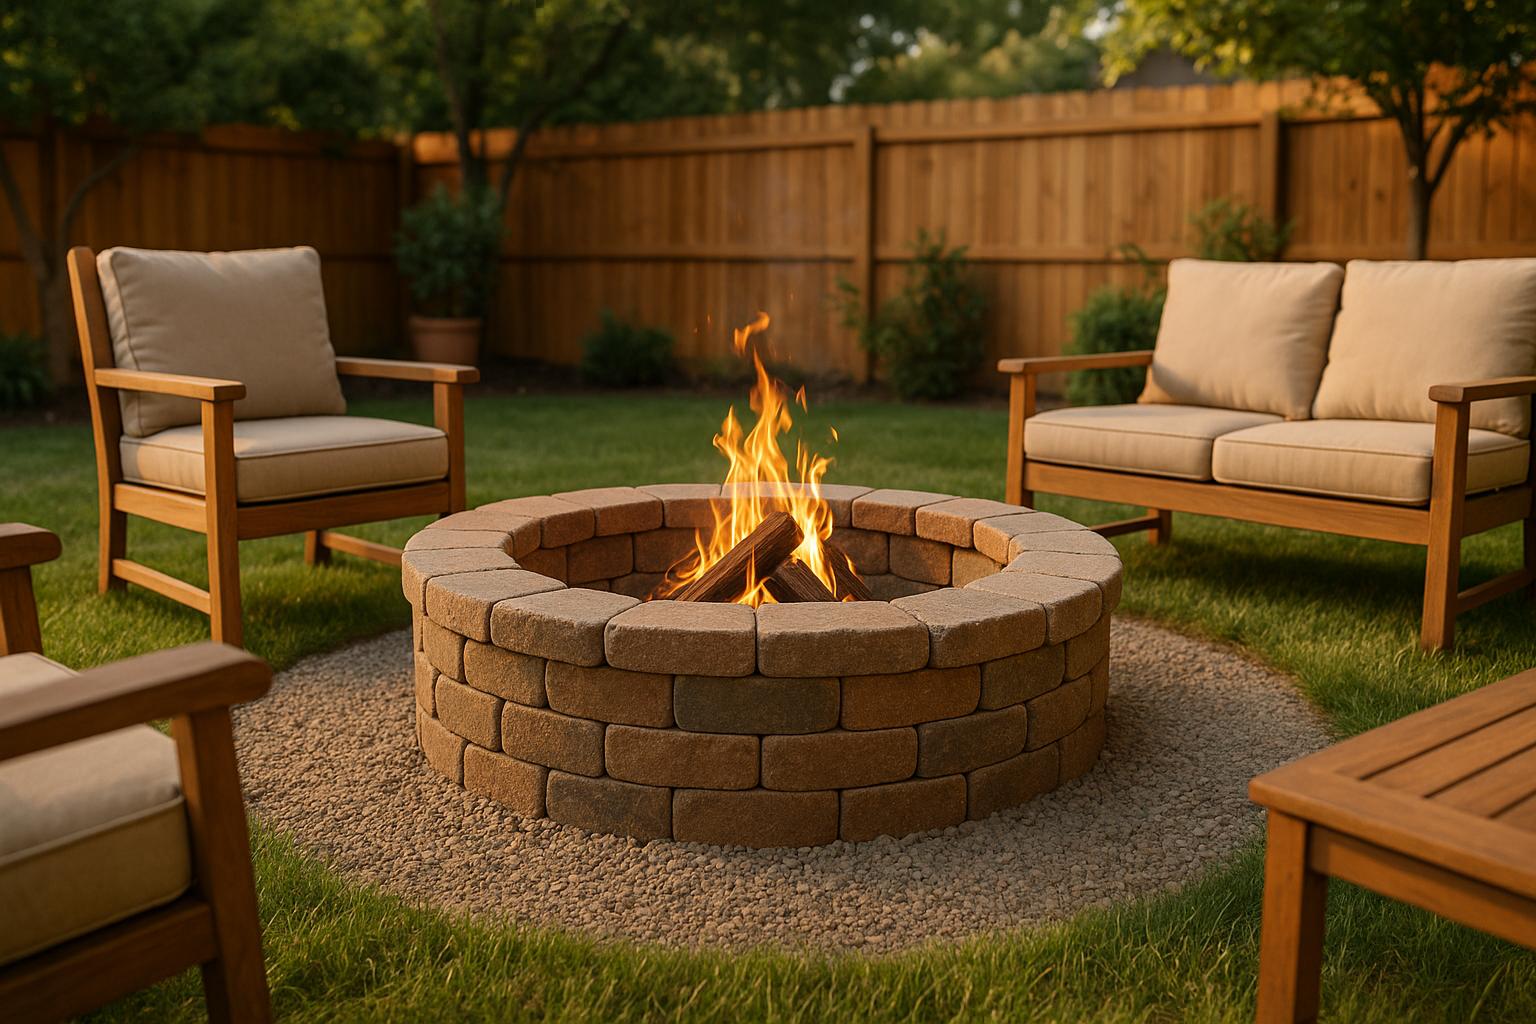
Building a paver fire pit can transform your backyard into a cozy gathering space. Here’s the process in a nutshell:
- Choose a Safe Location: Keep it at least 10 feet away from structures and flammable materials. Pick a flat, well-drained area.
- Plan and Design: Decide on the size, shape (round or square), and fuel type (wood or gas). Ensure you comply with local regulations and secure permits if needed.
- Gather Materials and Tools: You’ll need fire-rated pavers, fire bricks, gravel, sand, a steel fire ring, and basic tools like a shovel, level, and rubber mallet.
- Prepare the Site: Dig a trench for the base, fill it with gravel, and compact it for stability.
- Lay the Pavers: Start from the center, stack pavers in layers, and use masonry adhesive for added stability.
- Install the Fire Ring: Place a steel fire ring inside to protect the structure and improve safety.
- Finish and Maintain: Fill gaps with sand, clean up, and regularly maintain your fire pit for longevity.
Key Costs: DIY projects typically cost around $230, including materials like pavers and fire bricks.
Safety Tips: Always keep a fire extinguisher nearby, use seasoned firewood, and follow local fire safety rules.
Building a fire pit is a weekend project that adds value to your home and creates a focal point for outdoor enjoyment.
How to Build a Fire Pit with Pavers (Step by Step)
Planning and Preparation
Careful planning – picking the right spot, designing thoughtfully, and securing permits – lays the foundation for a safe and visually appealing fire pit.
Choosing the Right Location
Safety should be your top priority when deciding where to place your fire pit. Ensure there’s at least 10 feet of clearance from buildings and anything flammable. This distance helps prevent heat damage and reduces risks [3][5].
Take some time to observe how wind moves through your yard. Spend a few evenings noting the prevailing wind direction to avoid smoke drifting into your home or your neighbor’s property [3][4]. A few days of observation can make a big difference in choosing the ideal spot.
Pick a flat, well-drained area with a heat-resistant surface like concrete, stone, or brick. Avoid placing the fire pit on grass or wooden decking. Don’t forget to look up – check for hazards like tree branches, pergolas, or awnings [3][4].
Before you dig, call 811 to locate underground utilities like gas lines, water pipes, or electrical cables [3]. For safety and comfort, leave at least 7 feet of clearance around the fire pit for seating and easy movement [4].
Once the location is set, you can move on to the fire pit’s design and dimensions.
Design and Dimensions
The size and shape of your fire pit should match both your space and how you plan to use it. Round fire pits are great for creating cozy, intimate settings, while square or rectangular designs can accommodate more people and work well in structured landscapes. Keep in mind, though, that these shapes often require more space.
Your patio should extend at least 6 feet beyond the fire pit on all sides [6]. For example, a medium-sized round fire pit (around 3 feet in diameter) needs a patio space of at least 15 feet in diameter, while larger square or rectangular pits (about 6 feet across) require patios at least 18 feet wide [6].
A depth of 6–12 inches is ideal for maintaining safe and efficient airflow [7]. To stay safe and comply with local codes, keep flames under 2 feet in height [9].
Think about your fuel type during the design process. Wood-burning fire pits need more clearance and storage space for firewood, while gas fire pits offer easier control and may require professional installation to connect gas lines [8].
| Fire Pit Size | Diameter | Total Area Needed | Seating Capacity |
|---|---|---|---|
| Small | 30–36 inches | 7–8 feet wide | 2–4 people |
| Medium | 36–44 inches | 8–12 feet wide | 4–6 people |
| Large | 44–60 inches | 10–16 feet wide | 6+ people |
For round fire pits, sizes ranging from 30 to 60 inches can comfortably accommodate anywhere from 2 to 6+ people.
Finalize your design before diving into local permit requirements.
Permits and Local Regulations
Once your design is complete, it’s time to review local rules and regulations. For instance, Baltimore County has specific restrictions for areas inside the Beltway, including permits for recreational bonfires. Make sure your fire pit materials, clearance from structures, and nearby safety equipment comply with these standards [11].
In most cases, small recreational fires (no larger than 3 feet in diameter) are allowed if someone 18 or older is present at all times [11]. Fire pits should be made from durable materials like steel, brick, or masonry and must be at least 15 feet away from multifamily buildings such as apartments or condos [11].
Burn bans may temporarily affect your fire pit plans, especially during dry weather. Stay in touch with your local fire department to check for any restrictions [3].
If your property is near wooded areas or if you’re planning agricultural burning, you’ll need a Maryland Forest Service Open Air Burning permit. You can obtain this by contacting your local Forest Service Office [10].
Additionally, homeowners’ association (HOA) rules might impose stricter regulations than county laws. Some HOAs ban fire pits altogether, while others require architectural approval before installation. Review your HOA covenants carefully to avoid any surprises [3].
Always have safety equipment on hand when using the fire pit. Create a fire break – either natural or constructed – at least 10 feet wide around the area to minimize risks [9].
For up-to-date permit requirements, check with local authorities. If you’re in central Maryland, Pro Landscapes MD can assist with navigating complex permits, especially if you’re dealing with challenging site conditions or HOA restrictions.
Materials and Tools Needed
Gathering all your materials and tools beforehand can save you time and frustration during the project.
Materials Checklist
The foundation of your fire pit project starts with fire-rated pavers. These are specifically designed to handle extreme heat without cracking or breaking. Regular pavers simply won’t work – they can crack or even explode under high temperatures [16].
"Fire pit stones are a special kind of paving stones manufactured to withstand extremely high temperatures." – Eagle Pavers [16]
For a standard 30-inch fire pit with three layers, you’ll need about 36–38 fire pit stones [12]. If you’re buying from a big box store, expect to pay around $2.48 per tumbled wall block or $2.18 per retaining wall block [12]. One DIY enthusiast reported spending $230 total, including 36 pavers and all other materials [12].
To line the interior of your fire pit, use fire bricks – also known as refractory bricks. These kiln-fired bricks are built to endure high temperatures without expanding, cracking, or breaking apart [1].
"Kiln-fired patio pavers, also called refractory bricks or fire bricks, are manufactured to withstand extremely high temperatures, like those generated in your fire pit. They are excellent for fire pit construction because they don’t expand, crack, or blow apart." – All Brick [1]
Other essentials include gravel for drainage and sand for leveling. The DIY builder mentioned earlier used 6 bags of paver base, 3 bags of landscaping stones, and 2 bags of gravel [12]. Gravel is key for proper drainage and maintaining the stability of your fire pit over time [13].
A steel fire ring is another must-have. This protects the pavers from direct contact with flames and ensures the fire stays contained. Steel offers a solid balance of durability, resistance to corrosion, and affordability compared to cast iron or copper options [17].
Lastly, masonry adhesive can secure the top layer of pavers. Some builders prefer a dry-stack method for easier maintenance, but if you’re using concrete, add water to the mixer before the dry mix [15].
| Material Type | Pros | Cons |
|---|---|---|
| Fire Bricks | Retains heat well; provides insulation [16] | More expensive than regular pavers |
| Natural Stone | Rustic and natural look [16] | Can weather over time [16] |
| Concrete Pavers | Durable; available in various shapes [16] | Needs sealing for protection [18] |
| Steel Fire Ring | Durable, cost-effective, corrosion-resistant [17] | May rust without maintenance |
Tools Checklist
Make sure you have the right tools to get the job done efficiently. Basic tools include a shovel, tape measure, level, and rubber mallet.
For creating a solid base, a plate compactor is highly recommended. If you don’t own one, you can rent one from stores like Lowe’s [14]. While a hand tamper could work for smaller projects, a plate compactor provides much better results.
Optional tools that can make the process smoother include:
- A sod lifter for removing grass
- A wheelbarrow for hauling materials
- A circular saw with a concrete blade for cutting pavers to size
- Saw horses for cutting support
Other helpful items include a garden rake to level base materials and a screed board to ensure even sand layers. Renting a paver cart can also save time and effort when moving heavy materials.
Safety equipment is essential, especially when cutting pavers. You’ll need work gloves, eye protection, hearing protection, and a dust mask to protect against harmful concrete dust [14].
If you want to speed up installation, specialty tools like a paver adjuster, paver puller, and sand pull can be useful, although they’re not strictly necessary. A garden hose with a spray nozzle can help with cleanup and settling your base materials.
Before buying materials, lay out your pavers in a circle at the store to measure the inner diameter. Ensure there’s a 1–2 inch clearance for the fire pit ring [12]. This hands-on step helps avoid costly mistakes and ensures everything fits perfectly before you start building.
Once you’ve gathered everything, you’ll be ready to move on to the building process.
sbb-itb-843f8be
Step-by-Step Building Guide
Here’s how to construct a sturdy and reliable fire pit, step by step.
Preparing the Site
Start by pinpointing the center of your fire pit. Use string and spray paint to outline a 30-inch circle. Along this outline, dig a trench about 12 inches deep and as wide as one paver. Inside the circle, clear the ground to a depth of 6 inches.
Fill the trench with 6 inches of 3/4-inch drainage gravel, then compact it tightly using a hand tamper [19]. For the fire pit’s interior, spread and compact gravel evenly to a depth of 7 inches. This will help prevent water from pooling underneath [2].
Creating the Base
Now, it’s time to build a solid foundation. Use a plate compactor to further compress the gravel base, paying close attention to the trench where the first row of pavers will go. Keep a level handy to check the surface as you go. If you find any low spots, add more gravel, and scrape down high spots to ensure the base is entirely even. Proper leveling is crucial to allow water to drain away from the fire pit, protecting both the pavers and the underlying structure [2]. Once the base is smooth and level, you’re ready to start laying the pavers.
Laying the Pavers
Using the center-out method, begin placing your fire-rated pavers. This approach works especially well for circular designs. As Western Interlock advises, "When you lay a Rotundo Circle System, you must start from the center and work your way out" [20]. Start with the first row of pavers in the prepared trench, using string lines to maintain a consistent height [21]. Double-check each paver with a level to ensure even placement.
For added stability, apply construction adhesive between each layer of pavers before stacking the next row [2]. Continue this process for three to four rows to create a strong fire pit wall. Before moving on, test the fit of your steel fire ring by placing it inside the structure to confirm proper alignment and clearance [2].
Installing the Fire Ring
Once the paver walls are complete, it’s time to install the steel fire ring. Place the fire ring inside the structure, ensuring it’s level and centered. If you’re building on an existing patio that uses polymeric sand, line the bottom of the fire pit with fire-rated bricks to protect the sand from heat damage [22]. For a secure setup, position the metal ring insert as you lay the first layer of stones, then temporarily remove it while completing the remaining layers [22].
After the adhesive has cured and the paver walls are finished, permanently set the fire ring in place. Fill the bottom of the pit with lava rock up to the edge of the ring. This not only improves drainage but also helps evenly distribute heat during use [22]. Allow the adhesive to cure for 2 to 7 days before lighting your first fire [2].
Finishing Touches and Cleanup
To wrap things up, fill the gaps between the pavers with joint sand. Sweep the sand into the cracks, mist it with water to settle it, and then grade the surrounding soil to ensure proper drainage. Clear away any construction debris and excess sand, and inspect the fire pit to confirm all pavers are secure and level. Before using your fire pit, always check your local fire safety regulations to ensure compliance.
Safety and Maintenance
A well-constructed paver fire pit can be the centerpiece of your outdoor space, but keeping it safe and in good condition takes some effort. Following safety guidelines and maintaining it regularly will not only protect your investment but also ensure your family’s safety while enjoying it.
Fire Safety Tips
Start by placing your fire pit at least 10 feet away from structures, fences, playsets, pools, or anything that could catch fire. Surround the pit with noncombustible materials like kiln-fired brick, sand, or crushed stone to create a safety buffer.
Before lighting a fire, clear out any debris – leaves, sticks, or other vegetation – from inside and around the pit. Stick to seasoned, dry firewood, and make sure logs are no longer than three-quarters of the pit’s diameter. Avoid using gasoline or kerosene to start the fire – these are dangerous and can lead to accidents.
A spark screen is a smart addition to keep embers from escaping. Also, avoid wearing synthetic clothing that could melt if exposed to sparks, and be cautious with alcohol consumption near the fire. Above all, never leave your fire pit unattended.
Always be prepared for emergencies. Keep a fire extinguisher or garden hose within reach, and if you’re using a gas fire pit, know where the gas shut-off valve is located. Before lighting any fire, check local burn bans or regulations regarding open flames.
When it’s time to put the fire out, let it burn down naturally. Once the flames subside, sprinkle water gently over the ashes and mix them with a shovel to ensure everything is completely extinguished. Avoid dousing a hot fire with large amounts of water, as this can cause your pavers to crack. Check the pit the next day to confirm it’s fully out.
Maintenance and Longevity
Keeping your fire pit in great shape requires regular cleaning and care. Ashes should be removed frequently since their acidic properties can corrode metal parts and stain your pavers. Wait until they’ve completely cooled before disposing of them. For cleaning paver walls, use a mix of one part muriatic acid to nine parts water, scrub thoroughly, rinse, and allow the surface to dry for 48–72 hours.
The type of wood you burn matters. Stick to seasoned hardwoods like oak, hickory, or maple for a cleaner burn. Avoid burning trash or using accelerants, as these can harm your fire pit and release harmful fumes.
Protecting your fire pit from weather damage is just as important. When not in use, cover it with a tight-fitting, waterproof cover to keep moisture out and prevent rust on metal components. Applying a thin coat of cooking oil or a rust-inhibiting spray to metal surfaces every few months can also help extend their lifespan.
For metal parts, use a wire brush to remove rust and keep them clean. Inspect the paver walls regularly for cracks, and address any drainage issues promptly. If you notice small cracks in the masonry, patch them with high-temperature fillers before they worsen.
Seasonal care is also essential. Let fires die down naturally to avoid thermal shock, which can crack the pavers. Clean burners and check fuel lines regularly to ensure everything is in working order. If rust develops on metal parts, scrub it off with a wire brush.
For more complex repairs or periodic maintenance, you may want to call in a professional. Pro Landscapes MD offers fire pit installation and maintenance services throughout central Maryland, helping to keep your fire pit safe and functional for years to come.
Conclusion
Adding a paver fire pit to your backyard creates a warm and inviting space perfect for gatherings. The process involves a few key steps: choosing the right location, preparing a sturdy base, laying the pavers with care, and adhering to safety standards. When done correctly, this structure can stand the test of time with proper upkeep.
Beyond its aesthetic appeal, a well-constructed fire pit can boost your home’s value, offering a return on investment of 30–60% [23], while also extending the use of your outdoor space into cooler seasons. Whether you decide to tackle it as a DIY project or hire a professional often depends on the complexity. While simpler designs are great for DIYers, more intricate setups – like gas lines or custom layouts – are best left to experts.
For homeowners in Central Maryland looking for custom fire pits or advanced hardscaping solutions, Pro Landscapes MD offers professional design and installation services that meet local safety requirements.
Whether you take the DIY route or work with professionals, a thoughtfully planned and well-built fire pit becomes more than just a feature – it’s the heart of outdoor living. It’s where stories are told, marshmallows are toasted, and unforgettable memories with loved ones are made.
FAQs
What should I consider when picking a safe spot for my paver fire pit?
When choosing a spot for your paver fire pit, safety needs to come first. Make sure it’s positioned at least 10 feet away from any buildings, trees, or anything that could catch fire. Steer clear of areas with overhanging branches or dry grass, and always set it up on a flat, stable surface to avoid accidents.
Pay attention to the wind direction, too. This helps keep smoke from drifting toward seating areas or nearby structures. And don’t skip checking your local fire codes and regulations – it’s essential to ensure your fire pit is placed in a way that meets all safety standards.
How do I choose the right size and shape for my fire pit to fit my outdoor space and needs?
When deciding on the size and shape of your fire pit, start by evaluating your outdoor area and how you plan to enjoy it.
Size matters when it comes to safety and comfort. Make sure there’s at least 2 feet of clearance around the fire pit to prevent accidents. If you’re adding seating, aim for about 4 feet of space per person so everyone has room to relax. For example, a fire pit with a 3-foot diameter would fit nicely in a patio area that’s at least 15 feet across.
Shape plays a role too. Round or oval fire pits are perfect for smaller spaces and create a warm, intimate atmosphere. On the other hand, square or rectangular fire pits are ideal for larger yards, offering a striking centerpiece for gatherings. By matching the size and shape of the fire pit to your space, you’ll end up with a setup that’s both practical and welcoming.
How do I maintain my paver fire pit to keep it safe and long-lasting?
To keep your paver fire pit looking great and functioning safely, follow these simple upkeep tips:
- Clean it up regularly: Sweep away leaves, ash, or other debris to reduce fire risks and keep the area neat. Using a leaf blower can make this job quicker and easier.
- Seal the pavers: Every couple of years, apply a paver sealant to protect against moisture, stains, and weather damage. This small step can go a long way in extending the life of your fire pit.
- Inspect for damage: Look for cracks, loose pavers, or any shifting. Fixing these issues promptly helps maintain the fire pit’s structure and prevents further wear.
- Guard against the weather: When not in use, cover your fire pit with a weatherproof cover to protect it from rain, snow, and extreme temperatures.
A little regular maintenance will keep your paver fire pit safe, durable, and ready to be the star of your outdoor gatherings for years to come!
Chat with Us