


- bhavya gada
- No Comments
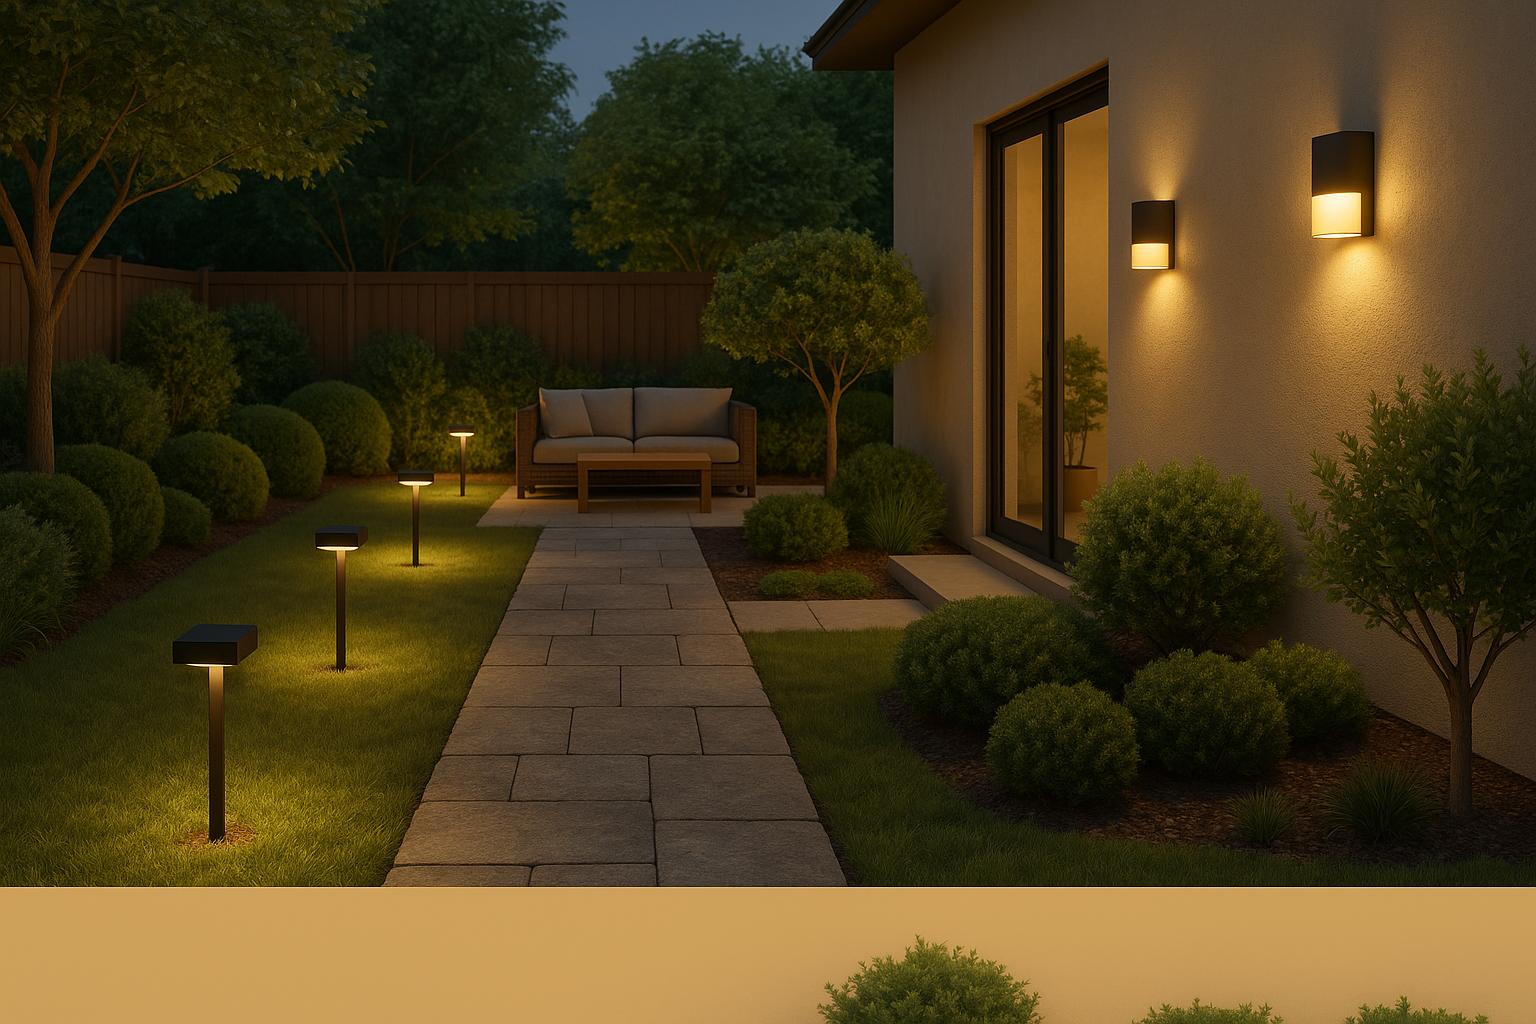
Energy-efficient outdoor lighting can lower your utility bills, improve safety, and enhance your outdoor space. Here’s what you need to know to get started:
- Choose the Right Fixtures: Opt for LED, solar-powered, or motion-sensor lights for durability and efficiency.
- Plan Your Layout: Focus on key areas like pathways, entry points, and landscape features. Use layered lighting for security and ambiance.
- Install Safely: Use weather-resistant materials, bury cables properly, and follow local electrical codes.
- Add Smart Controls: Use timers, motion detectors, or app-based systems to save energy and simplify management.
- Maintain Regularly: Clean fixtures, check wiring, and adjust for seasonal changes to keep your system running smoothly.
New How to Install Landscape Lighting (2021 Updated Version)
Choosing the Right Light Fixtures
Pick outdoor fixtures that can handle Maryland’s changing weather and prioritize energy efficiency for long-term savings.
Types of Energy-Efficient Fixtures
Today’s outdoor lighting comes with plenty of options made for tough weather conditions. LED fixtures provide bright light while using less electricity. Solar-powered lights harness sunlight for a cost-effective and eco-conscious choice. Meanwhile, motion-sensor lights are great for security, activating only when movement is detected.
Here are some common fixture types and their uses:
- Pathway lights: Ideal for guiding walkways and driveways.
- Spotlights: Perfect for highlighting landscape features or architectural details.
- Motion-sensor lights: Great for enhancing safety and deterring intruders.
What to Look for in Fixtures
When shopping for outdoor lighting, focus on these critical features to ensure your fixtures last and perform well:
- Weather Resistance & Material: Opt for fixtures specifically made for outdoor use, with sturdy, moisture- and dust-resistant designs.
- Light Output: Match the brightness level to your specific needs, whether it’s mood lighting or functional illumination.
Additionally, consider these design elements to align with your outdoor aesthetic:
- Color Temperature: A warmer tone can create a cozy and inviting vibe, while cooler tones suit modern or task-focused setups.
- Beam Angle: Pick a beam spread that effectively lights up your intended area.
- Mounting Options: Ensure the fixture’s mounting style fits your installation plan for a smoother setup and better results.
Up next, explore how to position these fixtures strategically for the best effect.
Light Placement Guide
Thoughtful light placement not only improves the look and functionality of your outdoor space but also helps manage energy use efficiently.
Creating a Lighting Layout
Start by mapping out your property and identifying the areas that need lighting. Key zones to focus on include:
- Entry points: Add lights near doorways to ensure safe access.
- Pathways: Space fixtures evenly along walkways for consistent lighting.
- Landscape features: Highlight trees, gardens, or unique architectural elements with targeted lighting.
- Security areas: Illuminate dark corners and potential blind spots near windows.
Mark fixture locations during the day and test them at night using temporary lights. Adjust their positions to avoid wasted light while achieving the desired effect.
Reducing Light Overflow
To save energy and avoid unnecessary light spillover into surrounding areas, follow these tips:
- Directional shields: Use fixtures with shields to concentrate light downward.
- Proper angles: Adjust fixtures to reduce glare and keep light focused.
- Balanced spacing: Avoid excessive beam overlap by spacing lights appropriately.
- Correct mounting heights: Mount lights at heights suited to their purpose for better control.
Transformer Location Tips
Once your fixtures are in place, focus on the transformer setup to ensure efficient energy distribution and safety. Keep these points in mind:
- Accessibility: Install the transformer in a weather-protected spot that’s easy to access.
- Central positioning: Place it centrally within your layout to maintain even voltage across all fixtures.
- Weather protection: Use a weather-resistant transformer and ensure proper drainage around it.
- Safe distance: Keep the transformer away from water sources and hazards, but close enough for optimal performance.
Safe Installation Steps
Before You Start
Make sure you have the right tools and safety gear:
- Safety gear: ANSI-approved eye protection and rubber-soled shoes
- Basic tools: Insulated gloves, a voltage tester, and wire strippers
- Ground tools: A shovel for trenching and a GFCI outlet tester (approximately $10)
Before digging, call 811 (the national "Call Before You Dig" hotline) at least three business days in advance. This free service will mark public utility lines to prevent accidents. For private lines, you may need to hire a professional service, which typically costs between $150 and $400.
Once everything is ready, carefully proceed with cable installation and fixture mounting.
Installation Process
Cable Installation:
- Place 12V cables 6 inches deep inside PVC conduit.
- Use 12-gauge wire for cable runs longer than 100 feet.
- Ensure waterproof connections are at least 6 inches above the ground.
- Add drip loops to vertical mounts to prevent water damage.
Fixture Mounting: Secure fixtures based on the type of surface:
| Surface Type | Mounting Method |
|---|---|
| Brick/Masonry | 3/16" x 1-1/4" sleeve anchors |
| Soil | 10" ground stakes |
| Soft Soil | Helical anchors |
For added stability, use silicone caulk on masonry, stabilizer plates for soil, and frost heave protection for soft soil installations.
Meeting Code Requirements
After installation, make sure your setup follows local codes:
Important NEC Rules:
- Low-voltage systems should use circuits no larger than 15 amps.
- All 120V fixtures must have a UL Wet Location rating.
- Transformers must be placed at least 5 feet from pools and 10 feet from spas.
- Direct-buried UF cables need to be 24 inches deep – or 18 inches if protected by GFCI.
Some tasks require professional installation, including:
- Any 120V electrical work
- Adding new circuits
- Lighting near pools or spas
- Permit-required work (permits typically cost $50–$300 in Maryland)
Finally, test your system. Ensure all fixtures read below 25V and that voltage drops don’t exceed 1.5V. Keep detailed records, including circuit diagrams and burial depths, for future reference.
sbb-itb-843f8be
Smart Controls and Features
Smart Control Options
Smart controls enhance how you manage and use lighting, helping you save energy and improve functionality. Here are some popular options:
- Motion detectors: Automatically turn lights on or off based on movement, reducing unnecessary use.
- Timer controls: Set specific schedules for when lights should operate, giving you more control over energy usage.
- Mobile app integration: Manage your lighting remotely through your smartphone, offering convenience and flexibility.
Using these features can make lighting management simpler and more efficient.
Upkeep and Adjustments
Regular Maintenance Steps
To keep your lighting system running smoothly:
- Clean fixtures regularly: Dust and debris can build up over time. Use a soft, damp cloth, and for tougher grime, add a bit of mild soap.
- Check wiring connections: Look for any corrosion or loose connections during routine inspections.
- Replace bulbs as needed: Swap out bulbs if you notice dimming or flickering to maintain consistent lighting.
Seasonal tweaks are also important to keep your system aligned with changing conditions.
Seasonal Light Settings
Adjusting your lighting for the seasons can improve performance:
- Reposition lights: As trees grow and shadows shift, move lights to accommodate seasonal foliage changes.
- Update timers or use smart controls: Adjust timers to match changing daylight hours, or opt for smart systems that sync automatically with sunrise and sunset.
Pro Landscapes MD Services

Custom Lighting Solutions
Pro Landscapes MD creates outdoor lighting plans that focus on smart LED placement, blending seamlessly with your landscape, and using energy-efficient components to help cut down on energy use.
Their lighting designs include:
- Strategic LED placement to brighten spaces effectively while keeping energy use low
- Seamless integration with your landscape to highlight standout features
- Efficient components tailored to your property’s specific needs
This thoughtful approach not only enhances your outdoor space but also helps lower energy bills.
Full Property Services
Pro Landscapes MD offers a wide range of services to upgrade your outdoor areas:
They go beyond lighting to transform your entire outdoor space with integrated services like:
- Landscape Integration: Designs that ensure your lighting complements gardens and plants
- Hardscape Lighting: Expertly placed lighting for patios, walkways, and outdoor living spaces
- Eco-Friendly Options: Sustainable solutions for your property
Pro Landscapes MD serves communities across central Maryland, including Howard County, Montgomery County, and Baltimore County, offering everything from design to installation and ongoing maintenance.
Here’s a look at their full-scale outdoor services:
| Service Category | Details |
|---|---|
| Landscape Design | Custom garden layouts, native plant selection, seasonal planning |
| Hardscaping | Patio installation, walkway construction, retaining walls |
| Drainage Solutions | Water management systems, grading services, erosion control |
Next Steps
Improve your outdoor lighting system’s efficiency and functionality with these practical actions:
Schedule Regular Maintenance
Plan quarterly check-ups to keep your system running smoothly. This includes cleaning fixtures, checking connections, and addressing any issues with components right away.
Make Seasonal Adjustments
Tweak your lighting setup throughout the year to match seasonal changes:
| Season | Suggested Adjustments |
|---|---|
| Spring | Clean fixtures and update timers for longer daylight. |
| Summer | Check for heat damage and trim nearby plants. |
| Fall | Adjust timers for earlier sunsets and inspect seals. |
| Winter | Protect fixtures from snow/ice and adjust angles. |
Track Energy Usage
Keep an eye on your monthly energy consumption. Spotting unusual changes early can help you troubleshoot and maintain efficiency.
Prepare for Future Expansion
When installing your system, leave room for growth by using a transformer and wiring setup that can handle additional capacity. This saves money and effort in the long run. Combine this step with regular inspections to ensure your system stays optimized.
Pro Landscapes MD specializes in designing and installing outdoor lighting systems across central Maryland. Their team creates energy-efficient solutions that enhance your property’s appeal while keeping energy use in check.
FAQs
What are the advantages of using smart controls for outdoor lighting, and how can they help reduce energy use?
Smart controls for outdoor lighting offer several advantages, especially when it comes to energy efficiency. Features like motion sensors, timers, and remote control allow you to customize when and how your lights operate, ensuring they are only on when needed. This reduces unnecessary energy consumption and lowers your electricity bill.
Additionally, many smart systems integrate with energy-efficient LED fixtures, further enhancing savings. With the ability to adjust brightness or schedule lights to align with your routine, smart controls provide convenience and sustainability while keeping your outdoor spaces well-lit and secure.
How can I make sure my outdoor lighting installation is safe and meets local electrical codes?
To ensure your outdoor lighting installation is both safe and compliant with local electrical codes, start by familiarizing yourself with the regulations in your area. It’s always a good idea to consult a licensed electrician or local authorities to confirm you’re following the proper guidelines.
If you’re considering professional help, Pro Landscapes MD offers expert landscaping and hardscaping services across Maryland and Washington, DC. Their team can assist with outdoor lighting as part of a larger landscape design project, ensuring your installation is safe, energy-efficient, and beautifully integrated into your outdoor space. For peace of mind, always prioritize safety and compliance in your installation process.
How can I prepare my outdoor lighting system for seasonal changes to keep it energy-efficient year-round?
To ensure your outdoor lighting system stays energy-efficient and functional throughout the year, follow these simple steps:
- Inspect and clean fixtures: Remove dirt, debris, and any moisture buildup from your fixtures to maintain optimal brightness and efficiency.
- Check for damage: Look for cracked bulbs, frayed wires, or loose connections and replace or repair them as needed.
- Adjust placement: As seasons change, ensure lights are properly positioned to account for changes in landscaping or foliage growth.
- Use weatherproof components: Install weather-resistant fixtures and covers to protect your system from harsh weather conditions.
By performing regular maintenance and using durable, energy-efficient materials, your outdoor lighting system can remain reliable and cost-effective all year long.
Chat with Us