


- bhavya gada
- No Comments
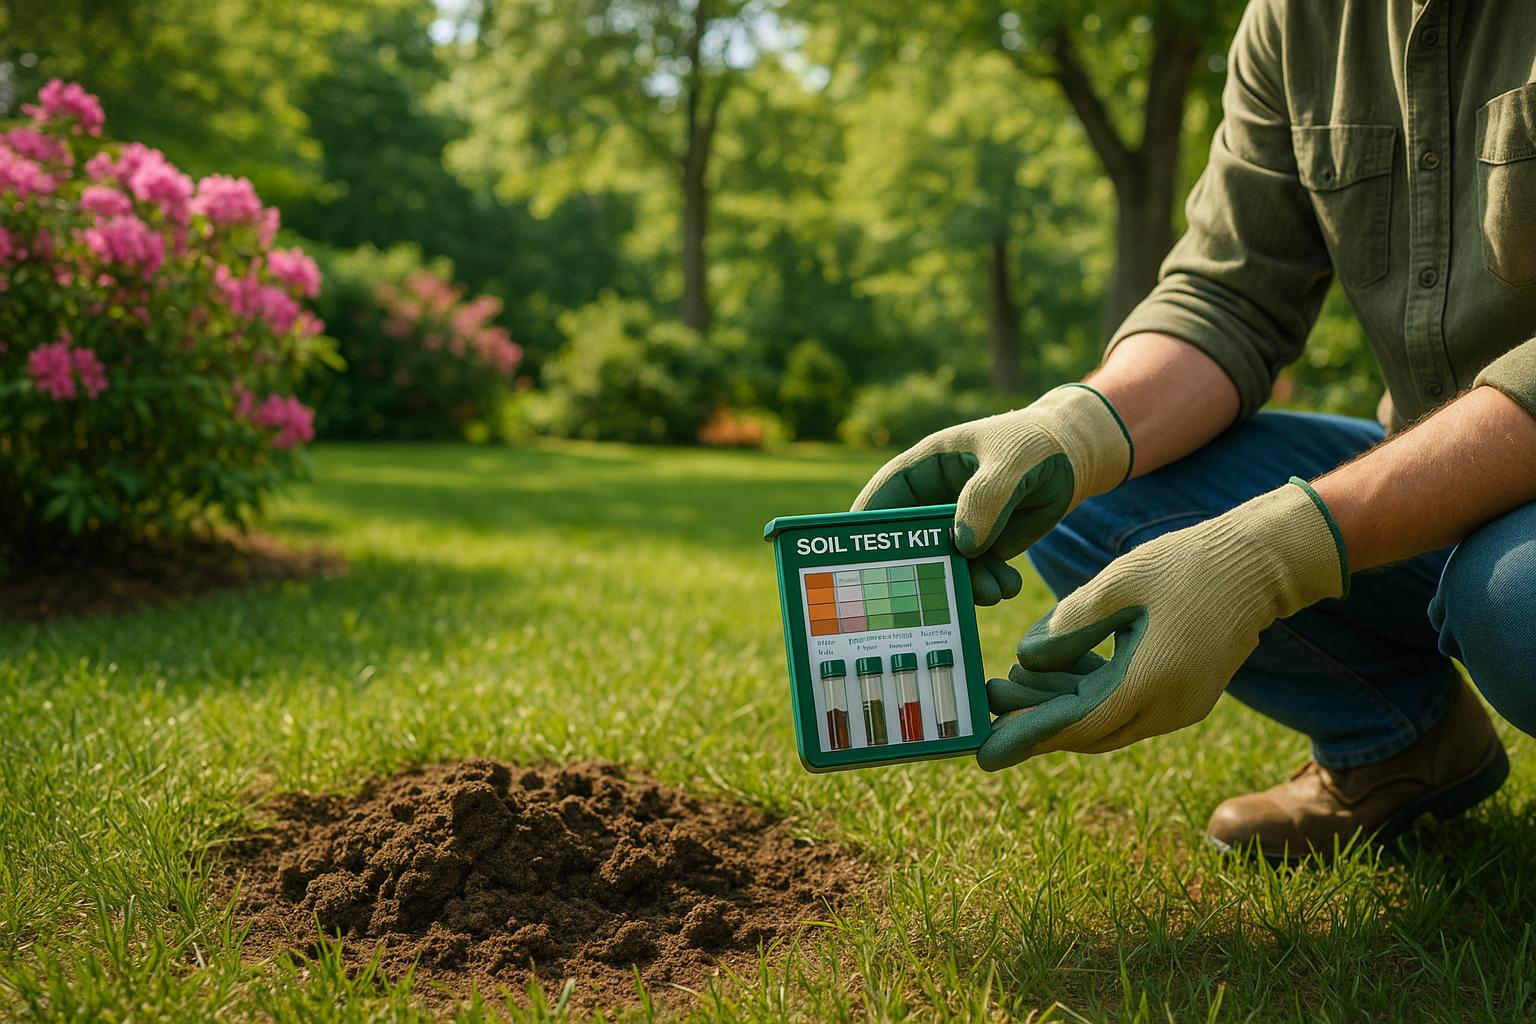
Want a thriving Maryland landscape? Start with soil testing. Knowing your soil’s pH, nutrients, and type (like sandy loam or clay) helps you pick the right plants, fix drainage issues, and protect the environment. Here’s how to test your soil and improve it:
- Tools Needed: Trowel, bucket, gloves, and sample bags.
- Steps: Take samples from 6–12 inches deep, mix them, and label by area (e.g., lawn, garden).
- Where to Test: Use certified labs like the University of Maryland Extension or Scientific Plant Service.
- Next Steps: Adjust pH, add compost, and improve drainage with solutions like French drains.
Healthy soil is key to a beautiful, sustainable yard. Test every 2–3 years, and amend based on expert recommendations.
Soil Testing
Maryland Soil Types and Properties
Maryland’s diverse soils play a big role in shaping landscaping decisions. Knowing the characteristics of these soils can help you choose the right testing methods and improvement strategies for your yard or garden.
Major Soil Types Across Maryland
Maryland’s soils can be grouped into three main types:
Coastal Plain Soils
These soils, found in areas like the Eastern Shore and Southern Maryland, are sandy loams. They drain well but tend to be more acidic and have lower organic matter, making them less fertile without amendments.
Piedmont Clay Soils
Known for their high clay content, these soils can be tricky to work with. They drain poorly, often leading to water pooling and erosion if not managed carefully.
Urban Soils
In cities and developed areas, the soil is often a mix of materials compacted by construction. This results in uneven drainage and inconsistent conditions for plant growth.
Identifying your soil type is an essential first step before diving into management or testing efforts.
Local Soil Regulations and Requirements
Keeping Maryland’s soils healthy means addressing water and nutrient balance, especially in areas with heavy clay soils. Solutions like French drains or regrading can help prevent water from pooling and reduce erosion, which is especially important for protecting the Chesapeake Bay watershed.
Here are a few tips to manage Maryland’s soils effectively:
- Test your soil for pH and nutrient levels before starting major landscaping projects.
- Choose drainage solutions that match your soil type to avoid water-related issues.
- Pick plants and irrigation plans that suit the natural soil type of your area.
How to Test Your Soil
Tools You’ll Need for Soil Testing
Before diving into soil sampling, make sure you have the following tools on hand:
- A clean plastic or stainless steel trowel or soil probe
- A clean plastic bucket for mixing samples
- Plastic containers or bags to store the samples
- A permanent marker and labels for organization
- Garden gloves to keep things clean
- Measuring tape or ruler for accuracy
- Clean paper towels
- Distilled water (for cleaning tools, if needed)
Once you’ve gathered these items, you’re ready to start collecting consistent and reliable soil samples.
Steps for Collecting Soil Samples
Testing the soil in Maryland requires attention to detail. Follow these steps to ensure accurate results:
- Identify sampling zones
Break your property into distinct areas based on usage, such as garden beds, lawns, or other sections. Each zone should have its own sample. - Choose the right time
Aim to collect samples when soil conditions are moderate – early spring or fall is ideal in Maryland. - Dig the right depth
Clear away surface debris. For lawns, dig 6–8 inches deep; for garden beds, go 8–12 inches. Collect 8–10 samples per zone using a zigzag pattern. - Mix the samples
Combine the 8–10 samples from each zone in your clean bucket. Remove stones, roots, and other debris to create a uniform mixture. - Package and label
Take about 2 cups of the mixed soil and place it in a clean container. Label it with the date, location, and intended use (e.g., lawn, vegetable garden).
Tips to Protect Sample Quality
To ensure your samples remain accurate and uncontaminated, keep these tips in mind:
- Clean your tools thoroughly between samples from different zones to avoid cross-contamination.
- Avoid using metal containers, as they can interfere with the test results.
- Store your samples in a cool, dry place until you’re ready to submit them.
- Submit your samples within 24 hours for the best results.
- Handle samples with gloves – never with bare hands.
- Steer clear of sampling near buildings, roads, or areas recently treated with fertilizer.
If your property has a complicated layout or you’re unsure about the process, you can reach out to Pro Landscapes MD for professional help. Visit their website at Pro Landscapes MD to learn more about soil testing and landscaping services.
Maryland Soil Testing Locations
Once you’ve gathered your soil samples, the next step is choosing a certified lab for quick and reliable testing.
Testing Labs and Costs
Maryland offers several certified labs that provide soil testing services. The University of Maryland Extension keeps an updated list of recommended facilities that meet state standards [3].
Scientific Plant Service caters to areas like Baltimore, Howard, and Anne Arundel Counties. Their basic soil test package includes measurements for pH, buffer pH, phosphorus, potassium, calcium, magnesium, cation exchange capacity, organic matter, and the K:Mg ratio.
For more specific landscape needs, optional tests are available for elements like boron, sulfur, copper, iron, manganese, zinc, and sodium [4]. These can be especially helpful for diagnosing plant health issues or addressing unique growing challenges.
Here are some of the prominent soil testing facilities serving Maryland:
| Laboratory | Basic Test Package | Turnaround Time | Special Features |
|---|---|---|---|
| University of Delaware | pH, P, K, Ca, Mg, trace minerals | 5–7 business days | Lead testing, organic matter analysis [1] |
| Scientific Plant Service | Full nutrient analysis | 3–5 business days | Exceeds Maryland requirements [4] |
| Geo-Technology Associates | Standard fertility test | 7–10 business days | Comprehensive analysis [5] |
Once you’ve selected a lab, follow the submission guidelines below to ensure accurate and actionable results.
Sample Submission Guidelines
Properly preparing and submitting your soil samples is essential for precise results. Follow these steps:
Packaging Requirements:
- Use clean, sealed plastic bags for each sample.
- Include about 1 cup of soil that has been thoroughly mixed.
- Ensure the soil is dry and free of extractable water.
- Remove debris, rocks, and plant material.
- Clearly label each sample with its location and intended use.
Documentation Needed:
- Fill out the lab’s submission form completely.
- Provide details about current landscape conditions.
- Specify the types of plants or intended landscape use.
- Include your contact information for result delivery.
Most labs deliver digital results within 5–14 days, depending on the facility and the type of test. These reports typically include a detailed nutrient analysis and tailored recommendations for soil amendments based on your specified landscape needs [2].
Additionally, Maryland law requires soil testing before applying fertilizers containing phosphorus, with testing repeated every three years. This regulation helps protect the Chesapeake Bay watershed from nutrient runoff while promoting optimal growing conditions [4].
sbb-itb-843f8be
Reading Your Soil Test Report
Basic Soil Measurements
Your soil test report is like a roadmap for improving your soil’s health. It provides key details about soil pH, essential nutrient levels, and organic matter content, helping you figure out what adjustments are needed.
Most landscape plants do best in soil with a near-neutral pH. The report will show the levels of important nutrients like nitrogen, phosphorus, potassium, calcium, and magnesium. Since ideal ranges can vary depending on your soil type and local conditions, it’s a good idea to compare your results with recommendations from local extension services. They can help you address any nutrient imbalances. Organic matter is another critical factor – if the percentage is low, it might mean you need to add compost or other organic materials to improve the soil’s structure and fertility.
These measurements are your starting point for creating a plan to amend your soil.
Soil Improvement Steps
Once you’ve reviewed your soil test results, you can start making targeted improvements:
- If your soil is too acidic, adding dolomitic lime can help raise the pH.
- For overly alkaline soil, elemental sulfur is a common choice to bring the pH down.
Always follow expert recommendations and adjust based on your soil’s specific needs. Start by fixing any pH imbalances, as this sets the stage for nutrients to be absorbed effectively. Afterward, focus on increasing organic matter by mixing in compost or other organic amendments.
Timing Your Amendments
Timing is everything when it comes to soil amendments. Aim to apply them during mild weather conditions. Early spring, before plants begin their active growth, or early fall, after the stress of summer has passed, are ideal times. Avoid making adjustments during extreme heat or freezing temperatures, as these conditions can limit how well the amendments work.
Soil Health Management
Using your soil test results as a foundation, you can improve soil health with carefully chosen amendments, erosion control measures, and a consistent care routine.
Soil Amendment Options
Soil tests reveal what your soil needs, allowing you to apply the right amendments to fix any deficiencies. A good starting point is mixing 2–3 inches of compost into the top 6–8 inches of soil to increase organic matter.
For specific nutrient needs:
- Nitrogen: Opt for slow-release organic fertilizers.
- Phosphorus: Add bone meal or rock phosphate.
- Potassium: Use greensand or potassium sulfate.
These amendments do more than balance nutrients – they also complement erosion control efforts by improving soil structure and stability.
Erosion and Drainage Control
Maryland’s frequent heavy rainfall makes erosion and drainage control a priority. For clay-heavy soils, French drains are a practical way to redirect excess water. Other solutions include ground covers, berms, swales, and mulch, all of which help manage water flow and reduce erosion.
Pro Landscapes MD offers specialized drainage solutions like French drains, dry riverbeds, and expert grading. These systems are designed to protect your soil and prevent the flooding and water damage often seen in Maryland landscapes.
By addressing erosion and drainage, you’re laying the groundwork for effective soil maintenance, which is covered in the next section.
Regular Soil Care Guide
Caring for your soil is an ongoing process that requires attention throughout the year. A seasonal maintenance schedule can help keep your soil in top condition:
| Season | Key Tasks | Timing |
|---|---|---|
| Spring | Soil testing, amendments | March–April |
| Summer | Mulching | June–August |
| Fall | Compost, cover crops | September–October |
| Winter | Soil protection | December–February |
Make it a habit to test your soil every 2–3 years and adjust amendments as needed. Between tests, keep an eye on soil moisture and structure. Add organic matter yearly by applying 1–2 inches of compost in the spring or fall.
After major storms, inspect your drainage systems for debris and clear them to maintain proper water flow. This simple step can prevent long-term issues and keep your soil healthy year-round.
Conclusion: Next Steps for Better Soil
Healthy soil is the backbone of flourishing landscapes, and taking care of it ensures Maryland’s greenery continues to thrive. The journey starts with proper soil sampling and a detailed test, which lay the groundwork for tailored amendments and drainage solutions.
To maintain soil health throughout the year, consider this seasonal approach:
- Spring: Conduct soil testing and apply the necessary amendments.
- Summer: Keep an eye on moisture levels and refresh mulch as needed.
- Fall: Add organic matter to enrich the soil.
- Winter: Protect the soil with measures like cover crops or erosion barriers.
If drainage is a concern, solutions like French drains or dry riverbeds can help combat erosion and stabilize the soil. Pair these efforts with native plants, which not only thrive in local conditions but also encourage a balanced ecosystem.
For larger or more complex projects, teaming up with seasoned local experts can make all the difference. Companies like Pro Landscapes MD can transform soil test results into actionable plans, improving both the functionality and beauty of your property.
FAQs
How often should I test my soil in Maryland, and why is it important for landscaping?
Testing your soil every 2-3 years is a smart move for most Maryland landscapes. Regular testing gives you a clear picture of your soil’s nutrient levels, pH balance, and overall condition, helping you create the best environment for your plants and lawn to flourish.
When you spot deficiencies or imbalances, you can choose the right fertilizers, soil treatments, and planting methods to address them. Healthy soil doesn’t just boost the look of your landscape – it can also ward off problems like poor drainage or plant diseases, ultimately saving you both time and money.
What’s the best way to improve drainage in Maryland’s clay-heavy soil?
Maryland’s soil, rich in clay, often struggles with proper drainage – especially when heavy rains hit. This can lead to water pooling and even soil erosion. To tackle these issues, options like French drains, dry riverbeds, and drainage pipes are excellent choices. These techniques work by channeling water away from your property, keeping your yard safe and dry.
Pro Landscapes MD offers expert drainage solutions designed specifically for Maryland’s challenging soil. Their services include drain installations, stormwater management, and yard leveling to ensure your outdoor areas remain dry and usable throughout the year.
How can I interpret soil test results and adjust for different pH levels in Maryland landscaping?
Interpreting soil test results is a crucial step in building a thriving landscape. These tests typically reveal details about pH levels, nutrient content, and organic matter in the soil. For most plants, a pH range of 6.0 to 7.0 is ideal. If the pH falls below this range (making the soil too acidic), adding lime can help bring it up. On the flip side, if the pH is too high (alkaline), incorporating sulfur or organic materials like compost can help bring it down.
When it comes to nutrient deficiencies, the soil test results often include specific recommendations. Address imbalances by using fertilizers or enriching the soil with compost or other amendments. If you’re uncertain about how to proceed, reaching out to a professional landscaping service, such as Pro Landscapes MD, can provide guidance tailored to your soil’s unique needs, helping your outdoor space reach its full potential.
Chat with Us