


- bhavya gada
- No Comments
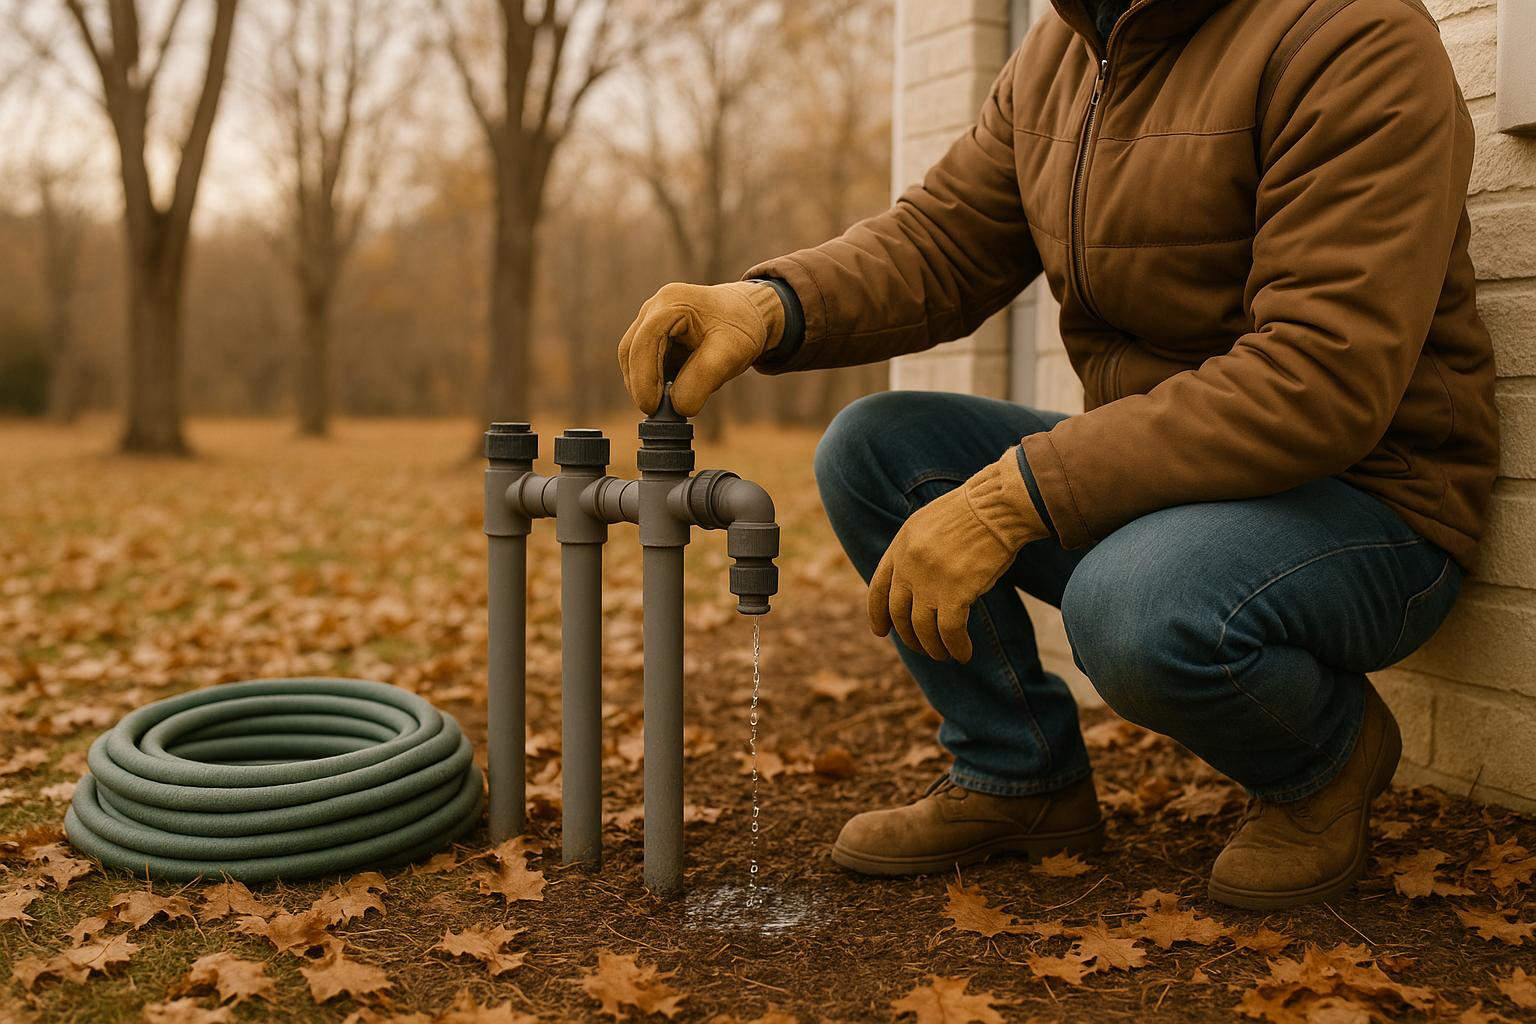
Maryland winters can destroy your irrigation system if it’s not prepared. Freezing temperatures cause water in pipes to expand, leading to cracks and costly damage. Winterizing protects your system, saves you money, and ensures it’s ready for spring.
Key Steps to Winterize:
- Shut Off Water Supply: Turn off the main valve and backflow preventer.
- Drain Water: Open all drain valves and remove standing water from pipes, sprinkler heads, and backflow devices.
- Blow Out Lines: Use compressed air (max 50 PSI) to clear remaining water.
- Insulate Exposed Parts: Cover pipes, valves, and backflow preventers with foam or insulated bags.
When to Start:
- Nighttime temps below 45°F
- Daytime highs under 65°F for several days
- Falling leaves and cooling weather
Hire professionals if you’re unsure about DIY methods. Proper winterization avoids expensive repairs and keeps your system functional for years.
Best Time to Winterize in Maryland
Signs It’s Time to Winterize
Pay attention to key weather signals that suggest it’s time to prepare your irrigation system for winter. Look for:
- Nighttime temperatures consistently dipping below 45°F (7°C)
- Daytime highs staying under 65°F (18°C) for several consecutive days
- Weather forecasts showing a steady drop in temperatures
- Seasonal changes such as leaves falling
Noticing these cues ensures you start winterizing at the right time.
How to Winterize a Sprinkler System – Blow Out Method
4 Steps to Winterize Your System
Protect your irrigation system from freezing temperatures to avoid costly damage. Follow these steps to prepare your system for winter and ensure it’s ready for spring.
1. Shut Off the Water Supply
Find the main water valve and backflow preventer, then turn them off completely.
2. Drain Standing Water
Manually open all drain valves in these areas:
- Main supply lines
- Lateral lines between sprinkler heads
- Valve boxes
- The backflow prevention device
Also, open the drain cap at the lowest point of your system to let out any remaining water. For stubborn water, professional drainage services can help remove it effectively [1].
3. Use Compressed Air to Clear the Lines
Connect a compressor (set to a maximum of 50 PSI) to your system using the correct adapter and pressure regulator. Blow out water from each zone for 2-3 minutes until no more water sprays from the sprinkler heads.
4. Insulate Exposed Parts
Protect exposed components by:
- Wrapping pipes with foam pipe insulation
- Covering the backflow preventer with an insulated bag
- Using foam covers on exposed valves
- Securing all insulation with weather-resistant tape
Pay extra attention to areas where pipes come out of the ground to prevent freezing.
sbb-itb-843f8be
Professional vs. Self-Service Winterization
Why Opt for Professional Service
Hiring professionals for winterization ensures your system is prepared to handle Maryland’s harsh winters. Experts use specialized tools and have the know-how to fully protect your system. They remove all water, inspect for issues like cracked pipes, faulty valves, or damaged sprinkler heads, and help prevent expensive repairs in the spring. If you feel confident in your skills and have the right tools, you can also try a DIY approach.
Tools and Steps for DIY
Going the DIY route requires the right tools and a solid understanding of your system. You’ll need an air compressor (with adjustable PSI), proper fittings, and insulation materials to get the job done.
Start by working on the zone farthest from the water source. Use controlled air pressure to clear pipes and sprinkler heads without causing damage. If you’re unsure about handling an air compressor or navigating your system, it’s safer to rely on professional services.
Getting Ready for Spring Startup
Note Down Repairs Needed
Before starting up your irrigation system for spring, take a close look at its key parts. Check for issues like cracked sprinkler heads, worn-out nozzles, or malfunctioning valves. Be on the lookout for leaks in valves or connections, and fix or replace any damaged parts. Keep a detailed record of these issues to streamline repairs. Also, make sure to properly store any removed components so everything is ready to go when spring arrives.
Storing Components Over Winter
Get removable parts ready for spring by giving them a proper cleanup. Use compressed air or a soft brush to clean sprinkler heads and nozzles. Once cleaned, inspect each piece carefully and handle any necessary repairs. Taking these steps will help your irrigation system work efficiently and last longer.
Conclusion: Protect Your Irrigation System
Protecting your irrigation system is a wise move to ensure it performs reliably in Maryland’s unpredictable climate. Winterizing your system not only helps avoid expensive repairs but also extends its lifespan.
Hiring professionals for winterization is the best way to guard against freeze damage. Experts use specialized tools to remove all water, insulate components, and spot potential maintenance issues before they escalate into major problems.
Pro Landscapes MD specializes in maintaining drainage and irrigation systems across Maryland. Their thorough approach includes detailed inspections, precise air pressure techniques, and proper insulation to prevent issues like cracked pipes, damaged valves, and freezing-related failures.
With Pro Landscapes MD, you can prepare your system for winter with confidence. Acting before the first frost ensures your irrigation system stays protected through Maryland’s colder months and is ready to work efficiently when spring arrives.
A professionally winterized system not only gives you peace of mind but also keeps your property functioning smoothly for years. Trusting experienced professionals is a smart way to preserve both the value and usability of your irrigation setup.
FAQs
What happens if I don’t winterize my irrigation system in Maryland?
Failing to winterize your irrigation system in Maryland can lead to serious damage caused by freezing temperatures. Water left in the pipes, valves, or sprinkler heads can freeze, expand, and crack these components, resulting in costly repairs or even the need for a full system replacement.
Additionally, damaged irrigation systems can cause water leaks once temperatures rise, leading to higher water bills and potential yard flooding. Proper winterization ensures your system is protected and ready to function efficiently when spring arrives.
How can I tell if my irrigation system is properly winterized?
To check if your irrigation system is successfully winterized, ensure all the water has been drained from the pipes, valves, and sprinkler heads. Look for signs of residual water, as any left behind could freeze and cause damage during colder temperatures.
Additionally, inspect the system for any leaks or cracks that may have been overlooked during the process. If you’re unsure or want peace of mind, consider consulting a professional to verify your system is fully protected for the winter season.
Why is using the correct PSI important when blowing out irrigation lines?
Using the correct PSI (pounds per square inch) is crucial when blowing out irrigation lines to prevent damage to the system. If the pressure is too high, it can crack or rupture pipes, fittings, and sprinkler heads. On the other hand, if the pressure is too low, water may remain in the lines, increasing the risk of freezing and causing costly damage during winter.
For most residential irrigation systems, a PSI range of 40 to 80 is typically recommended. Always consult your system’s manufacturer guidelines or a professional to ensure you’re using the appropriate PSI for your specific setup.
Chat with Us