









- bhavya gada
- No Comments
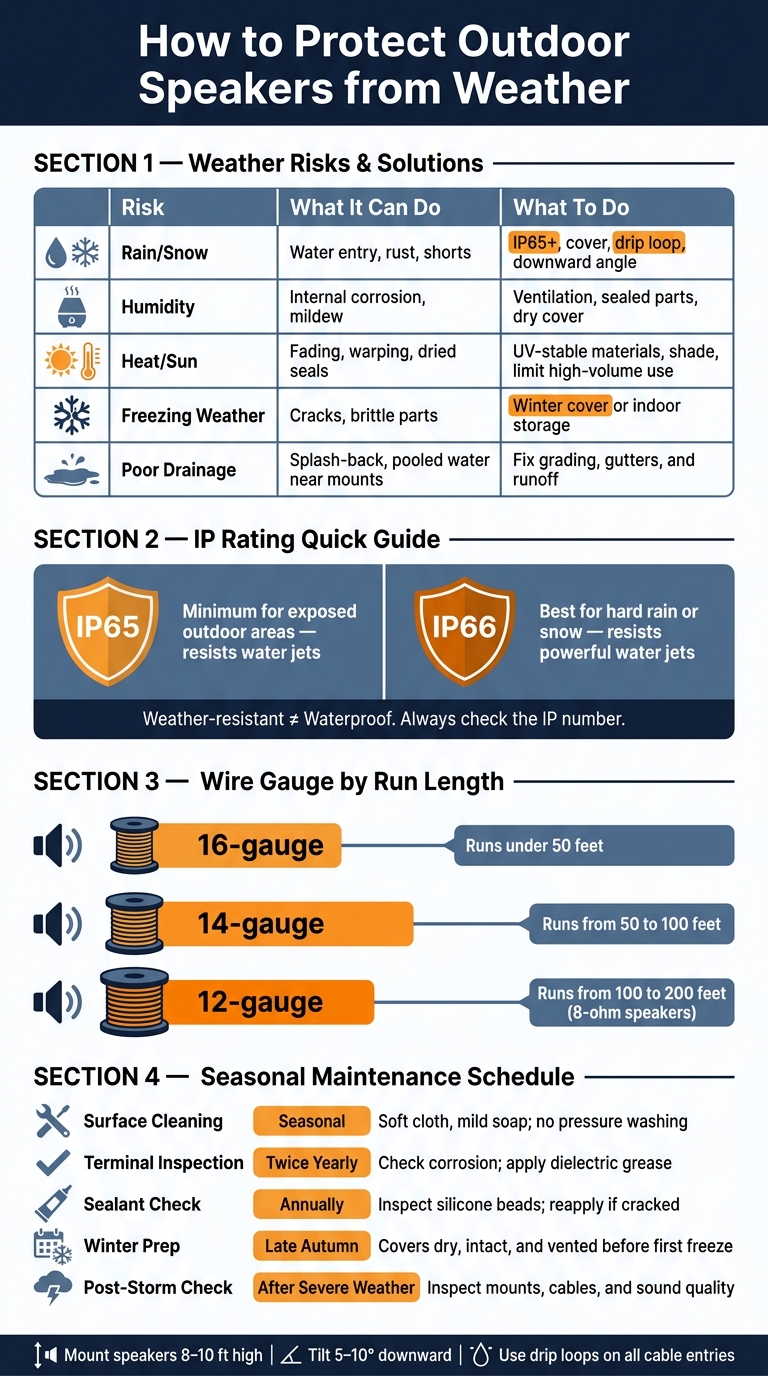
Outdoor speakers usually fail for simple reasons: water gets in, sun dries parts out, or winter cold cracks seals and cabinets. If I want them to last, I need to do five things from the start: pick an IP65 or IP66 speaker, mount it under cover, tilt it 5 to 10 degrees downward, seal the wiring with a drip loop and outdoor-rated parts, and check it a few times each year.
Here’s the short version:
- Rain and snow can lead to shorts, rust, and dead channels
- Humidity can cause oxidation, mold, and slow wear inside the cabinet
- UV and heat can fade housings and dry out rubber, glue, and plastic
- Freeze-thaw cycles can crack enclosures if moisture gets trapped inside
- Salt air near coastal areas can speed up corrosion
A few numbers matter here:
- IP65 is the minimum I’d look for in exposed outdoor areas
- IP66 is a better pick for spots that get hard rain or snow
- Mount speakers about 8 to 10 feet high
- Use 16-gauge wire for runs under 50 feet, 14-gauge for 50 to 100 feet, and 12-gauge for 100 to 200 feet
- Be extra careful when temps drop below 32°F
| Risk | What it can do | What I’d do |
|---|---|---|
| Rain/snow | Water entry, rust, shorts | IP65+, cover, drip loop, downward angle |
| Humidity | Internal corrosion, mildew | Ventilation, sealed parts, dry cover |
| Heat/sun | Fading, warping, dried seals | UV-stable materials, shade, shorter high-volume use |
| Freezing weather | Cracks, brittle parts | Winter cover or indoor storage |
| Poor drainage | Splash-back, pooled water near mounts | Fix grading, gutters, and runoff |
The main point is simple: speaker protection starts before installation. I’d match the speaker to the weather, keep water away from the wiring and hardware, and stay on top of cleaning, seals, and winter prep.
Outdoor Speaker Weather Protection: IP Ratings, Wire Gauges & Maintenance Guide
p4 How I Weather Proof Speakers, Oh No He Didn’t !! *20 speaker Backyard Sound System Install
sbb-itb-843f8be
Know the Weather Risks Before You Install
Before you pick a speaker or choose a mounting spot, line up the system with the weather it’ll deal with.
How Rain, Snow, and Temperature Changes Damage Speakers
Moisture usually gets in through seams, cable openings, or loose grilles. Once it’s inside, it can corrode metal terminals, damage internal wiring, and wear down crossover parts. The first signs are often dull highs, buzzing bass, or sound cutting out after rain [1].
In Maryland, humidity, freeze-thaw cycles, and hot summer sun make placement and speaker ratings a big deal [4][6]. Sharp temperature swings can trap moisture inside the cabinet, which can lead to corrosion or even shorts [1]. Direct sun adds another problem: it can fade the housing, weaken adhesives, and crack plastic over time [3].
IP Ratings Explained for Outdoor Speaker Use
IP, short for Ingress Protection, tells you how well a speaker stands up to dust and water. For exposed areas, IP65 should be your floor. If your area gets regular storms or snow, step up to IP66.
Here’s the part that trips people up: weather-resistant doesn’t mean waterproof. That label sounds nice, but the actual IP rating tells you much more. So instead of trusting marketing copy, check the number.
"For a true ‘set it and forget it’ system, look for speakers with an IP66 rating or higher. This ensures your investment is protected year-round." – Kennedy Design + Build [5]
Use the IP rating to narrow your speaker options before you decide where to mount them.
Pick the Right Speaker and Install It to Limit Exposure
Once you’ve set the IP target, the next step is simple: pick materials and hardware that can handle UV, moisture, and freeze-thaw exposure.
What to Look for in Outdoor-Rated Speaker Materials and Hardware
The cabinet material matters just as much as the IP rating. Fiberglass-reinforced plastic (FRP) and UV-stable polymers are the top picks because they hold up against cracking, fading, and warping in direct sun [4][8].
The grille and mounting hardware matter too. Aluminum grilles and stainless steel or marine-grade brackets usually cost more, but they’re worth it. Rust streaks from worn-out hardware are a clear sign of corrosion, and that can lead to mounting failure [7][4][1].
Inside the cabinet, check for parts made for outdoor use, such as:
- Drivers built for outdoor use
- Moisture-repellent coatings
- Sealed crossovers
These details help keep moisture away from the electronics, even when condensation builds up inside the speaker [4].
Treat "weather-resistant" as the bare minimum. You still need to confirm the IP rating and the level of exposure the speaker is built to handle [9].
Even a well-made speaker can wear out fast if you install it in the wrong spot.
How to Mount Speakers Under Cover and Angle Them for Drainage
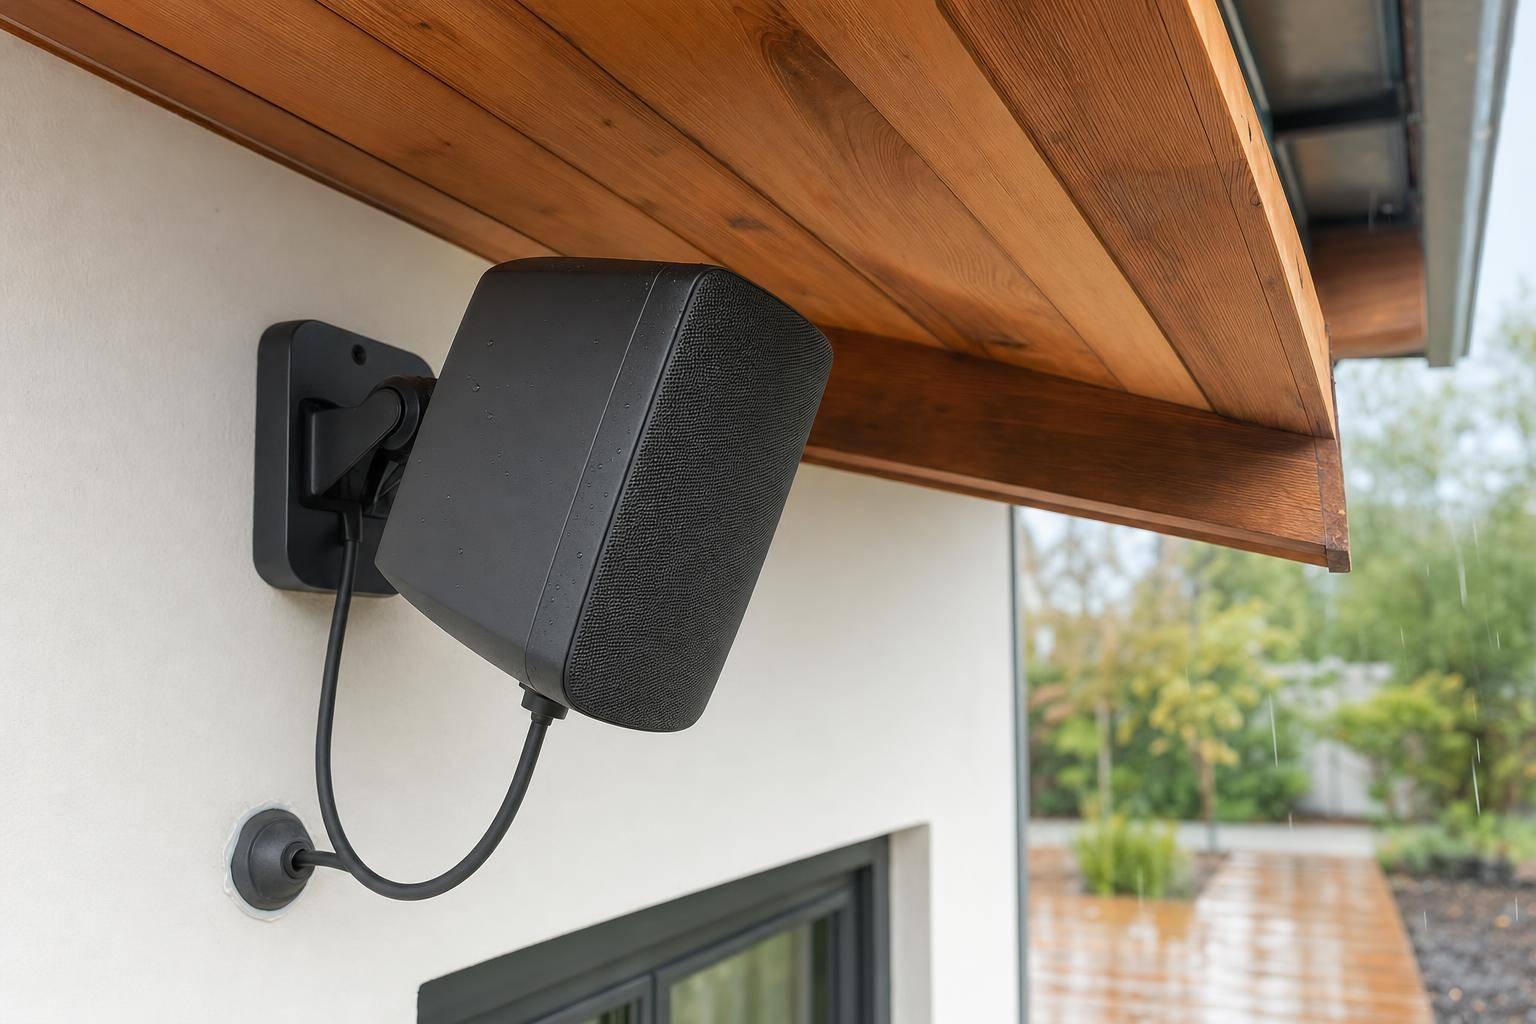
Placement does a lot of the heavy lifting. Shelter, height, and slope all help cut down rain and snow intrusion. Mount speakers under an eave, soffit, covered patio, or pergola so they’re shielded from direct rain but still get airflow [9][1][6].
A good rule of thumb is to mount speakers 8 to 10 feet high and tilt them 5 to 10 degrees downward. That slight angle helps water run off the face instead of sitting at seams or cable openings [1][5][7].
Skip spots under gutter drip lines, and keep speakers away from fire pits, grills, and heaters [1].
After the speaker is under cover and tilted the right way, the weak points shift to the cable entry and the mounting hardware. That’s where sealing the wiring and brackets starts to matter most, because water only needs one small opening to reach the connections.
Protect Speakers, Wiring, and Mounts from Rain and Snow
Once you’ve limited direct exposure, the next job is protecting the weak spots: the cover, the cable entry, and the mounting hardware. Those are usually where weather starts to cause trouble.
When to Use Covers, Enclosures, or Indoor Storage
The level of protection should match the level of exposure. A speaker under a covered patio may be fine with a breathable cover. An open-area setup usually needs an enclosure or seasonal indoor storage.
Don’t leave exposed speakers out in freezing weather. When temperatures drop below 32°F, housings and seals are more likely to crack. If your area regularly gets that cold in winter, indoor storage during the season is the safest choice.
If taking the speakers down isn’t practical, use a breathable polyester cover. Skip plastic sheeting. It traps moisture, and that can create a whole new set of problems.
A simple way to think about it:
- Use removable covers for seasonal protection
- Use fixed enclosures for permanent outdoor exposure
- Use indoor storage for the best winter protection
How to Seal Cable Connections and Use Outdoor-Rated Wiring
Once the speaker is covered, turn to the cable path. That’s often where water gets in.
In many cases, moisture doesn’t enter through the grille. It gets in from behind the speaker, through the cable opening.
Route the cable with a drip loop so water falls away instead of running straight into the entry point. Seal wall or surface penetrations with exterior-grade silicone or IP-rated cable glands, and use conduit to protect exposed cable runs [1][7][5].
For the wire, use direct-burial rated cable with a waterproof jacket. Wire size also affects signal quality:
- 16-gauge for runs under 50 feet
- 14-gauge for runs from 50 to 100 feet
- 12-gauge for runs from 100 to 200 feet on 8-ohm speakers [5]
Add a thin layer of dielectric grease to the terminals to help keep moisture out [2].
Use Rust-Resistant Brackets and Check Mounting Stability
Last, protect the parts that keep the speaker attached and steady.
Use stainless steel or marine-grade mounting hardware [1][2]. Then check it after storms, and again in spring and fall. Look for loose fasteners, rust, and corrosion. If terminals show corrosion, clean them with a wire brush and apply dielectric grease again [1][2].
Maintain Outdoor Speakers and Plan Around Patio Drainage
Seasonal Maintenance Checklist for Outdoor Speakers
Once the speaker and wiring are protected, a simple checkup routine can stop small problems from turning into water damage.
Wipe down the cabinets and grilles with a soft damp cloth, plus mild soap and water. Dust, pollen, and bird droppings can trap moisture against the surface, so it helps to clean them off before they sit too long. Avoid pressure washing and abrasive cleaners. Both can push water into sealed seams or wear down the finish.
After major storms, take a close look at the rear terminals. Watch for green corrosion, rust, or white residue. If needed, use a wire brush to clean the terminals, remove corrosion, and tighten any loose fittings. It also makes sense to inspect the silicone seals around cable entry points and replace any sealant that’s cracked.
Cold weather can be rough on speaker parts. In freezing conditions, skip using them since brittle pieces can crack more easily. During extreme heat, avoid long sessions at high volume.
| Maintenance Task | Frequency | Key Action |
|---|---|---|
| Surface cleaning | Seasonal | Soft cloth, mild soap and water; avoid abrasive cleaners |
| Terminal inspection | Twice yearly | Check for corrosion; apply dielectric grease if needed |
| Sealant check | Annually | Inspect silicone beads; reapply if cracked |
| Winter prep | Late autumn | Confirm covers are dry, intact, and vented before the first freeze |
| Post-storm check | After severe weather | Inspect mounts, cables, and sound quality after severe weather |
How Patio Design, Grading, and Drainage Affect Speaker Protection
Speaker protection isn’t just about the speaker itself. It also depends on how your patio handles water.
Good patio grading and drainage around the speakers can cut down the amount of moisture that reaches the cabinets. Poor grading can leave standing water near low-mounted speakers and lead to more splash-back. Mounting speakers under a roof edge or another covered spot helps reduce direct rain exposure, but that doesn’t solve everything. If the gutters above the setup are clogged, they can dump concentrated water right onto the cabinet.
Retaining walls and seat walls can help steer runoff away from entertainment areas. French drains and proper yard grading can move water away from the patio before it reaches the speaker zone [8][4].
For drainage fixes around patios and speaker areas, Pro Landscapes MD handles grading, French drains, and drainage repair across central Maryland and Washington, DC.
Conclusion: Key Steps That Extend Outdoor Speaker Life
Protecting outdoor speakers comes down to a handful of steady habits. Start with outdoor-rated speakers that have an IP65 or IP66 rating for Maryland’s climate [4][5]. Mount them in covered or sheltered spots, and angle them slightly forward so water runs off instead of pooling. Seal cable entry points, use direct-burial rated wire, and protect terminals with dielectric grease.
Then stick to the basics: inspect twice a year, clean them seasonally, store or cover speakers before winter, and keep the surrounding hardscape graded so water drains away. Done well, those steps can help outdoor speakers keep working for years.
FAQs
Can outdoor speakers stay outside year-round?
Many outdoor speakers can stay outside all year. But how long they last comes down to three things: build quality, IP rating, and the weather where you live.
As a rule of thumb, speakers with an IP65 rating or higher do a better job standing up to rain and dust. That extra protection matters, especially if your speakers will be exposed day after day.
Cold weather is where things can get tricky. In harsh winters, sub-zero temperatures can make materials brittle, lead to cracks, or cause damage from condensation. If you deal with hard freezes, it’s smart to bring your speakers indoors when you can. If that’s not practical, place them in a more protected area, like under eaves or a pergola, and cover them with a breathable waterproof cover.
What if my speakers are only weather-resistant?
Weather-resistant doesn’t mean indestructible.
Outdoor-rated speakers can still take damage from moisture, freezing temperatures, and UV exposure. Water can also sneak in through mounting points, cable connections, or rear seams.
To help them last longer, give them some cover under eaves or awnings, use drip loops on cables, and bring them indoors during harsh winter months when you can.
How do I know if moisture is getting inside?
Check for damage and sound issues after storms. Look for rust, green corrosion, or white residue on connectors, terminals, and mounting hardware. Also watch for staining around the enclosure edges.
Sound can change after rain or high humidity too. You might hear crackling, muffled highs, channel imbalance, intermittent dropouts, distortion, or uneven volume. Those are common signs that moisture has made its way inside.
Chat with Us