









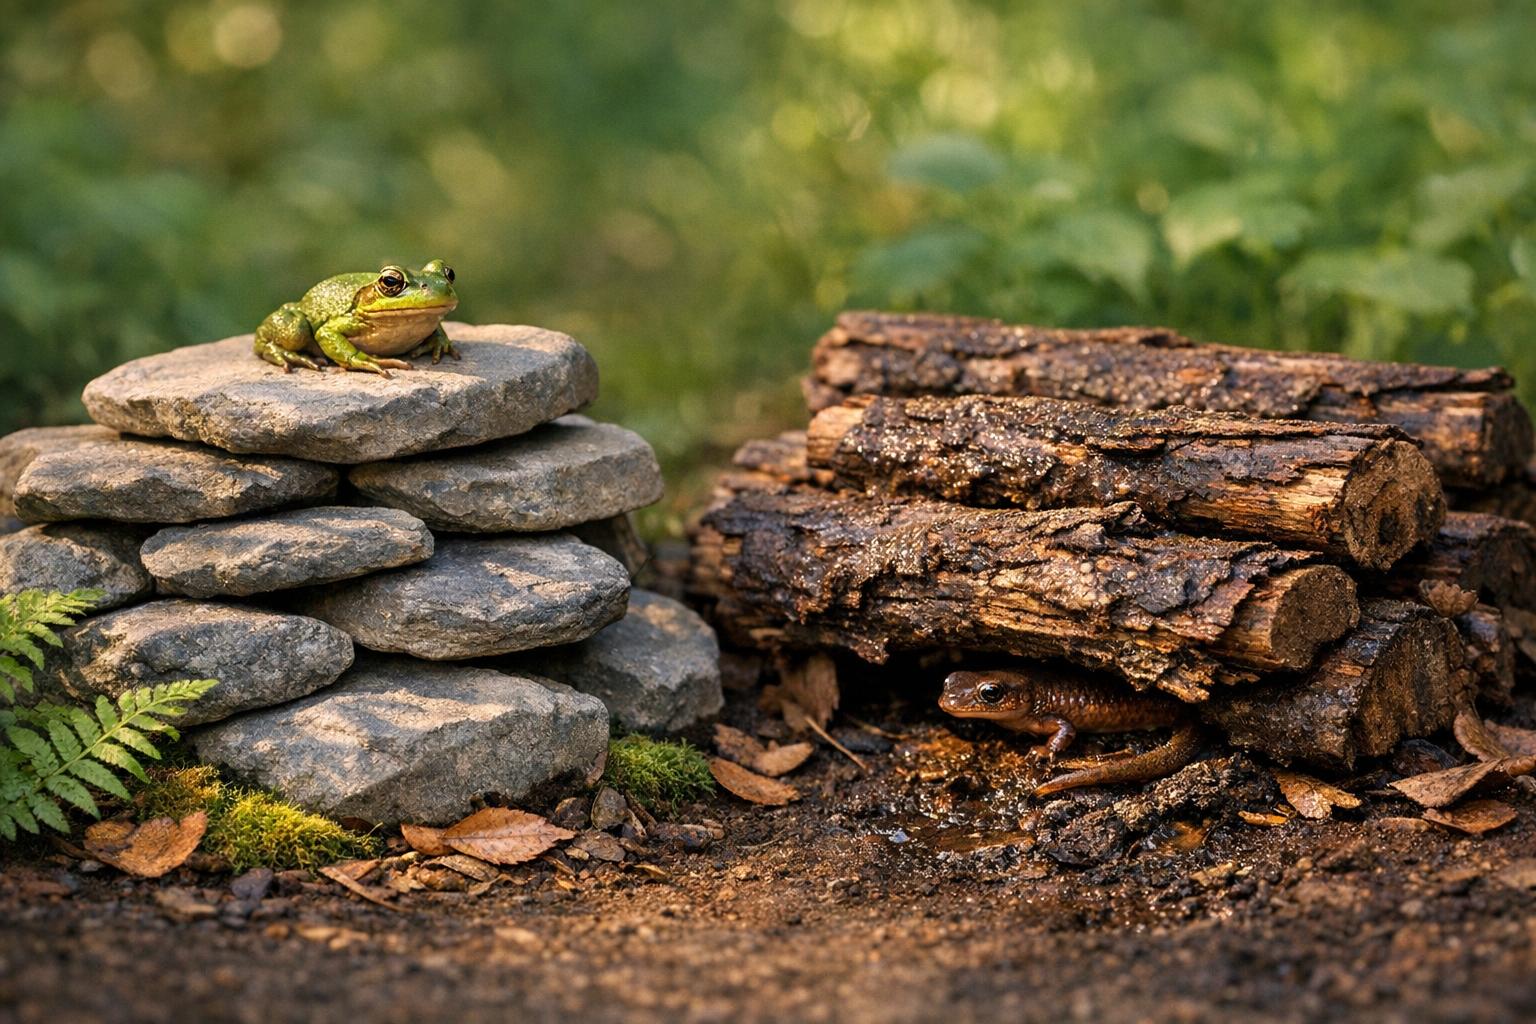
- bhavya gada
- No Comments
Amphibians need safe shelters to survive harsh winters and thrive year-round. In Maryland, two popular options for creating these habitats are rock piles and log piles. Each has unique benefits and challenges:
- Rock piles: Long-lasting, absorb heat, and provide stable crevices for hiding and basking. However, they can be harder to build and less effective at retaining moisture.
- Log piles: Retain moisture well, attract invertebrates as food, and are easier to construct. They decompose over time, requiring periodic replenishment.
Key takeaway: Rock piles are great for toads and species that bask, while log piles suit salamanders and moisture-loving amphibians. Combining both can create a diverse habitat that supports a wider range of wildlife.
Quick Comparison
| Feature | Rock Piles | Log Piles |
|---|---|---|
| Construction | Moderate effort, requires stones | Easy, uses yard debris and branches |
| Cost | Varies; low if using leftover rubble | Minimal; typically uses waste wood |
| Durability | Long-lasting | Medium; wood decomposes over time |
| Moisture Retention | Low to moderate | High |
| Heat Properties | Absorbs heat for basking | Insulates against extreme cold |
| Maintenance | Minimal; manage vegetation | Needs replenishment as wood decays |
| Best For | Toads, snakes, lizards | Salamanders, frogs, insects |
For the best results, place habitats in transitional zones between sun and shade, and use materials already available in your yard. A mix of rock and log piles offers the most benefits for amphibians.
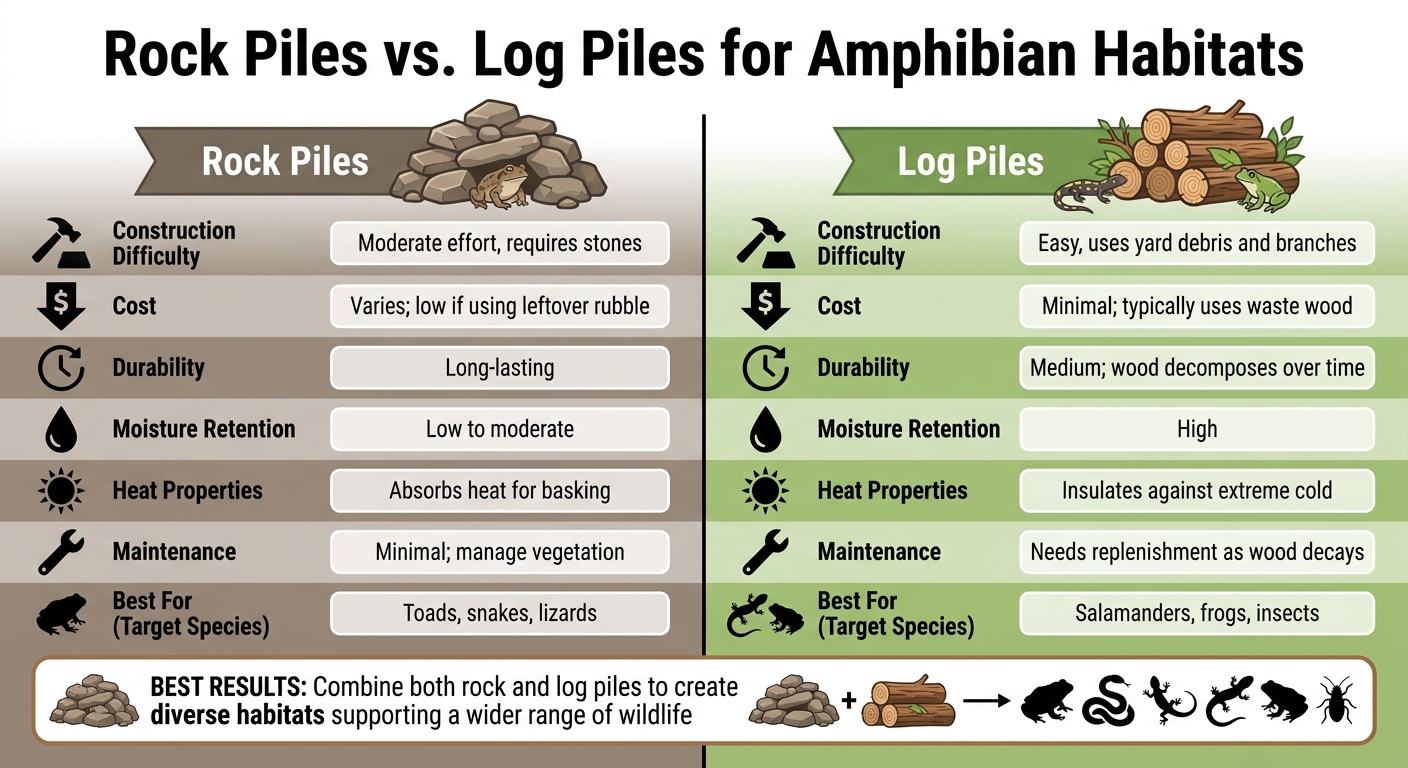
Rock Piles vs Log Piles for Amphibian Habitats Comparison Chart
Rock Piles for Amphibian Habitats
Benefits of Rock Piles
Rock piles play a key role in creating microclimates that amphibians depend on. The exposed surfaces of the rocks soak up sunlight, providing warm spots for basking, while the deeper crevices stay cool and moist, offering a safe retreat from Maryland’s summer heat. These same crevices also act as frost-proof shelters in winter, protecting frogs, toads, and salamanders from freezing temperatures and predators.
Another advantage? Rock piles naturally attract invertebrates, giving amphibians easy access to food right where they live. When constructed with a mix of soil and turf, these piles become long-lasting features, standing up to weather extremes like heavy rains and freeze-thaw cycles for decades.
How to Build a Rock Pile
Start by clearing the turf and soil from your chosen location, keeping the removed material on a tarp to reuse later. Arrange your rocks in an uneven pattern, using different sizes to create a variety of gaps – some narrow for smaller creatures and others wide enough to accommodate larger salamanders. Kevin Morgan, a naturalist, offers this advice:
"The aim should be to create natural looking refuges using a style that is a bit like garden force meets scrapheap challenge!" [1]
After arranging the rocks, layer in rubble, larger stones, and loose soil to build a three-dimensional habitat. Once the structure is complete, replace the original turf over the pile in a casual way, leaving some rocks exposed. This approach creates immediate hiding spots while the vegetation adds a natural, mature look. To protect the pile in areas with heavy foot traffic, you can add thorny branches to deter disturbances. Planting native shrubs on the north side provides shade and extra cover, making the habitat even more inviting.
Drawbacks of Rock Piles
Building a rock pile requires more effort and upfront costs, especially if you need to purchase rocks rather than using leftover construction rubble. Without proper vegetation, it can take years for the pile to develop the kind of natural growth that supports a variety of wildlife. The National Park Service points out:
"Moving rocks disturbs the soil and makes the area more prone to erosion. Disturbing rocks also disturbs fragile vegetation and micro ecosystems" [2].
Rock piles also retain less moisture than decaying wood, so mixing in soil and organic material is crucial. Additionally, the surrounding vegetation must be managed every three to five years to prevent the pile from being overrun by invasive plants like thistles or stinging nettles. If the pile appears too neat – or, on the flip side, resembles discarded debris – it may fail to attract amphibians or even draw complaints from neighbors. These challenges highlight the need to weigh rock piles against other options, like log piles, for creating amphibian habitats.
sbb-itb-843f8be
Log Piles for Amphibian Habitats
Benefits of Log Piles
Log piles create the perfect moist, cool environment that amphibians need to thrive. According to the Natural History Museum:
"A log pile is the perfect habitat for a range of invertebrates, small mammals and amphibians. The damp environment of logs, bark and leaves provide small places to shelter in and interesting food sources." [3]
As wood decays, it attracts invertebrates, which serve as a food source for amphibians. Covering the pile with the original turf not only provides insulation but also offers immediate protection from temperature fluctuations. This added layer also helps the pile blend into its surroundings, making it less noticeable in public areas [1].
How to Build a Log Pile
Creating a log pile is straightforward but requires attention to detail to maximize its effectiveness.
Start by selecting a shady, damp area, as this will help retain moisture and encourage the growth of moss and fungi. Dig a shallow hollow or remove the turf in the chosen spot, setting the turf aside for later. Lay the largest logs at the base, partially burying them to stabilize the structure and improve moisture retention. Secure the logs by driving sticks into the ground as stakes to prevent them from shifting [3].
Build upward in a pyramid shape, layering additional logs, sticks, and bark. Fill any gaps with dry leaves, loose bark, or moss to create a variety of hiding spots. The Natural History Museum suggests keeping the pile natural and avoiding a too-neat appearance [3]. Once the pile is complete, cover it unevenly with the removed soil and turf, leaving some log ends exposed to serve as entry points. To maintain the humidity essential for amphibians, water the pile during long dry periods. For added cover, plant shade-loving species like ferns or primroses around the pile [3][4].
Drawbacks of Log Piles
While log piles offer many benefits, they do come with a few challenges. Unlike rock piles, they can be less durable and more prone to issues if not properly maintained. A poorly constructed or overly tidy pile may fail to attract amphibians. Kevin Morgan, a naturalist, points out:
"A ‘tidy’ log pile in a very open location in a popular country park will provide some shelter but little else." [1]
Additionally, if the pile lacks sufficient turf cover, it may develop slowly and become overrun with invasive plants like thistles or nettles. Another concern is the potential damage caused by heavy lawn maintenance equipment, which can crush amphibians or compact the surrounding vegetation. To minimize these risks, manage the area around the log pile every 2 to 5 years using hand tools like strimmers. This approach helps maintain a protective layer of vegetation without harming the wildlife that relies on it [1].
Both log and rock piles have their own set of challenges, making it important to weigh their pros and cons carefully. Next, we’ll look at how these two habitat options compare.
Rock Piles vs. Log Piles: Side-by-Side Comparison
Comparison Table
Here’s a quick look at how log piles and rock piles stack up against each other:
| Feature | Log Piles | Rock Piles |
|---|---|---|
| Construction Difficulty | Easy; made from yard debris and fallen branches [5] | Moderate; involves sourcing and stacking heavy stones or rubble [1] |
| Cost | Minimal; often uses recycled garden waste [5] | Varies; inexpensive if repurposed materials are available [1] |
| Lifespan | Medium; wood decays over time, enriching the soil [5] | Long-lasting; stones remain intact and form a permanent structure [1] |
| Moisture Retention | High; decaying wood holds moisture effectively [5] | Low to moderate; depends on whether gaps are filled with soil or organic matter [1] |
| Heat Properties | Insulates; wood density helps protect against extreme cold [5] | Absorbs heat; ideal for basking species [1] |
| Maintenance | Needs replenishment as wood decomposes [5] | Minimal; mostly involves managing vegetation [1] |
| Target Species | Salamanders, frogs, newts, and wood-boring insects like stag beetles [5] | Toads, snakes, lizards, and various invertebrates [1] |
This comparison highlights the balance between durability and ecological benefits. Rock piles are sturdy, low-maintenance, and great for species that enjoy basking, but they don’t retain as much moisture. On the other hand, log piles support a thriving ecosystem by attracting insects and amphibians, though they require periodic replenishment. For the best results, consider combining both to create a habitat that supports a wide variety of wildlife in your yard.
Which Habitat Type Is Right for Your Yard
What to Consider Before Building
When deciding on the right habitat for your yard, consider its location, the materials you have on hand, and the amphibian species you want to attract. Maryland’s climate, for instance, is home to a variety of amphibians, from salamanders that thrive in damp environments to species that enjoy basking in the sun. Understanding your yard’s specific conditions is a crucial first step.
Place shelters in areas that transition between sun and shade. These zones give amphibians the flexibility to move between warm and cool spots to regulate their body temperature. For example, a shady, damp corner with fallen branches might be perfect for a log pile, while a sunny patch filled with rocks or rubble could better suit a rock pile.
Using materials already available in your yard can help you save money while keeping the habitat natural. Naturalist Kevin Morgan suggests that the best habitats combine different elements – like rubble, wood, roots, and soil – rather than relying on just one. This approach not only cuts costs but also creates a more dynamic and inviting refuge for amphibians.
Keep the structure irregular and natural-looking. A good habitat should include gaps, nooks, and crannies, even if it appears a bit untidy. If you’re worried about pets or foot traffic causing disruptions, you can partially bury the pile or cover it with thorny branches, like bramble clippings, to keep unwanted visitors away.
By keeping these factors in mind, you can set the stage for a habitat that supports a variety of amphibian species.
Using Both Rock Piles and Log Piles Together
Combining rock and log piles can create a more diverse and effective habitat. A mix of logs, rocks, and soil provides a variety of microclimates, offering sunny spots for basking, shaded areas for cooling off, and damp crevices for hiding. This combination can attract a wider range of species.
For a blended habitat, arrange wood, roots, and rubble in a way that forms deep crevices suitable for burrowing. Once the structure is complete, cover it with soil and local turf to encourage "instant" maturity. This helps introduce invertebrates, which serve as a food source for amphibians. Allow some logs and rocks to stick out through the soil to create natural entry points.
You can enhance the habitat even further by adding plants. Shrubs planted on the north side of the pile can provide extra shade during hot weather. Instead of completely clearing the grass and surrounding vegetation, maintain a living "carpet" by mowing on a rotational schedule every two to five years. This ensures amphibians have safe pathways to move between habitats while keeping the area functional and natural.
Flipping Logs for Salamanders and Frogs! Finding Tons of Amphibians in the Wild in Georgia
Conclusion
Rock piles and log piles each play a critical role in providing winter shelter for amphibians in Maryland, but they cater to different needs. Rock piles offer sturdy, long-lasting crevices that retain heat well and provide excellent insulation during colder months. When partially buried, they become even more effective as low-maintenance basking spots. On the other hand, log piles decompose over time, enriching the habitat by attracting invertebrates – an essential food source for amphibians.
Naturalist Kevin Morgan explains, "A good hibernacula will be a mixture of rubble, wood and soil, and located in a suitable location close to some shrubs on a vegetated headland of a site." [1] This combination creates a variety of microclimates, including sunny basking areas, shaded cooling spots, and damp hiding places. Such diversity supports a broader range of species throughout the year, making it easier to tailor your yard to local wildlife needs.
Your decision should align with your yard’s specific conditions. A sunny, dry spot is perfect for a rock pile, while a shady, moist area is better suited for a log pile. Combining both elements can create what Morgan refers to as a "5-star" habitat, serving as a safe haven for amphibians in both summer and winter.
The best approach is often the simplest. Avoid overthinking the design – let the structure look natural, with uneven gaps and crevices. A slightly untidy appearance often works better than a meticulously arranged pile. Whether you choose rocks, logs, or both, these shelters not only support amphibians but also enhance your yard’s ecological balance.
For tailored advice on building amphibian-friendly habitats, consider consulting Pro Landscapes MD for professional assistance.
FAQs
Where should I place a rock or log pile in my yard?
To create a welcoming habitat, place rock or log piles in a quiet area that offers a mix of sunlight and shade. For rock piles, use stones of different sizes, and you can even dig a shallow hole underneath to improve shelter, especially in sunny spots with some moisture. Log piles thrive best in shaded or partially shaded areas; arrange the logs in a natural, scattered way to provide effective cover. Avoid placing these piles in overly tidy or exposed spots. Instead, choose locations that blend seamlessly into your landscape, ensuring they serve as a long-term refuge for wildlife.
How big should an amphibian habitat pile be?
When creating an amphibian habitat pile, the size largely depends on its intended purpose and the species you want to attract. However, bigger is often better since larger piles offer more shelter and diverse microhabitats. Use sturdy materials such as wood or rocks, incorporating a mix of sizes and building multiple layers for added complexity. For rock piles, start with larger rocks at the base to create ample space and crevices. A well-planned, larger structure tends to be more reliable for overwintering and maintaining long-term habitat stability.
How can I keep pets and people from disturbing the pile?
To keep disruptions to a minimum, set up the habitat pile in a quiet, low-traffic spot in your yard. For rock piles, you can enhance privacy by surrounding them with shrubs or thick vegetation. When it comes to log piles, try placing them under natural cover or in less noticeable areas. Once the pile is in place, resist the urge to move or rearrange it often – this ensures wildlife can settle in and use it without disturbance.
Chat with Us