









- bhavya gada
- No Comments
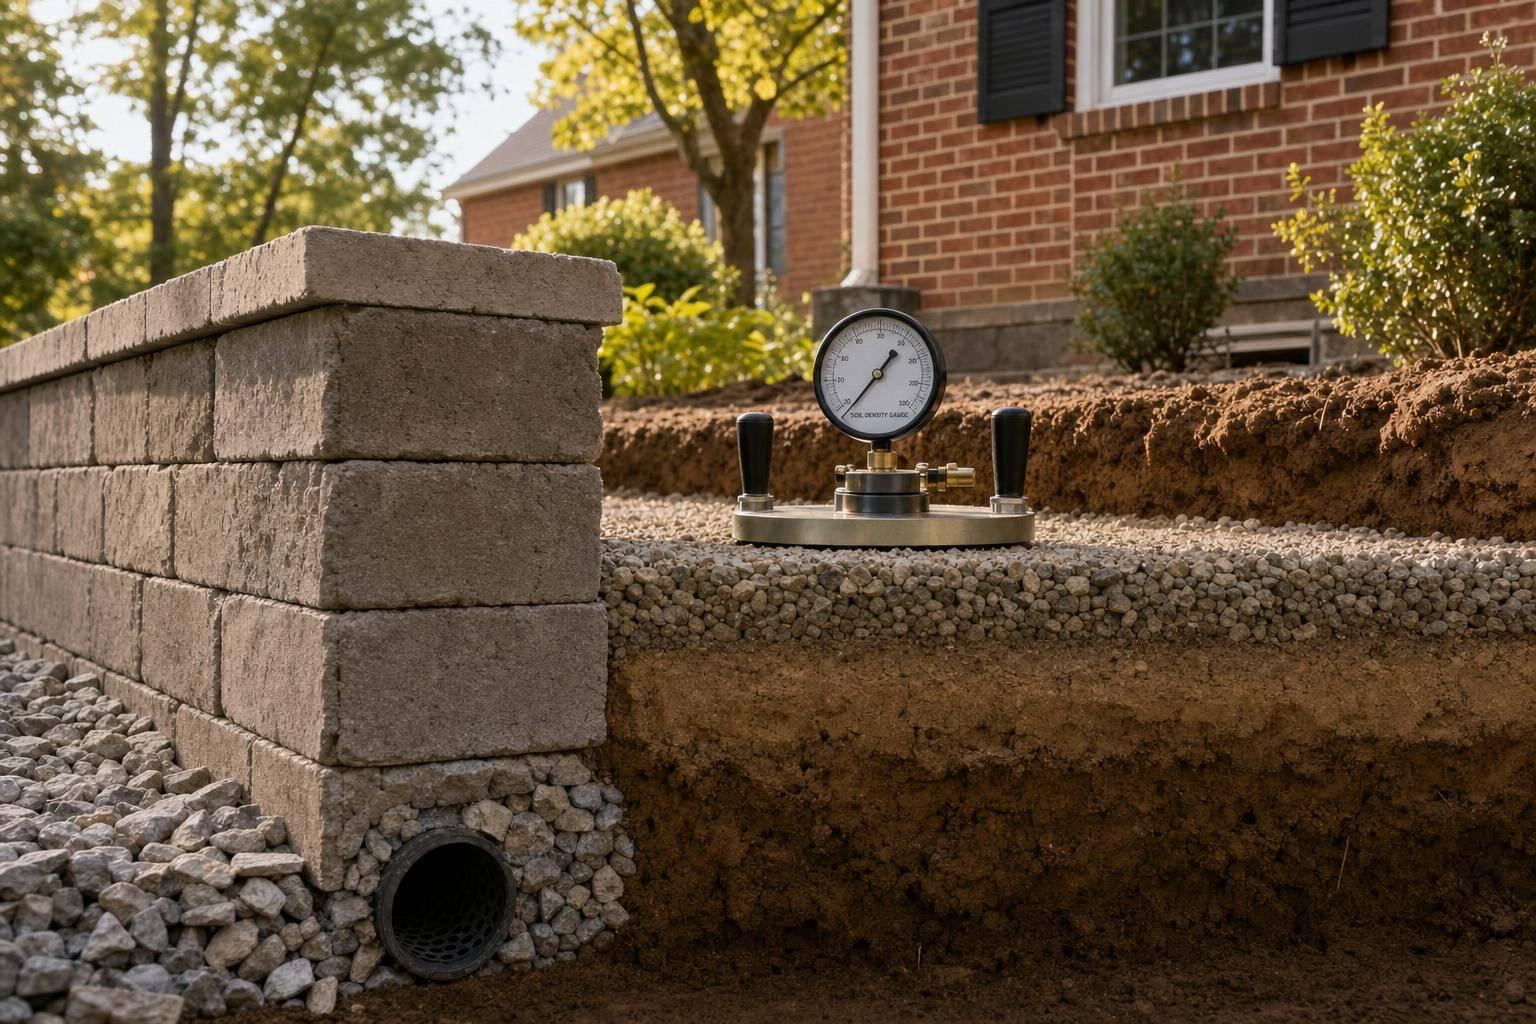
If the soil fails, the wall can fail – even when the wall looks fine. For many Maryland retaining walls, especially those over 4 feet tall or carrying extra load, I’d expect compaction testing records before permit closeout.
Here’s the short version:
- I start with the subgrade before base stone or footing goes in.
- I check backfill in 6- to 8-inch lifts as the wall goes up.
- I use a lab test like ASTM D698 Standard Proctor to set the soil target.
- I compare field results with that target, often looking for 95% of maximum dry density (MDD) and moisture near optimum moisture content (OMC).
- I keep records such as Proctor reports, density logs, moisture readings, and rework notes for county review.
A few field methods come up most often:
- Nuclear gauge (ASTM D6938) for in-place density and moisture
- Sand cone (ASTM D1556) where a gauge is not used
- DCP for a fast read on soil resistance and depth changes
| Checkpoint | What I’m looking for | Common benchmark |
|---|---|---|
| Subgrade | Soil can support wall load | Per plan/spec |
| Backfill lifts | Each layer meets density target | 95% MDD is common |
| Moisture | Soil is near lab target | Near OMC |
| Records | Permit closeout support | Full test log set |
In plain terms: I’m not just checking dirt. I’m checking whether the wall has the support, drainage setup, and paper trail needed to pass inspection and stay in place.
Don’t Trust Soil Density Tests Until You Do This… (Check Plug Explained)
Where Compaction Testing Takes Place During Wall Construction
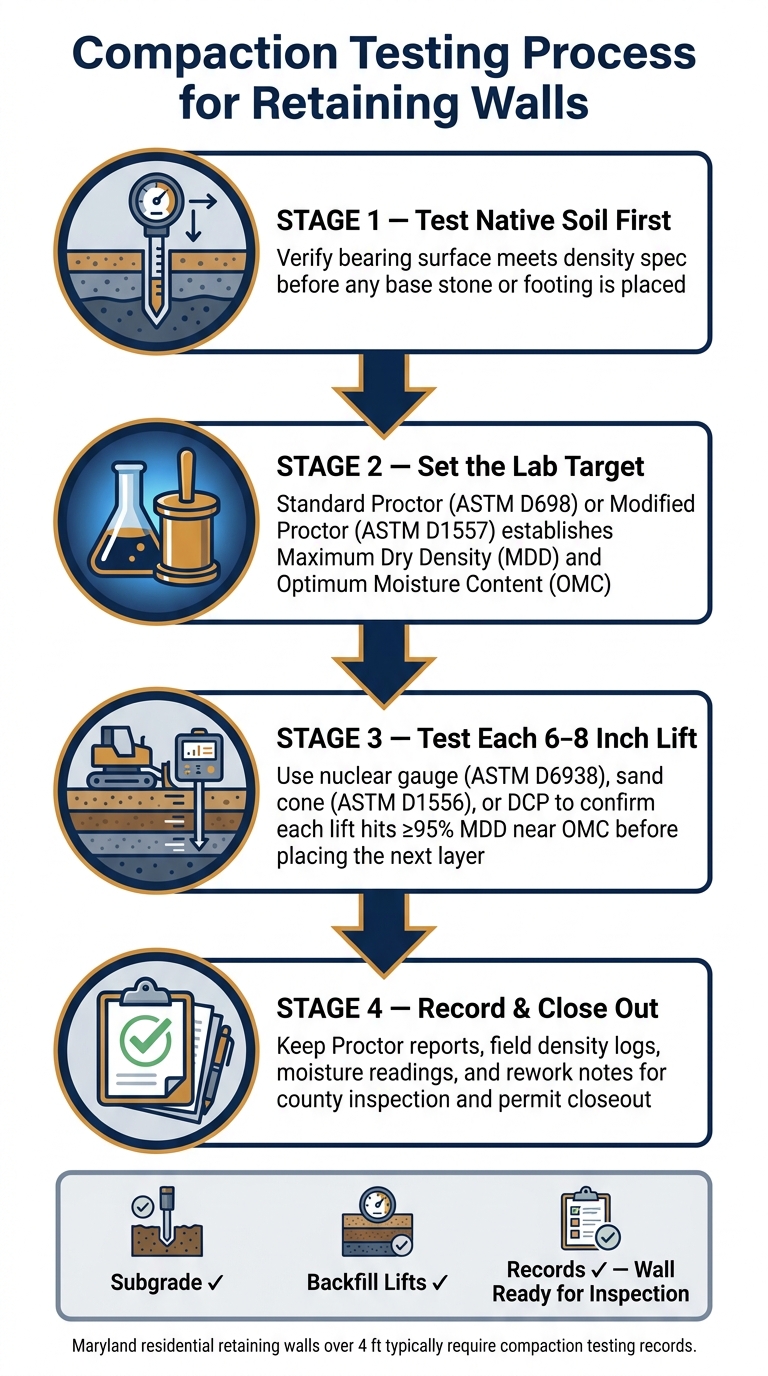
Compaction Testing Process for Retaining Walls in Maryland
Compaction testing happens throughout wall construction. It starts at the subgrade and continues with each backfill lift. Those checkpoints help determine which field tests are used to confirm density on site.
Testing the Subgrade Before Base Stone or Footing Goes In
Before any base stone or footing material is installed, the native soil or prepared bearing surface should be tested. That surface supports the wall load, so it needs to meet density requirements before base stone or footing work starts.
For Maryland residential walls, inspectors and engineers usually pay the closest attention at these early stages. If the bearing surface isn’t compacted to spec, the rest of the wall is starting from shaky ground.
Testing Backfill as It Is Placed in Lifts
Once the wall is in place, backfill should be tested as each lift is added. Typical compacted lifts are 6 to 8 inches thick. Testing each lift makes sure the soil hits the target density before the next layer goes in.
That matters for a simple reason: if one lift is too loose, the layers above it won’t fix the problem. They just build on top of it.
How Drainage Stone and Pipe Zones Relate to Compaction
Drainage stone and pipe zones serve a different job. They’re there to move water, not to be compacted like structural backfill. Crews compact the soil next to those areas in lifts while protecting the pipe and keeping the stone’s drainage voids open.
That distinction matters in the field. You want firm support where the wall needs it, but you don’t want to crush the space that helps water drain away. Those checks set up the lab and field methods used to confirm compliance.
Test Methods and Pass-Fail Standards for Maryland Wall Projects
Lab tests set the target. Field tests check each lift against that target. That order matters because it shows whether the wall has enough support and drainage-friendly backfill, and it creates the field reports often needed for permit closeout.
Standard Proctor and Modified Proctor Lab Tests Explained
The Standard Proctor (ASTM D698) is the lab test most often used for residential wall work. It uses a 5.5-pound rammer dropped from 12 inches, which applies a compaction effort of 12,400 ft-lbf/ft³. In plain terms, this test helps set the soil’s target dry density and moisture level before work starts.
The Modified Proctor (ASTM D1557) uses a higher compaction effort. That makes it a better fit when the wall is expected to carry heavier structural loads. Between them, these tests establish the density and moisture target for the backfill.
Field Density Testing: Nuclear Gauge, Sand Cone, and DCP
Once the lab target is set, field testing checks whether the installed soil actually hits it.
The nuclear density gauge (ASTM D6938) is the most common field method because it gives fast in-place density and moisture readings. The sand cone test (ASTM D1556) finds in-place density by using a measured volume of sand, and crews often use it where nuclear gauges aren’t allowed. The dynamic cone penetrometer (DCP) tracks soil resistance with each hammer blow, giving a fast relative read on compaction depth and uniformity.
Think of it this way: the Proctor test sets the score to beat, and the field test shows whether each lift made the cut.
Typical Acceptance Targets for Residential Retaining Wall Backfill
The lab Proctor result sets the MDD and OMC target for the soil. A passing field result usually means the installed backfill reaches at least 95% of MDD at or near the OMC found in the lab.
That said, the final pass-fail mark doesn’t come from a rule of thumb alone. The project spec, engineer, or county inspector controls the final threshold.
sbb-itb-843f8be
How Test Results Affect Wall Life, Drainage, and Permit Closeout
How Compaction Affects Settlement, Wall Movement, and Earth Pressure
Once field tests are done, the results tell you something simple but important: whether the wall is sitting on soil that can carry the load and stay put.
When the subgrade is verified and the backfill is compacted the right way, the wall keeps its bearing capacity and is less likely to settle, rotate, or bulge. That matters over time. A retaining wall doesn’t usually fail all at once. More often, small soil problems turn into visible movement later.
How Backfill Density Affects Drainage and Water Management
Backfill density also affects how water behaves behind the wall.
If compaction is poor, water can get trapped behind the wall. That builds pressure and puts extra stress on the structure. In Maryland, that risk gets worse because of heavy rain and freeze-thaw cycles. Water management isn’t just a detail here. It’s a core part of keeping the wall stable.
Test Records, Failed Tests, and County Inspection Expectations
The same test results also affect whether the job can move toward permit closeout. Test records connect what happened in the field to what the county wants to see during review and inspection.
Keep records such as:
- Proctor results
- Field density logs
- Moisture readings
- Rework notes
These documents support plan review, inspection, and closeout.
If a test fails, rework the soil, retest it, and document both steps for inspection. That paper trail ties testing, construction, and inspection together.
Conclusion: What to Expect From a Well-Tested Retaining Wall Project
Those test checkpoints show whether the wall is doing the job it was built to do. In a well-tested Maryland retaining wall project, soil preparation gets checked at each stage. Lab tests set the target, and field tests confirm the wall can carry load and resist settlement. When the results pass, they confirm the wall has the support it needs to stay stable over time.
Passing test results do more than satisfy an inspector – they confirm support conditions.
The paperwork matters too. Proctor results and field density logs create the record set needed for permit review and county inspection. Without that record, even a well-built wall can run into permit closeout delays.
Pro Landscapes MD coordinates engineering, drainage, and soils testing so each phase meets structural and county requirements. That helps keep the wall inspection-ready and structurally sound.
FAQs
When is compaction testing required for a retaining wall in Maryland?
Compaction testing is usually required when a retaining wall carries major structural loads, sits on tricky soil, or reaches a height that calls for engineering review.
It matters even more when the wall is taller than common height limits, often 4 feet, or when a permit is required. Testing checks that the subgrade is stable before construction starts and confirms that the backfill meets the required density. That helps reduce the risk of settling, hydrostatic pressure, and wall failure.
What happens if a lift fails compaction testing?
If a lift fails compaction testing, the crew has to fix it before placing the next layer. In most cases, that means reworking the material by adjusting the moisture content or adding more material, then compacting it again and testing it again until it hits the required density.
When a lift isn’t compacted the right way, the problems can show up later in expensive ways. You can end up with settling, edge failure, or higher hydrostatic pressure. And that can cut into the wall’s stability and lifespan.
Who decides the passing compaction standard for my wall?
It’s set by local building codes, project-specific engineering requirements, and manufacturer specifications.
For taller walls – often those over 4 feet – a licensed professional engineer usually provides signed plans that spell out the required compaction levels. Contractors also need to follow the wall manufacturer’s installation guidelines, along with any county or city rules that apply.
Chat with Us